Programming Energia (and Arduino)
MSP430 Workshop - Using Energia (Arduino) 8 - 7
Programming Energia (and Arduino)
Programming with ‘Wiring’
Arduino programs are called
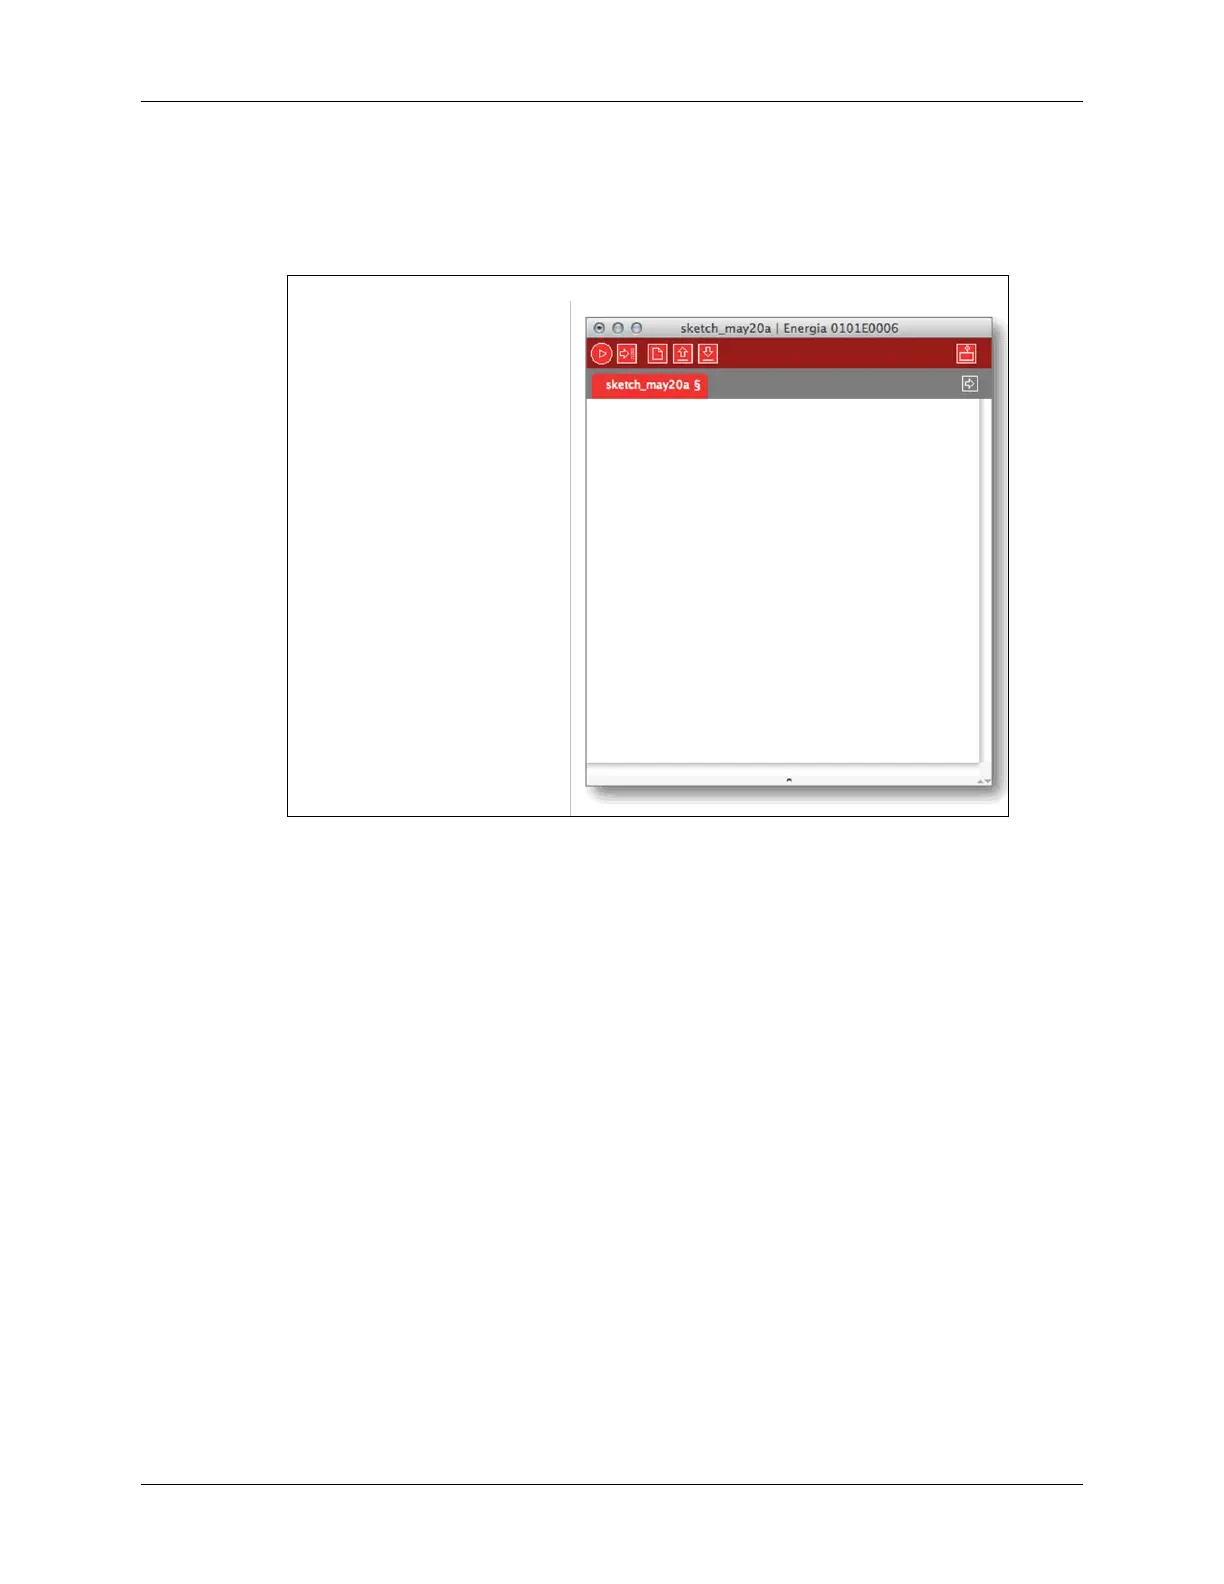
sketches
From the idea that we’re…
Sketching with hardware
Sketches require only two
functions to run cyclically:
setup()
loop()
Are C/C++ programs that can
use Arduino’s Wiring library
Library included with IDE
If necessary, you can access
H/W specific features of C,
but that hurts portability
Blink is C’s ‘Hello World’ ex.
‘Wiring’ makes this simple
Like most first examples,
it is not optimized
// Most boards have LED and resistor connected
// between pin 14 and ground (pinout on later slide)
#define LED_PIN 14
void setup () {
// enable pin 14 for digital output
pinMode (LED_PIN, OUTPUT);
}
void loop () {
digitalWrite (LED_PIN, HIGH); // turn on LED
delay (1000); // wait one second (1000ms)
digitalWrite (LED_PIN, LOW); // turn off LED
delay (1000); // wait one second
}
Energia / Arduino Programming
Programming in Arduino is relatively easy. Essentially, it is C/C++ programming, but the Wiring
library simplifies many tasks. As an example, we use the Blink sketch (i.e. program) that is one of
examples that is included with Arduino (and Energia). In fact, this example is so ubiquitous that
most engineers think of it as “Hello World” of embedded programming.
How does the ‘Wiring’ library help to make things easier? Let’s examine the Blink code above:
A sketch only requires two functions:
o setup() – a function run once at the start of a program which can be used to
define initial environment settings
o loop() – a function called repeatedly until the board is powered off
Reading and Writing pins (i.e. General Purpose Input Output – GPIO) is encapsulated in
three simple functions: one function defines the I/O pin, the other two let you read or write
the pin. In the example above, this allows us to turn on/off the LED connected to a pin on
our microcontroller.
The delay() function makes it simple to pause program execution for a given number of
microseconds. In fact, in the Energia implementation, the delay() function even utilizes a
timer which allows the processor to go into low power mode while waiting.
Finally, which not shown here, Arduino/Energia makes using the serial port as easy as
using printf() in standard C programs.
About the only difference between Arduino and Energia programming is that you might see some
hardware specific commands in the sketch. For example, in one of the later lab exercises, you will
see how you can change the clock source for the TI MSP430 microcontroller. Changing clocks is
often done on the MSP430 so that you can balance processing speed against long battery life.