Lab 1 – MSP4305529 LaunchPad User Experience
Lab 1 – MSP4305529 LaunchPad User Experience
This lab simply gives us an opportunity to pull the board out of the box and make sure it runs
properly. The board arrives with a USB keyboard/memory application burned into the flash
memory on the ‘F5529.
You can either follow the quick start directions on the card included with the Launchpad, or follow
the directions here. We re-created the directions since some folks have a tough time reading the
small print of the quick start card.
Download and install tools
and documentation
Review Launchpad kit
contents
Connect hardware
Try out preloaded software
using Quickstart Guide
Lab 1 – Run Out-of-Box Demo
Agenda …
Examine the LaunchPad Kit Contents
1. Open up your MSP430F5529 LaunchPad box. You should find the following:
− The MSP-EXP430F5529LP LaunchPad Board
− USB cable (A-male to micro-B-male)
− “Meet the MSP430F5529 Launchpad Evaluation Kit” card
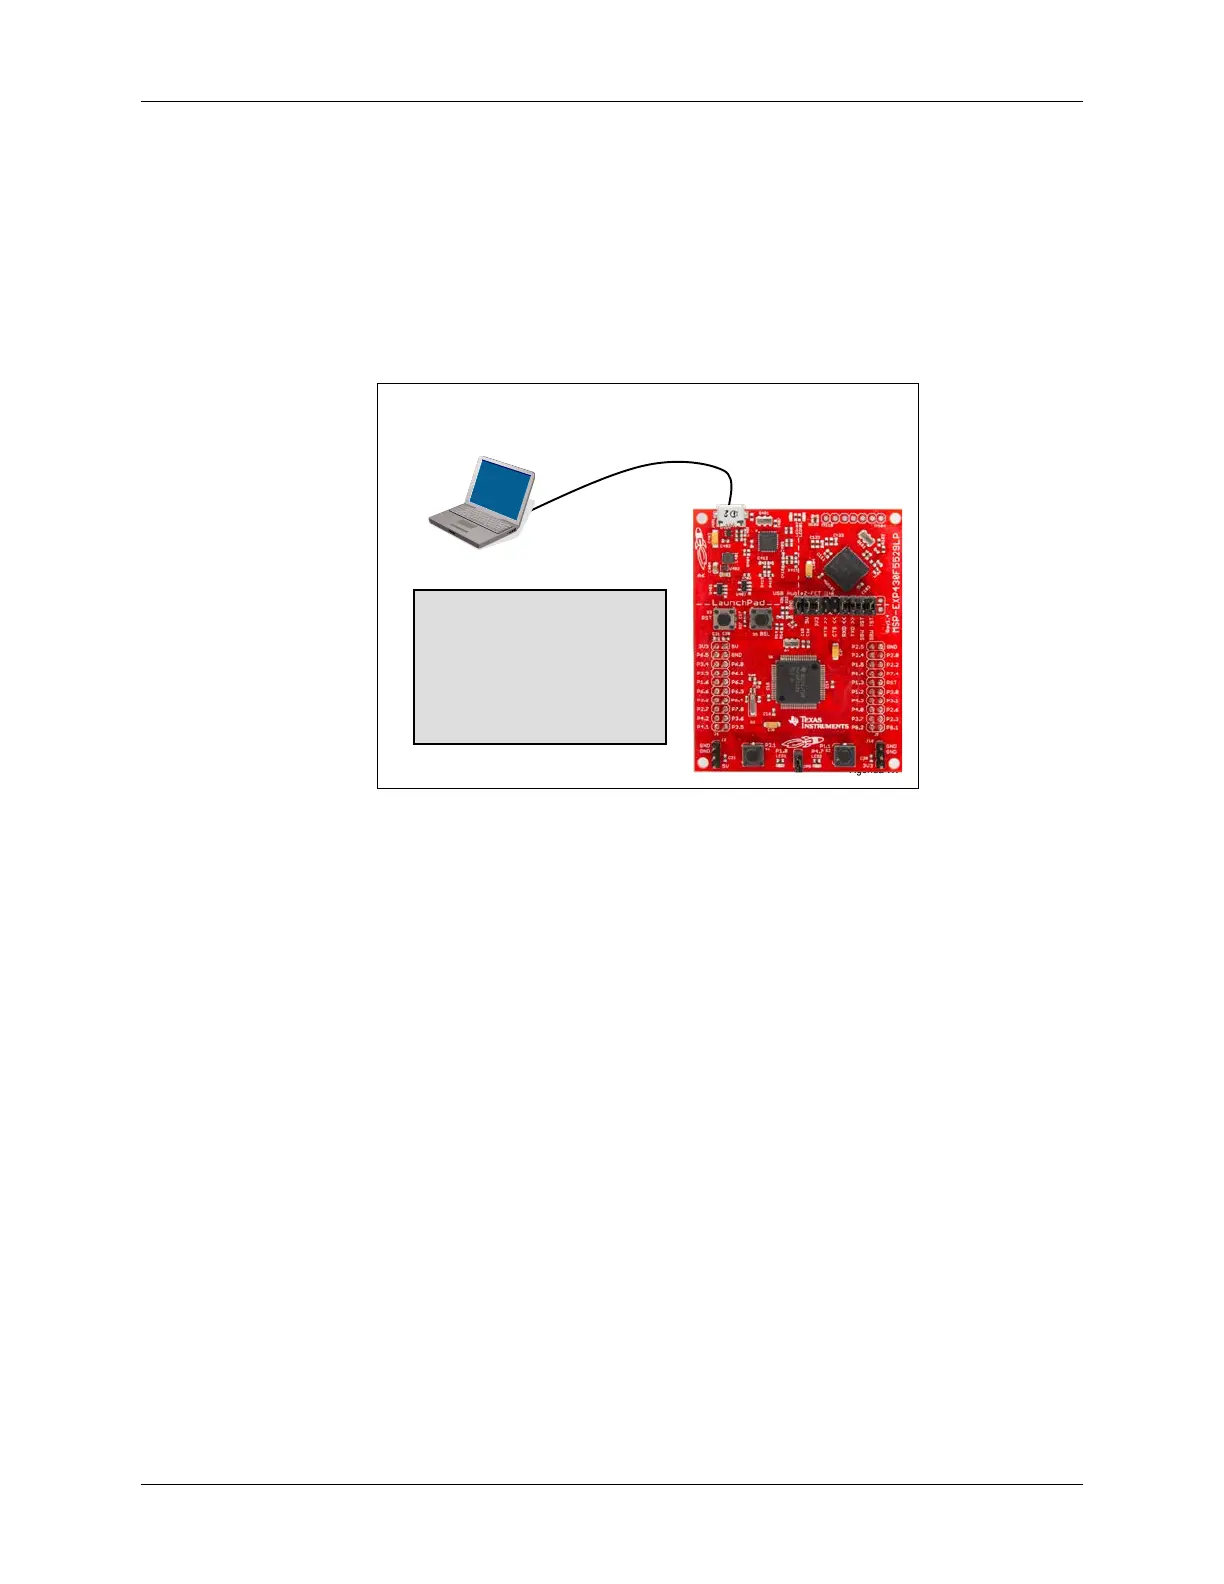
2. Initial Board Set-Up
Using the included USB cable, connect the USB emulation
connector on your evaluation
board to a free USB port on your
PC.
A PC’s USB port is capable of sourcing up to 500 mA for each
attached device, which is
sufficient for the evaluation board. If
connecting the board through a USB hub, it must usually
be a
powered hub. The drivers should install automatically.
3. Run the User Experience Application
Your LaunchPad Board came pre-programmed with a User
Experience application. This
software enumerates as a composite USB device.
• HID (Human Interface device): an emulated keyboard
• MSC (Mass Storage class): an emulated hard drive with
FAT volume
The contents of the hard drive can be viewed with a file browser such as Windows Explorer.
MSP430 Workshop - Introduction to the MSP430 1 - 35