Replacement
3. (Figure 4): Replace the Control Panel upon the 7356 scanner.
1. Place the new Control Panel face-down upon the ESD mat.
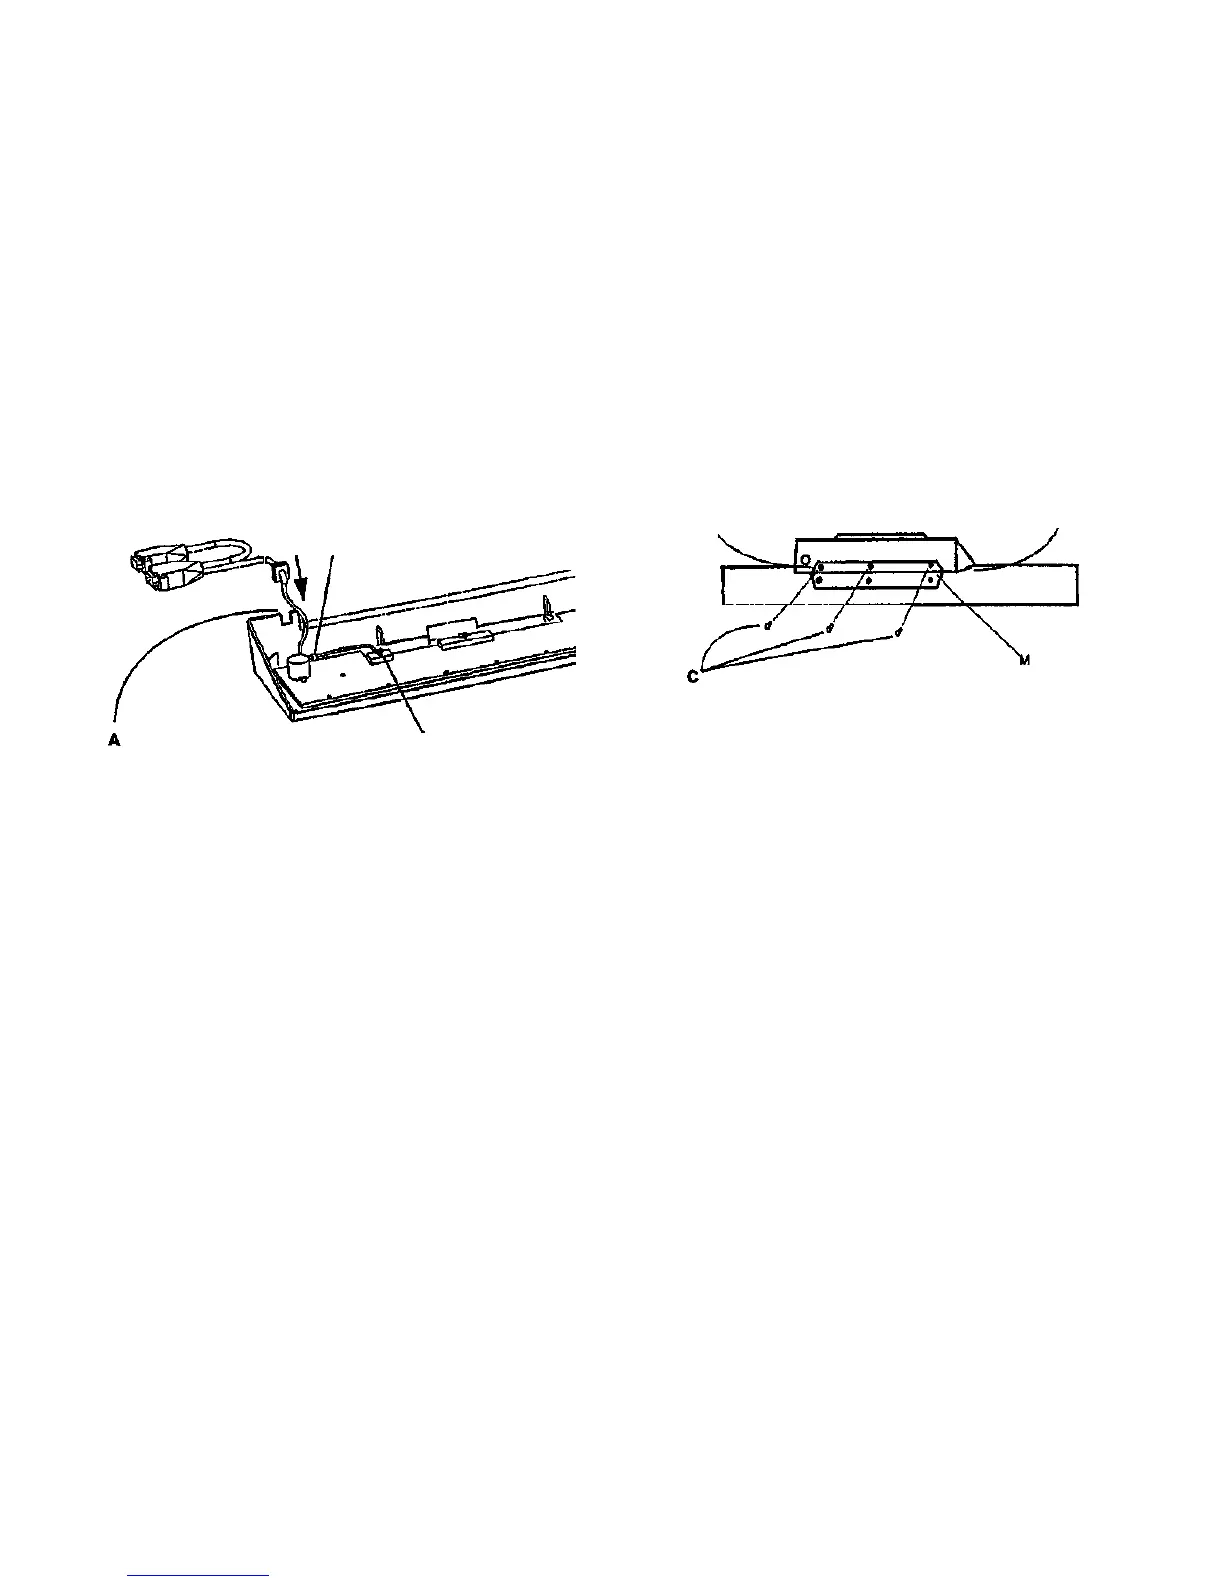
2, (Figure 3): Install the Control Panel Cable removed earlier.
B
Fasten cable wires to
location shown with
cable lie.
Slide the Control Panel
Cable on to the grooved
mount on the rear of Con-
trol Panel housing
C
Reconnect J1
conlpnl5.bmp
Figure 3 Replacement of the Control Panel cable
B
Align holes in Control
Panel with holes on
mounting plate
Replace mounting screws (3).
Line up plastic mount slots on
the underside of the Control
Panel with the mount tabs on
the mounting plate.
Mounting plate
wartl.tlf
Figure 4 Replacement of the Control Panel upon the 7356 scanner
4. Return the scanner to normal operation.
8830 DOS
3/98
4-9
Repairs/Adjustments
REP 4.1.6
A

 Loading...


