REP 4.1.6 Control Panel
Parts List on 1.2
Removal
WARNING
Switch od the scanner power and disconnect the power cord.
3. Place the Control Panel upside down on an ESD mat.
NOTE: In the following step save the Control Panel Cable, as it will be reinstalled on the
new Control panel.
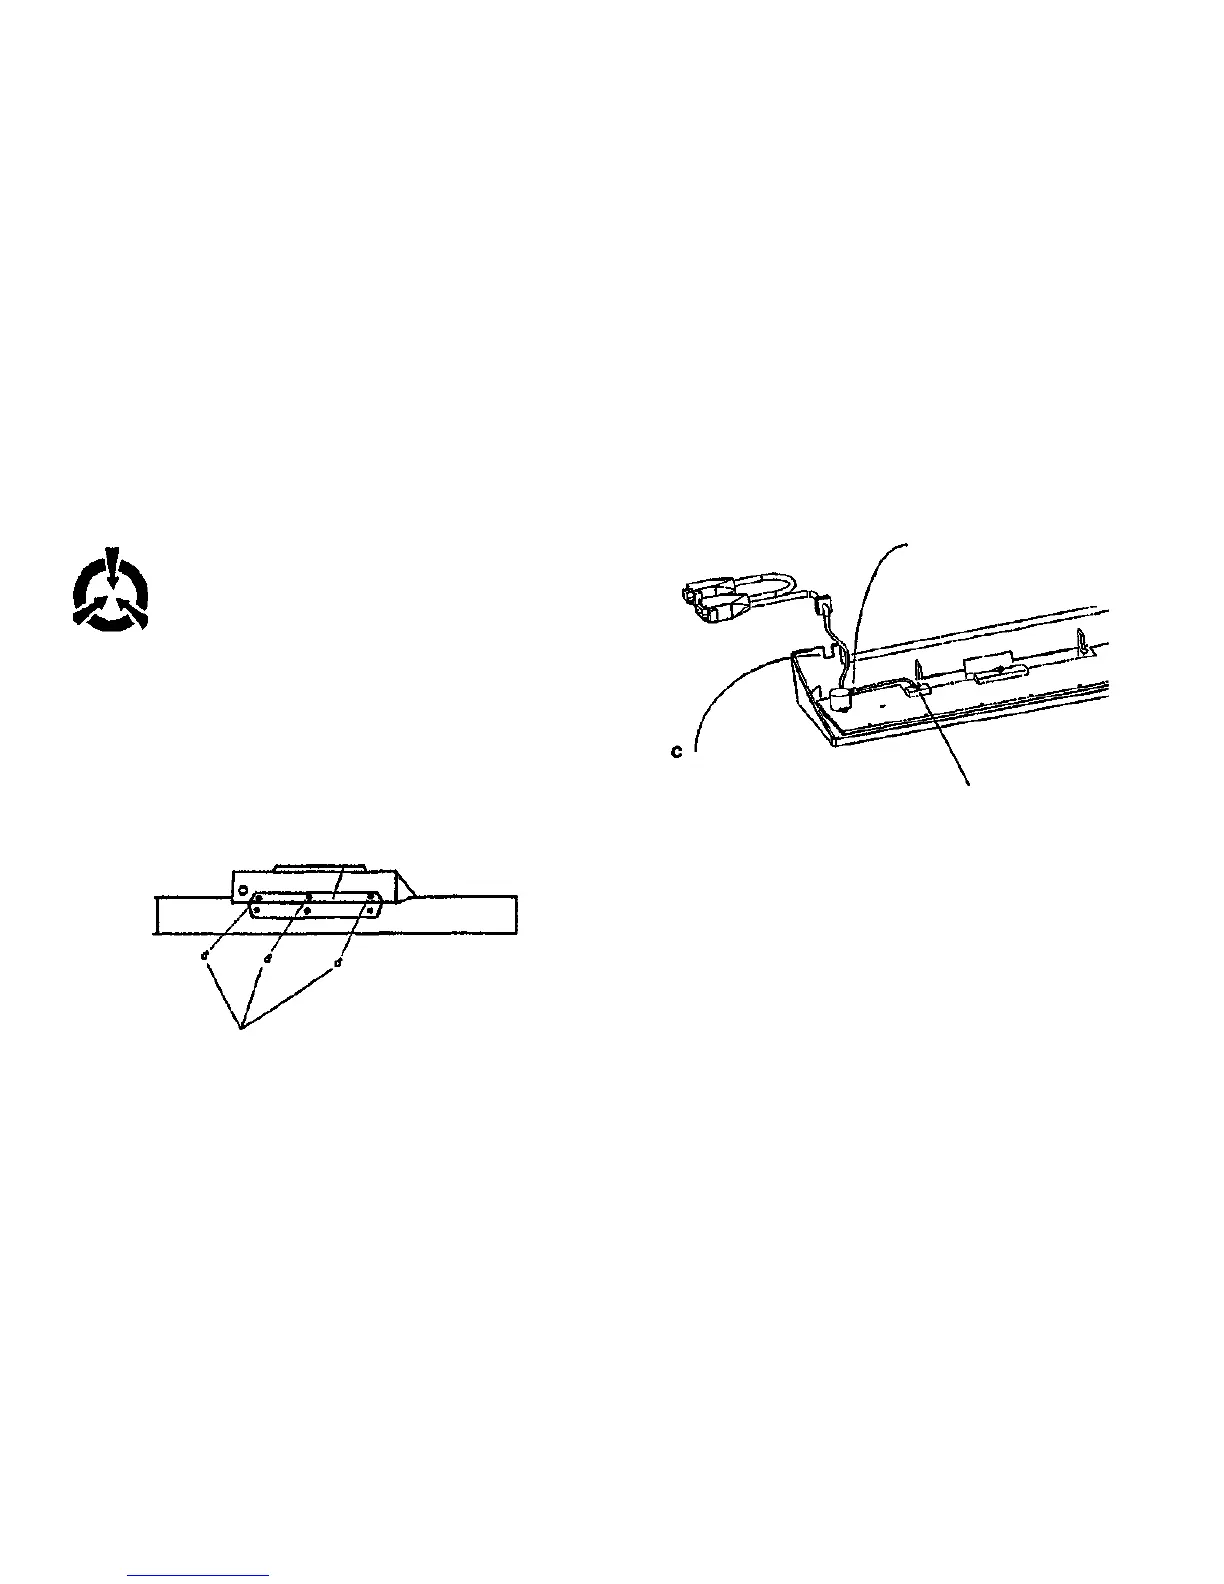
4. (Figure 2): Remove the Control Panel Cable from the Control Panel.
CAUTION
Certain components in the scanner are susceptible to
damage from electrostatic discharge. Observe all ESD
procedures to avoid component damage.
1. (Figure t): Remove the three upper screws on the back of the scanner Control Panel
mounting plate.
Mounting plate
Slide cable off of
grooved mount on
rear of Control Panel
housing.
B
Cut cable tie located on
Inner wall of Control
Panel housing.
A
Disconnect J1
contpnlS.bmp
Figure 2 Removal of the Control Panel Cable
Remove three mounting plate
screws
wait1.tif
Figure 1 Location of Control Panel mounting plate screws
2. Remove the Control Panel from the 7356 scanner.
Repairs/Adjustments
REP 4.1.6
3/98
4-8 8830 DDS

 Loading...


