Replacement
1. Place the Control Panel face-down upon the ESD mat.
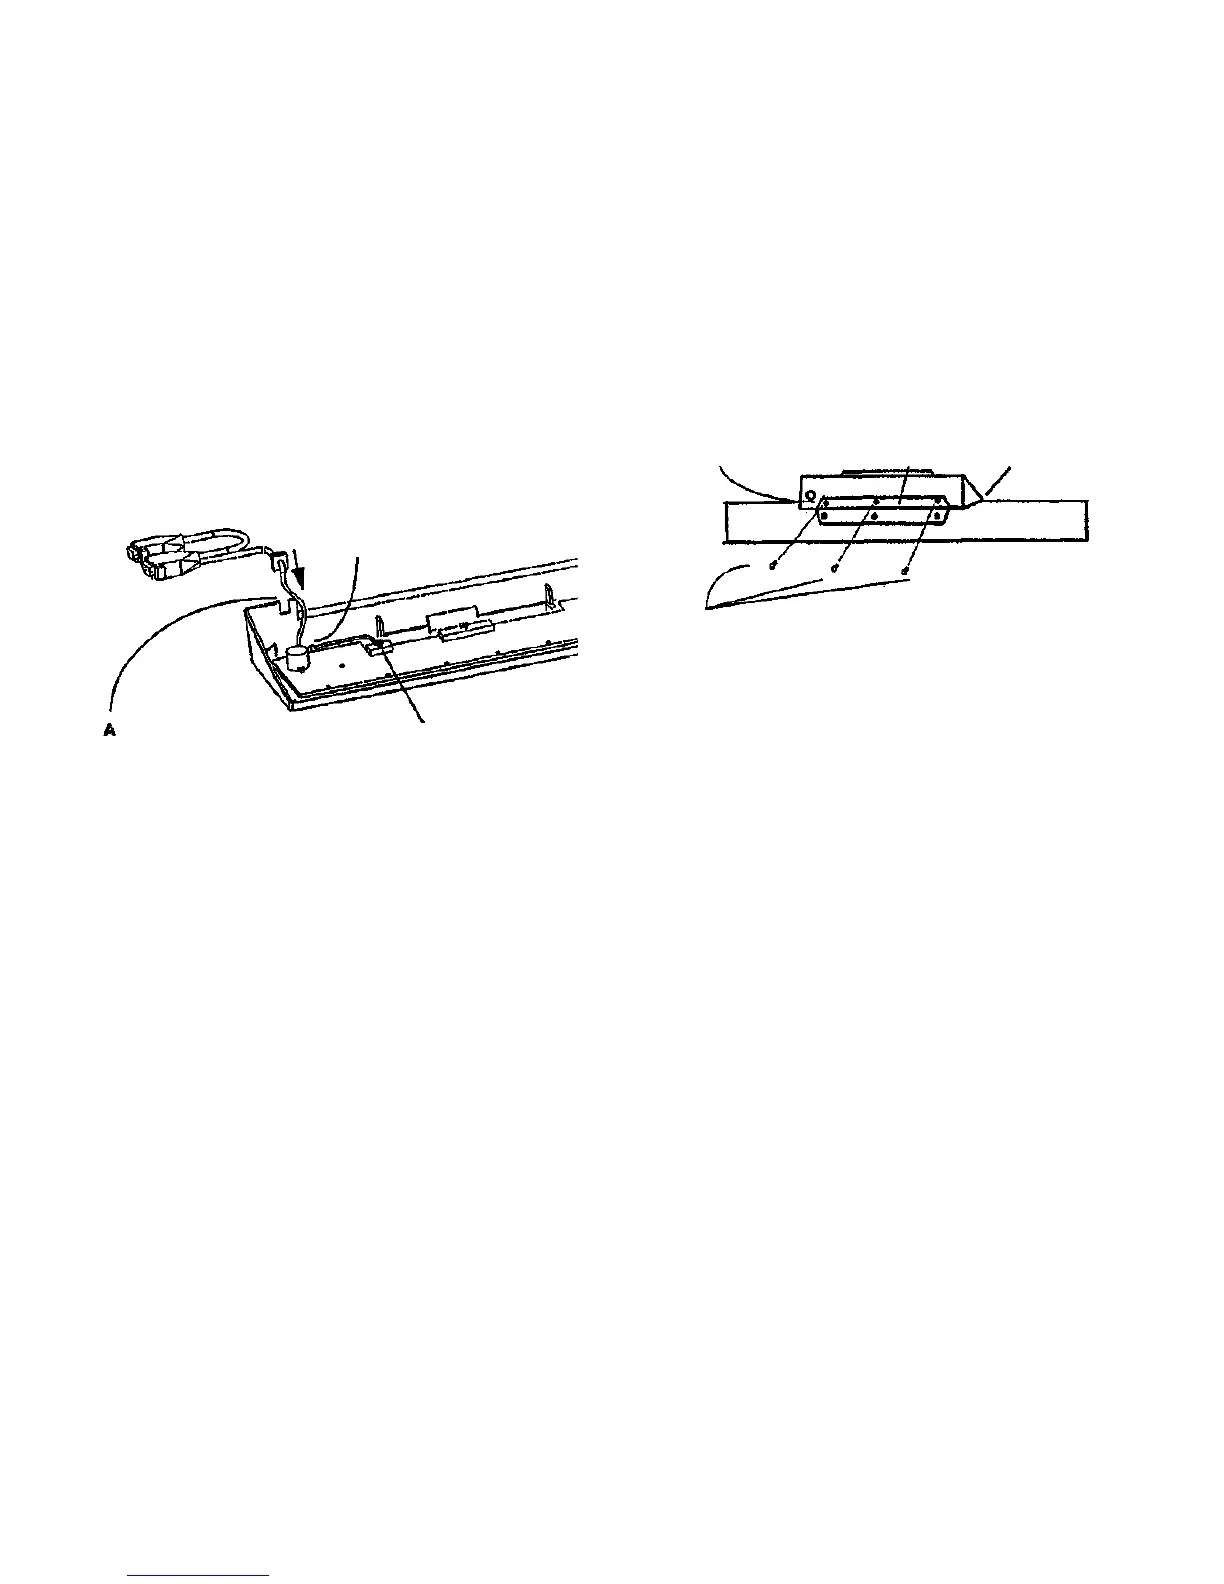
2. (Figure 3); Install the Control Panel Cable.
B
Fasten cable wires to
location shown with
cable tie.
Slide the Control Panel
Cable on to the grooved
mount on the rear of Con-
trol Panel housing
C
Reconnect J1
contpnl5.bmp
Figure 3 Replacement of the Control Panel cable
3. (Figure 4): Replace the Control Panel upon the 7356 scanner.
B
Align screw holes on
Control Panel with holes
on mounting plate
Line up plastic mount slots
on the underside of the
Mounting Plate Control Panel with the
. mount tabs on the mounting
plate
Mounting plate
Replace mounting screws
{3).
wart1.tif
Figure 4 Replacement of the Control Panel upon the 7356 scanner
4. Return the scanner to normal operation.
8830 DDS
3/98
4-7
repairs/adjustments
REP 4.1.5
c
A

 Loading...


