Download Coda
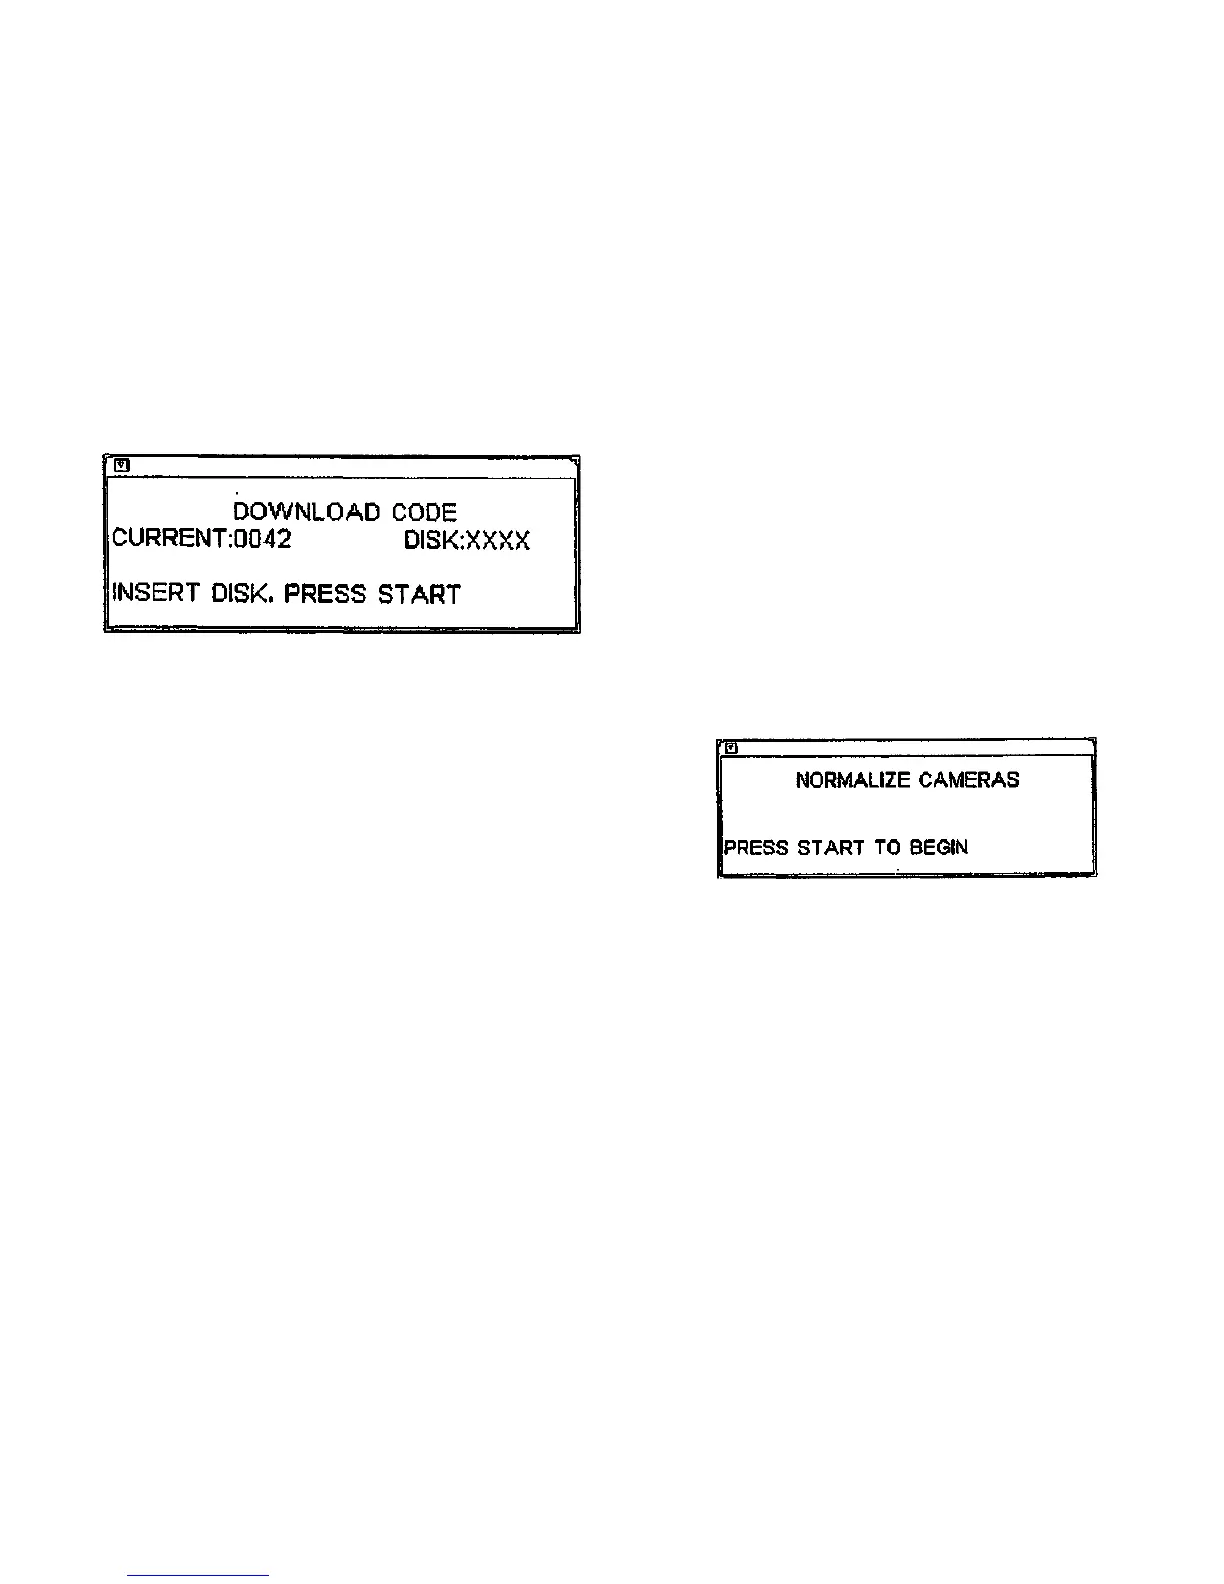
(Figure 9): Selecting Download Code displays the Download Code screen. This is used to
download software updates into the 7356 Scanner. It is NOT to be used for updating software
for the 8830 Controller.
OtQOOHA-WHa
Figure 9. Download Code Screen
CAUTION
Ensure that power is maintained for all elements of the 8830 DDS system during the upgrade
process, and that the process is allowed to terminate normally. Any Interruption of the upgrade
process results in the unrecoverable corruption of the firmware memory in the Scanner, requir-
ing replacement of the Control PWB.
1. The number to the right of Current displays the version of software presently installed in
the Scanner. Insert the upgraded version of software in the floppy disk drive on the 8830
Controller.
2. Press the START button to Install the new version. Once the upgrade process has
started, it must be allowed to complete.
NOTE: Several blocks of code are downloaded and verified. The screen shows each
block that is downloaded. When the process is complete, the Scanner reboots, and the
flashing message 'Warming Up* Is displayed. This message disappears when the reboot
process is complete. The version number displayed in the Current box Is now the same
as the version on the upgrade disk.
3. Press the EXIT or MENU button to return to the main Diagnostics Menu screen.
4. After downloading a new version of the scanner firmware, check the following adjust-
ments from Section 4 of this Service Manual:
a. Registration (ADJ 4.4.9)
b. Front to Back Stitch Alignment (ADJ 4.4.6)
c. Left to Right Stitch Alignment (ADJ 4.4.7)
Normalize Cameras
(Figure 10): Selecting Normalize Cameras displays the Normalize Cameras screen. This
test is used to cause the 7356 Scanner to correct the response of the elements in its 3 cam-
eras to a target of standard reflectance. The target used Is the white document hold down
Guide on top of the Platen Glass.
The 7356 Scanner automatically performs this operation when It is first switched on, but the
Normalize Cameras selection may be used at any time to verify that the cameras are
responding properly.
To normalize the cameras, perform the following:
1. Remove any document from the 7356 Scanner.
2. Ensure that the Platen Glass and the surface of the Document Hold Down Guide are
completely clean. If they are dirty, clean both surfaces with Xerox Lens and Mirror
Cleaner 43P81. Be sure to reinstall the Document Hold Down Guide before proceeding to
the next step.
3. Select the Normalize Cameras option from the 7356 Scanner Diagnostics Menu. The
Normalize Cameras screen Is displayed.
Figure 10. Normalize Cameras Screen
4. Follow the Instructions on the screen. During normalization, the screen will display RUN-
NING... and the 8830 DDS Control Panel will not respond to any keys. The Scanner will
not accept any documents.
6. Wait until the screen displays PASSED. Normalization may require up to three minutes to
complete.
6. Press the EXIT key to leave the Normalize Cameras screen.
General Procedures
Diagnostics
3/98
6-8
8830 DDS

 Loading...


