February 2013
6-294
ColorQube® 9303 Family
dC972
General Procedures/Information
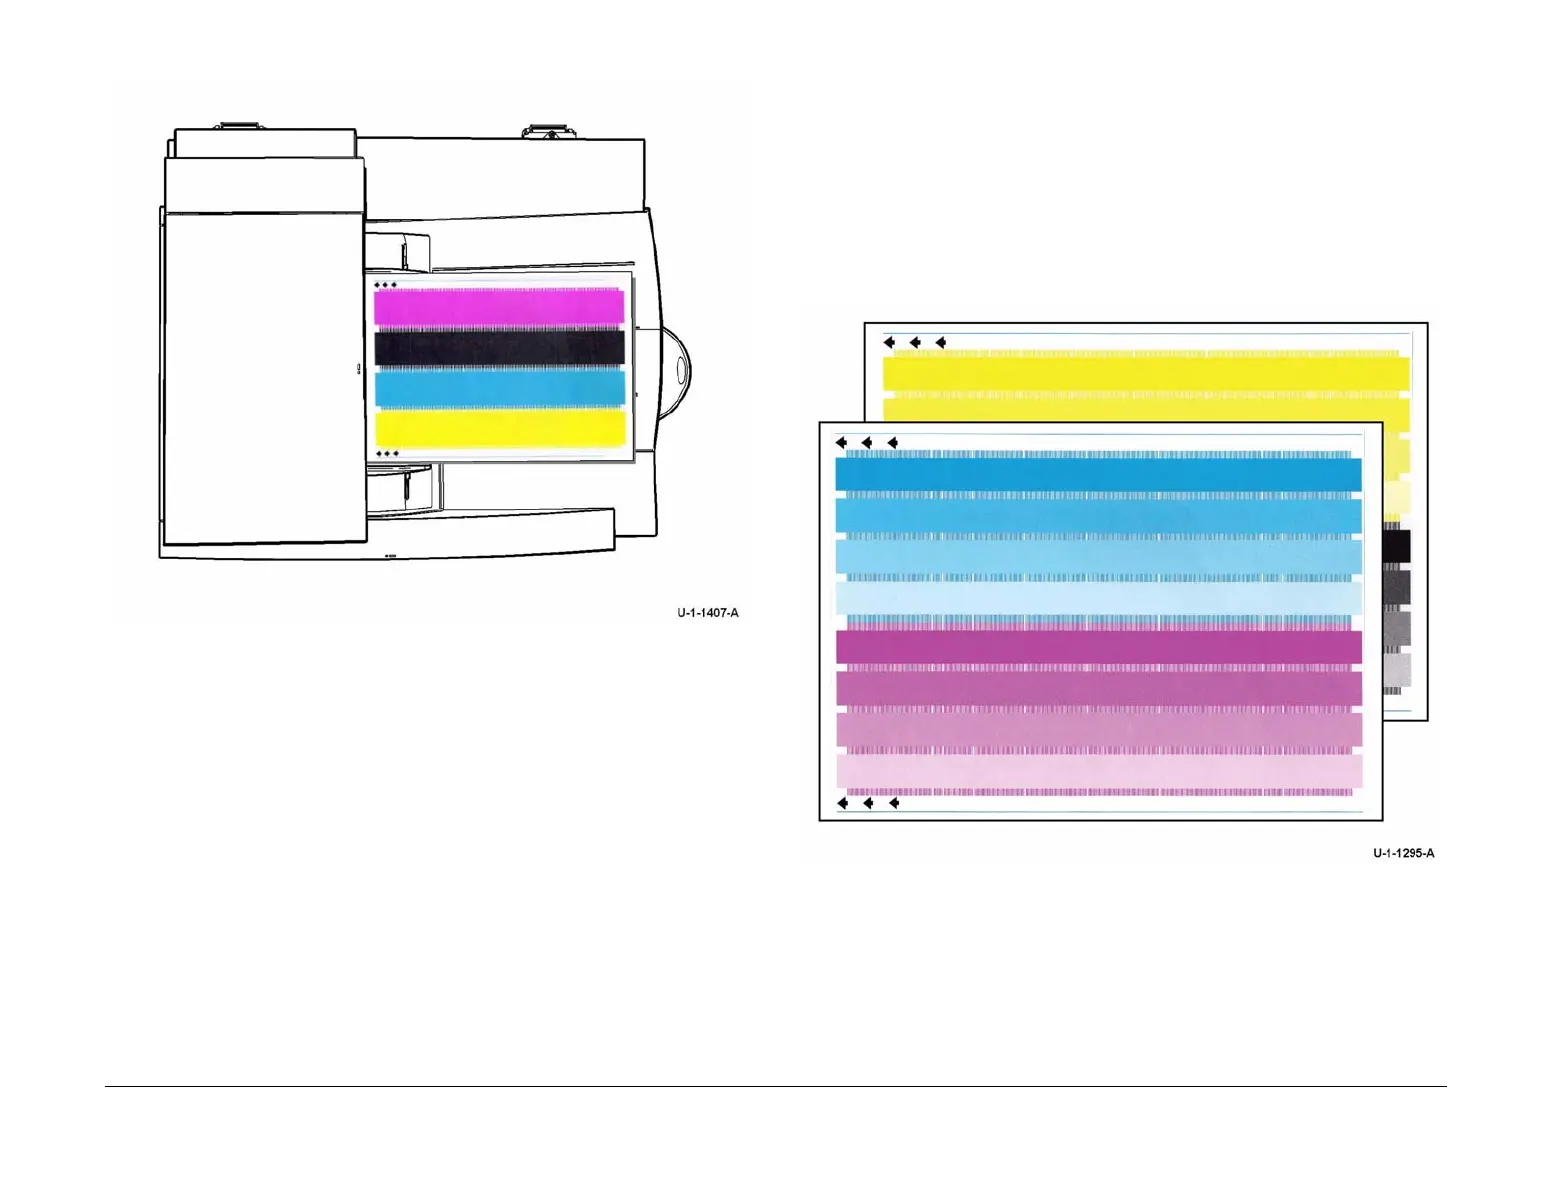
Figure 2 Test prints orientation
Option 4 - TRC Generation
The routine balances the color intensity in dithers across all 4 printheads. The routine provides
the following options:
• Print Test button - Select to print Test Pattern 18. Refer to TP 18 TRC Generation Test
Pages.
NOTE: Before printing TP 18, ensure that A4 or 8.5 x 11 inch plain paper is loaded LEF
into tray 4. Use the best quality media available. Do not use hole punched paper.
NOTE: TP 18 can be printed to check image quality before or after running the routine.
TP 18 is not scanned when the routine is run.
• Start - Select to run the routine.
Before starting the routine:
1. Ensure enough of the correct media is loaded, refer to Media Requirements.
2. To prevent registration errors, ensure nothing is placed on the DADH top cover.
3. Check that at least 1 full ink stick of each colour is loaded. If necessary, load additional ink
sticks.
4. To prevent document skew, ensure the DADH document width guides are correctly
adjusted.
5. Check that the CVT glass is clean. If necessary, clean the CVT glass, perform ADJ 62.1
Optics Cleaning Procedure.
During the routine:
1. The machine performs automatic checks. If necessary, an error window will open request-
ing a dC968 Head Purge, a dC971 Head to Head Alignment Adjustment or a dC977 Drum
Runout Calibration. After performing the requested routines, re-enter dC972, option 4.
2. The machine will print 3 sets of cleaning pages. A dC971 Head to Head Alignment Adjust-
ment will then run.
3. Two internal test patterns are printed. The test patterns must be scanned using the
DADH. Scan the test patterns SEF in the order shown in Figure 3 and in the orientation
shown in Figure 4 with the arrows pointing in the direction of feed.
Figure 3 Test prints order

 Loading...


