February 2013
6-295
ColorQube® 9303 Family
dC972
General Procedures/Information
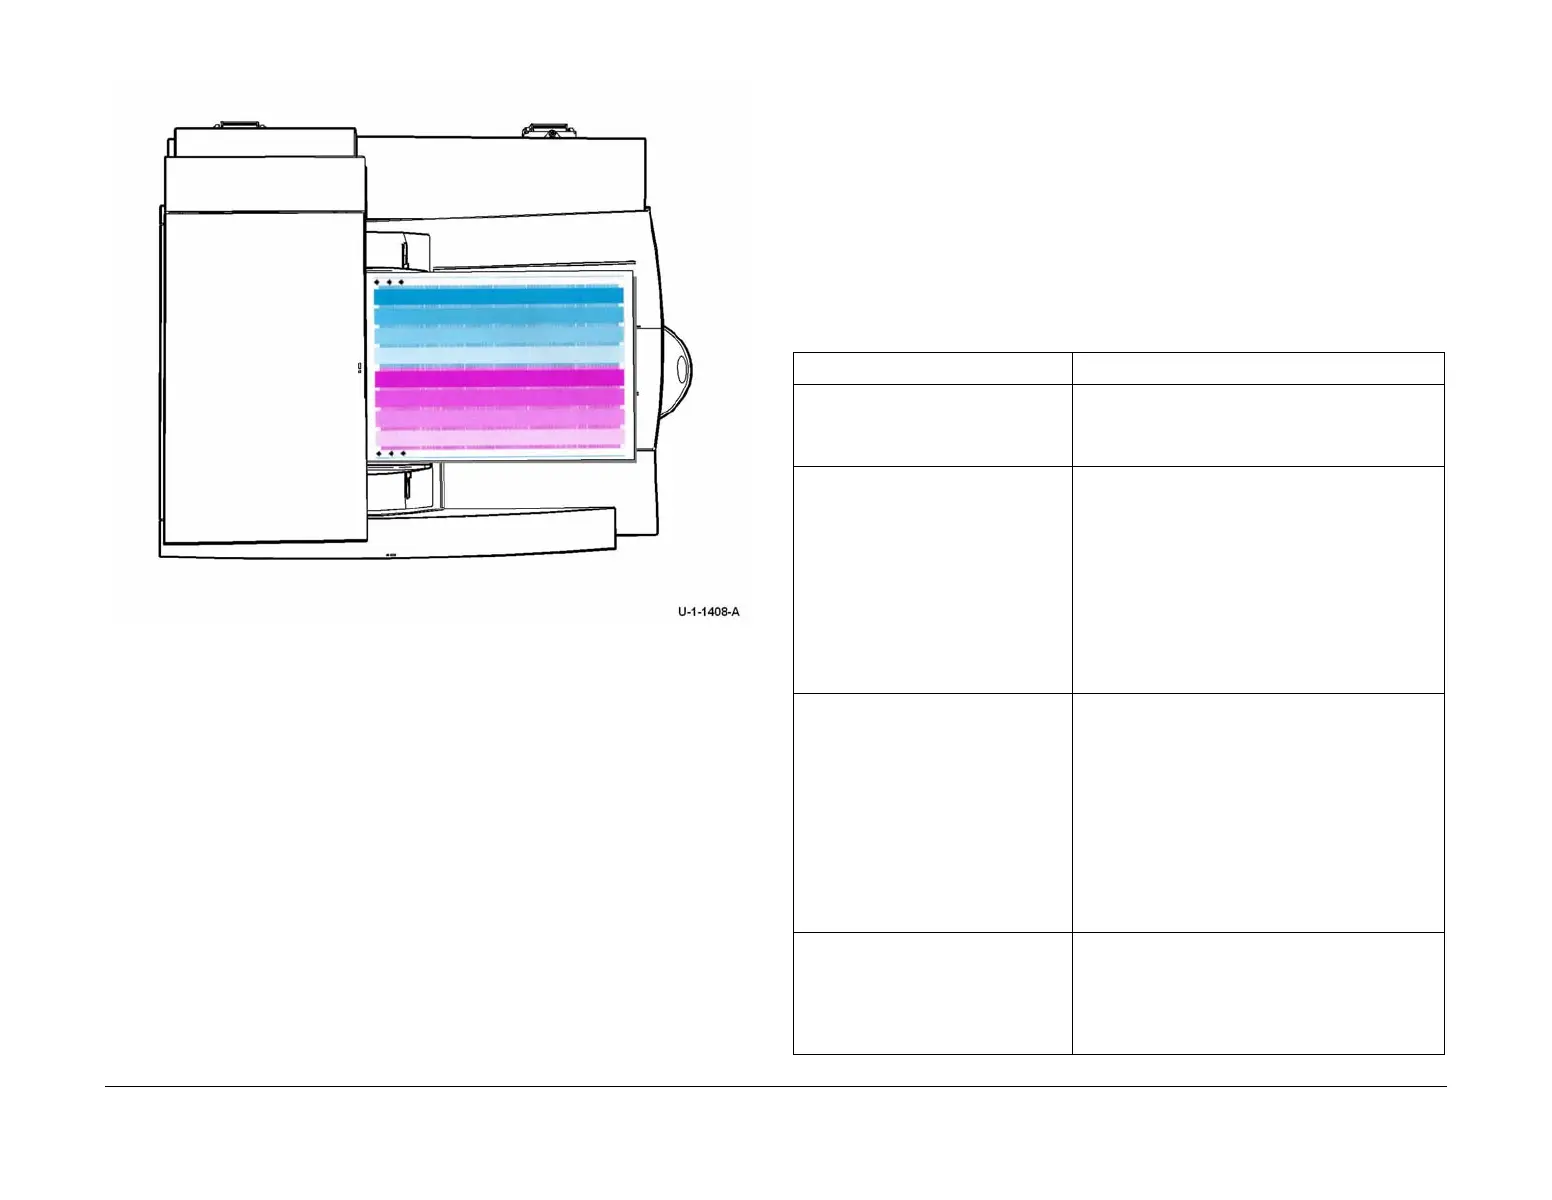
Figure 4 Test prints orientation
Option 5 - Y Dot Position Correction
The routine ensures that all ink drops are deposited on the drum in the correct location in the
process direction. The routine provides the following options
• Select Heads 1, 2, 3 or 4 - Select all printheads unless specifically directed otherwise.
• Print test - Select to print test pattern 19. Refer to TP 19 Y-Dot Position Correction Test
Page.
NOTE: Before printing TP 19, ensure that A4 or 8.5 x 11 inch plain paper is loaded LEF
into tray 4. Use the best quality media available. Do not use hole punched paper.
NOTE: TP 19 can be printed to check image quality before or after running the routine.
TP 19 is not scanned when the routine is run.
• Start - Select to run the routine.
Before starting the routine:
1. The machine will perform a head to head alignment.
During the routine:
1. The test image is printed and scanned on the drum, then cleaned off. No pages are
printed.
Option 6 - Reset Head Uniformity Data
CAUTION
The routine deletes the current adjustments (non-recoverable) and restores the manufacturing
settings. Only perform this routine if specifically instructed.
The routine provides the following options:
• Printheads 1, 2, 3 or 4 - Select the required printheads.
• Start - Select to run the routine.
After completion of the routine:
1. Perform Printhead Uniformity - Manual (option 1) to re-calibrate the printheads.
Fault Recovery
If the adjustment routine fails or an error is displayed, perform the relevant action in Table 2.
Table 2 Fault recovery
Fault Action
A Service Code may indicate faults
with dC972 adjustments.
Go to OF 12 Service Code RAP. Perform the rele-
vant procedures. Correct the service fault, then re-
enter the adjustment procedure at the step that was
interrupted.
A generic fault window, Figure 5. The text in the fault window has suggestions for
identifying and correcting common faults. It is not a
checklist of everything that must be corrected. Spe
-
cific faults can be:
• A calibration related device fault. Refer to Cali-
bration Related Device Faults.
• Colour mixing. Go to the IQ 14 Some Colours
Uneven RAP.
Perform each corrective action, then re-enter the
adjustment procedure at the step that was inter
-
rupted.
A fault window with one of these error
messages:
• Ink needs to be added.
• Load 8.5 x 11 or A4 LEF paper
into a paper tray.
• Head purge needs to be per-
formed.
• Head to head alignment adjust
needs to be performed.
• Drum run out needs to be per-
formed.
Perform the corrective actions, then retry the adjust-
ment procedure.
A fault window with this warning mes-
sage: Step 1 Unable to Scan Test
Prints - Iteration <#>.
Correctly load the test prints, refer to Figure 1, Figure
2, Figure 3 and Figure 4. Follow the instructions on
the UI.
If the test prints were loaded correctly, check for a
calibration related device fault. Refer to Calibration
Related Device Faults.

 Loading...


