5-98
E
POWR
CONNECTING RODS AND PISTONS
NOTE:
• Do not move the connecting rod or crank-
shaft until the clearance measurement
has been completed.
• Lubricate the bolts threads and nut seats
with molybdenum disulfide grease.
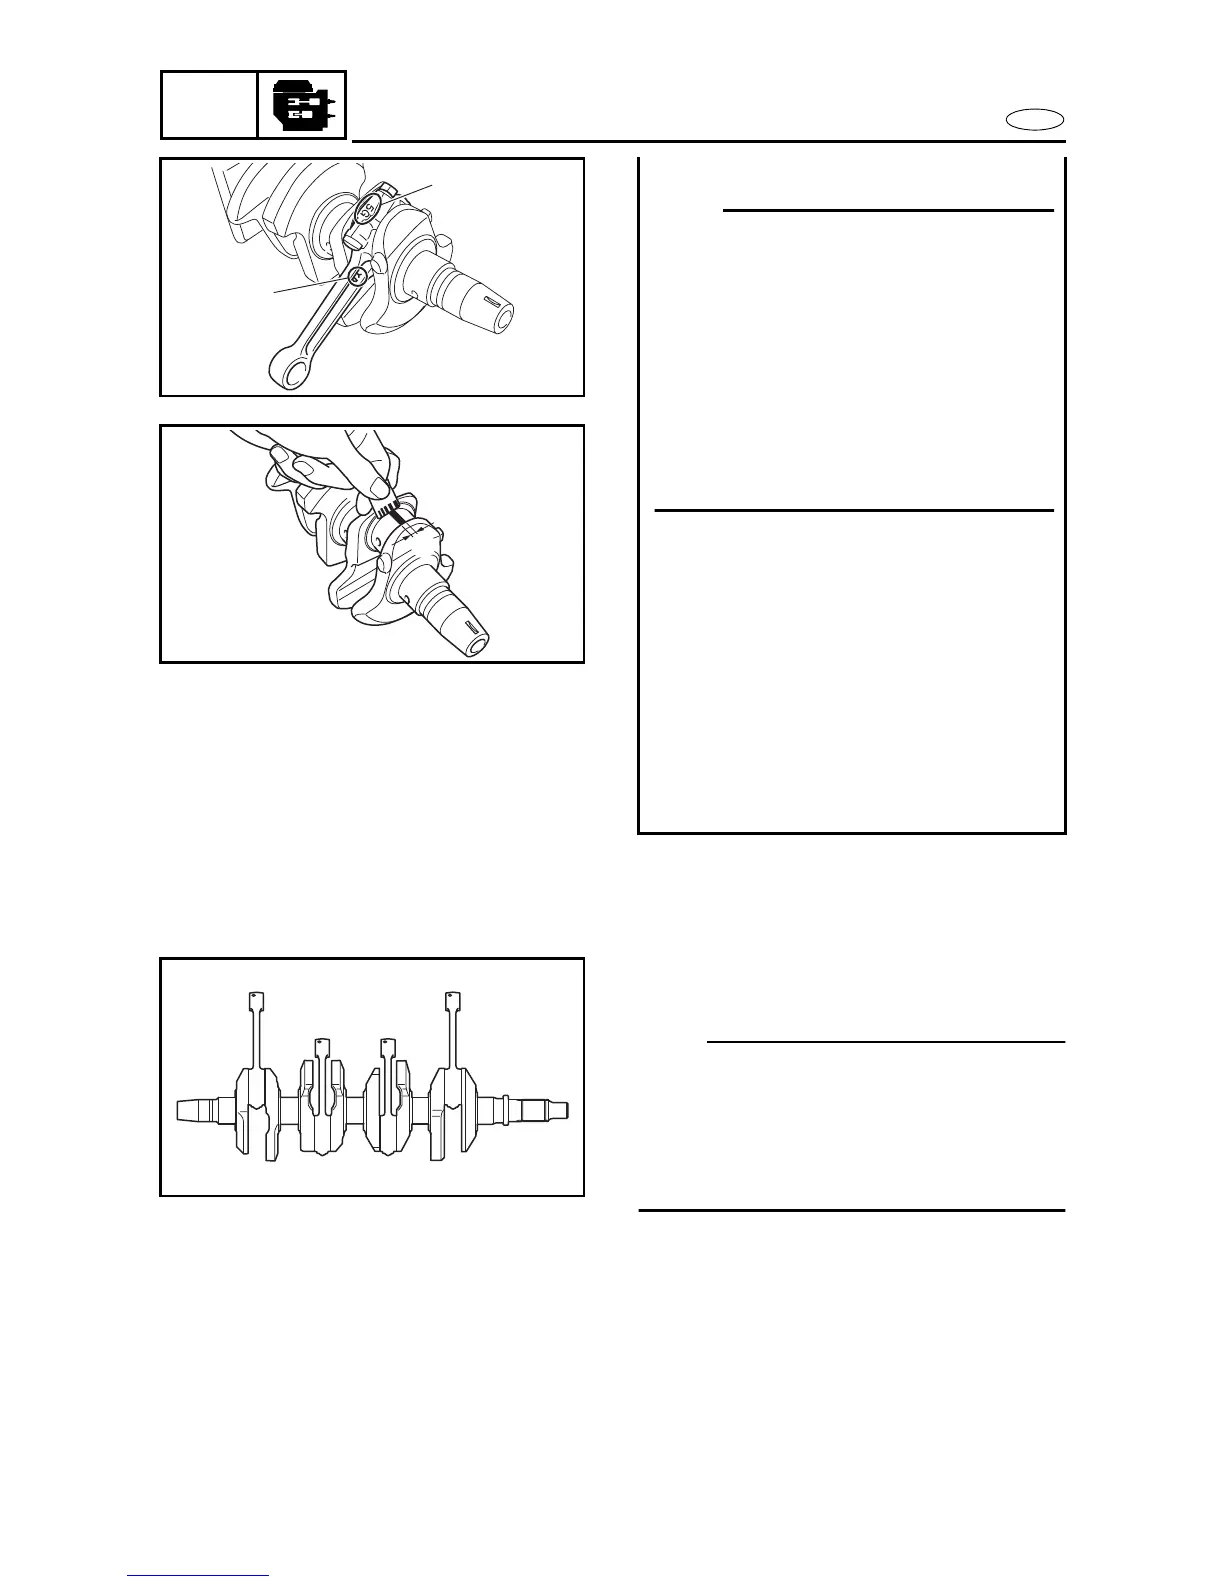
• Make sure the “Y” mark
c
on the con-
necting rod faces towards the front side of
the crankshaft.
• Make sure the characters
d
on both the
connecting rod and connecting rod cap
are aligned.
• Tighten the connecting rod nuts.
Refer to “Connecting rod and piston
installation”.
• Remove the connecting rod and big end
bearings.
Refer to “Connecting rod and piston
removal”.
• Measure the compressed Plastigauge
width
e
on the crankshaft pin.
If the crankshaft-pin-to-big-end-bearing
clearance is out of specification, select
replacement big end bearings.
c
d
e
2. Select:
• Big end bearings (P
1
–P
4
)
NOTE:
• The numbers stamped into the crankshaft
web and the numbers on the connecting rods
are used to determine the replacement big
end bearing sizes.
•“P
1”
–”P
4
” refer to the bearings shown in the
crankshaft illustration.
P4
P3
P2
P1



 To Next Page