1100 Series Nano Pump Service Manual 15
Installing the Pump 1
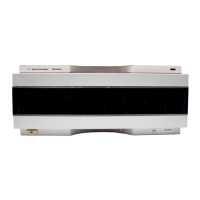
Install the Degasser (G1379A)
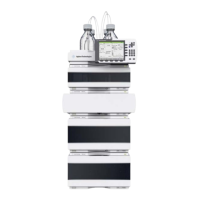
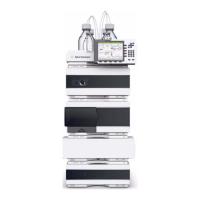
1 Place the degasser on top of the pump. Make sure that the two modules are
interlocked correctly.
2 Connect one end of the remote cable (5061-3378) to the rear of the
degasser. Connect the other end of the cable to the remote port at the rear
of the pump.
3 The degasser accessory kit has a set of 4 solvent tubes (G1322-67300). Each
tube is labeled A, B, C or D. Connect each solvent tube to its intended
OUTLET channel port on the degasser. Connect the other end of the solvent
tube to its intended port at the pump solvent selection valve. Follow the
guide below:
Install the Solvent Cabinet
1 The solvent cabinet accessory kit has 4 bottle head assemblies
(G1311-60003).
2 Connect a bottle head assembly to each of the degasser INLET ports. Use
the labels provided with each bottle head assembly to appropriately label
each bottle head assembly.
3 Purge your system before first use (see “Get the System Ready for the First
Injection” on page 17).
Ensure the line power switch at the front of the degasser is off.
Degasser
OUTLET
Pump Solvent Selection
Valve Port
Ato
A1 (left half, upper)
B to A2 (left half, lower)
C to B1 (right half, upper)
D to B2 (right half, lower)
 Loading...


