118 Usage instructions
When Bank Switch is activated all parameters have to be set in the software.
This also includes the gains that usually are set with the 3 dials on the device as well
as the tail gyro gain. There is one exception: the AttitudeControl gain can be
still controlled by a separate switch channel. Only when no additional channel was
assigned in RECEIVER MENU, you have to set the AttitudeGain for each Bank in the
software and the selected AttitudeMode will be activated depending on the amount of gain.
The dials do not have any functionality anymore, the gyro gain channel now is used to
switch between the banks. When the gyro channel is in center position Bank 2 is active,
when the gyro channel is moved to positive direction Bank 1 is active, and when its moved
to negative direction Bank 3 is active.
Menu-LED
(Bank)
A H (Bank 1) D K (Bank 2) G N (Bank 3)
Rudder channel > +35% -35% to +35% < -35%
Please note that the values may vary slightly, actually there is a little range around center
position so you do not have to set the gyro channel to exactly 0% to activate bank 2. Also
the signs may be interchanged depending on the type of radio system used. Anyhow, you
can see in the Software/App which Bank is active at the moment as well as you can read
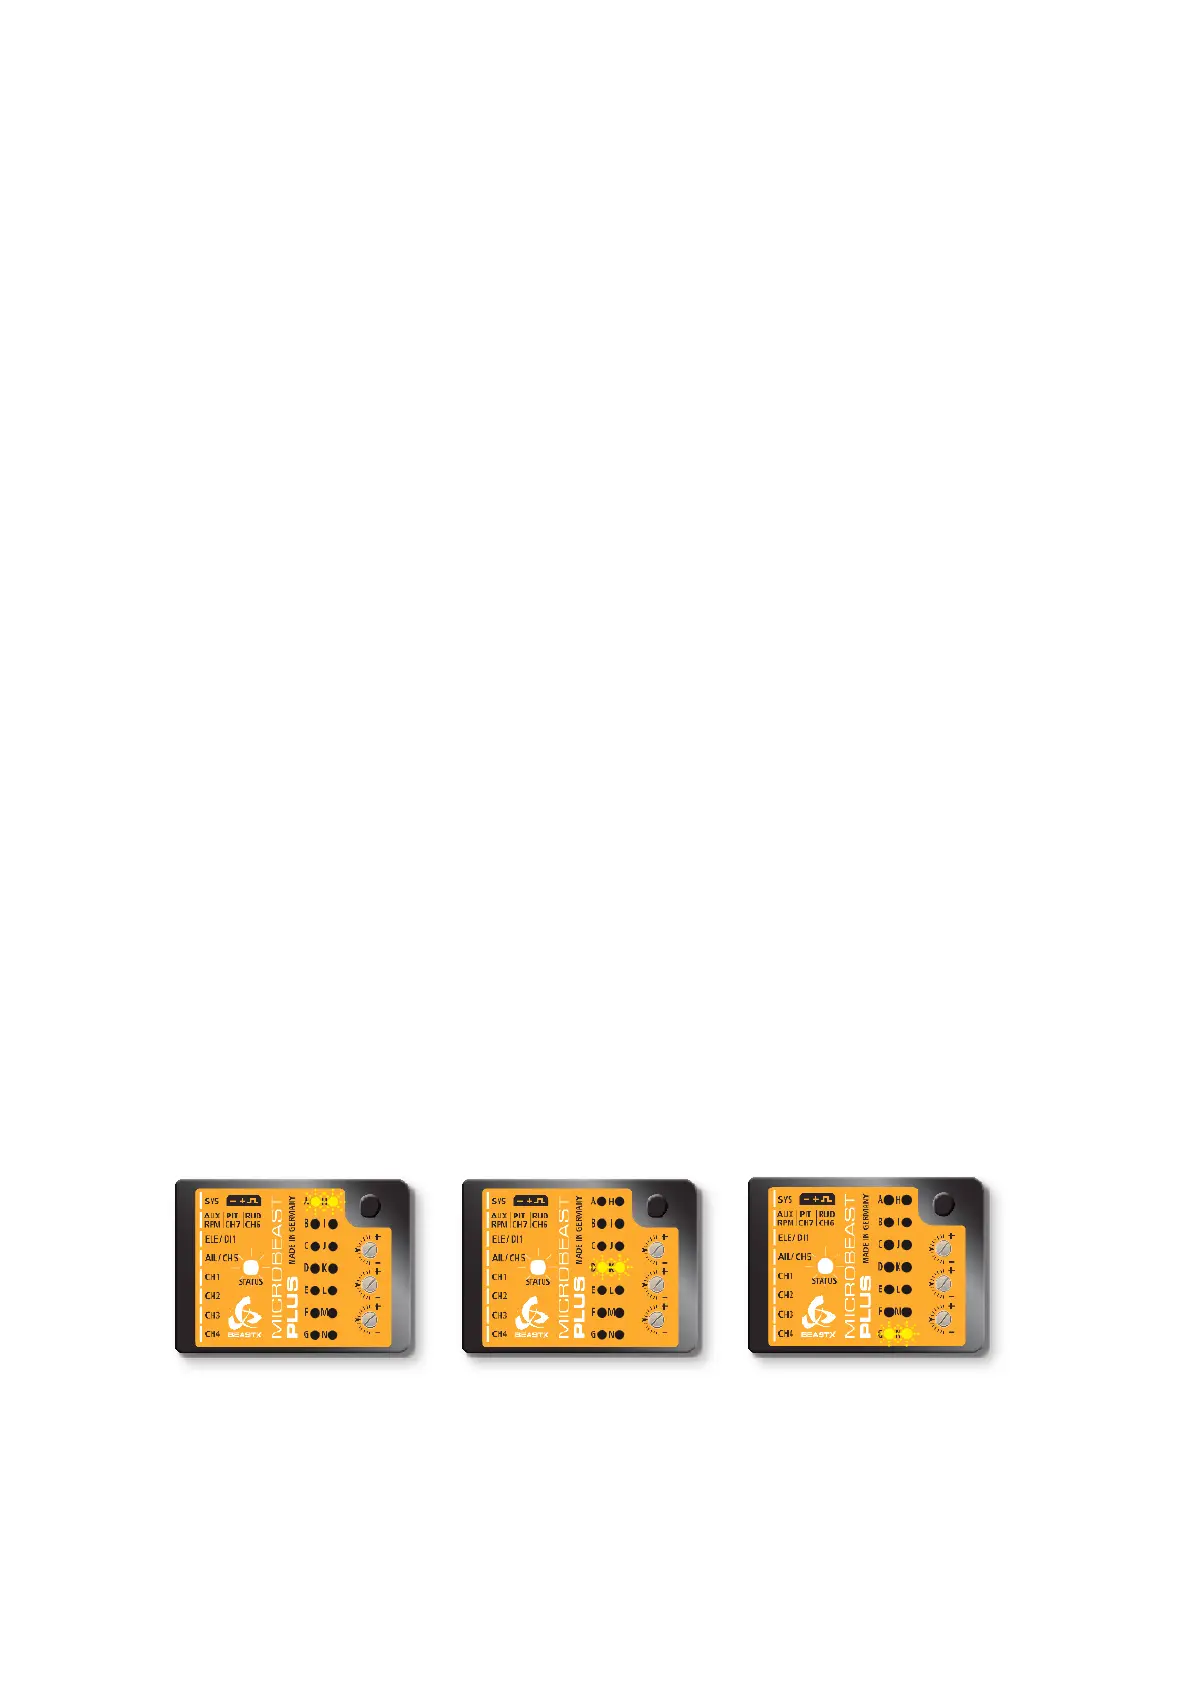
the current bank from the display. Each time you change the Bank the Menu LEDs will
light up for 4 seconds and will indicate like a little bar which Bank is selected: bar on top
is Bank 1, bar in the middle is Bank 2, bar at the bottom is Bank 3.
Figure 147 Figure 148
Figure 149
Bank 1 is indicated by LEDs AH Bank 2 is indicated by LEDs DK Bank 3 is indicated by LEDs GN
283