Creative Embroidering
156
Undoing Entries
All entries can be undone step by step and restored as well.
• An embroidery design is selected and alterations have been made.
> To undo the last entry, tap «Undo Entries».
> To undo the last entries in sequence, tap «Undo Entries» several times.
> To restore the last entry, tap «Redo Entries».
> To restore the last entries in sequence, tap «Redo Entries» several times.
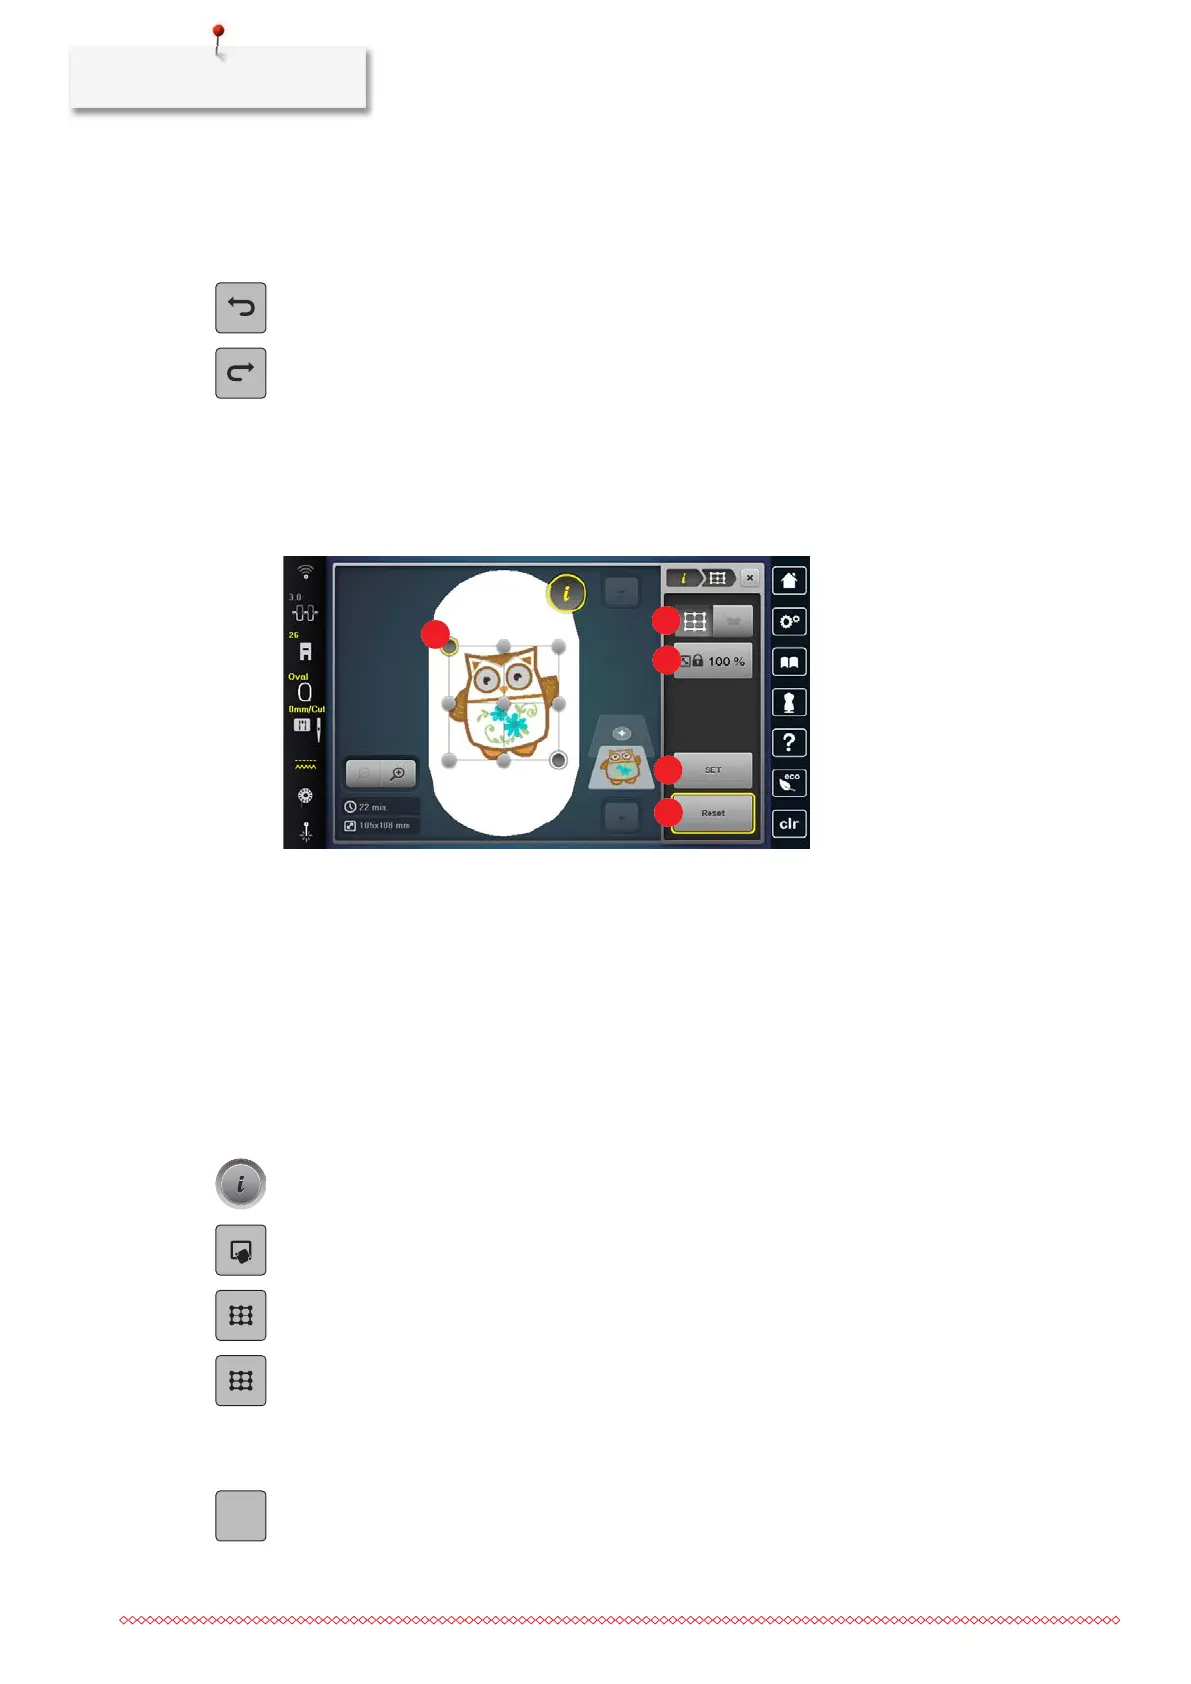
15.6 Pinpoint Placement
Positioning the Embroidery Design with the help of 2 Grid Points
This function allows embroidery designs to be positioned exactly on the fabric with the help of 2 grid points.
1 Grid Point 4 «Set»
2 «Grid Point Positioning» 5 «Resetting»
3 «Maintain the Embroidery Design Size»
• Any two points of the embroidery design are marked on the fabric with chalk or a water-soluble pen. The
place or the location where the embroidery design is to be positioned is clearly visible.
• The mounted embroidery hoop is selected.
> Select the embroidery design.
> Adjust the size of the embroidery design to fit into the hoop, as well as the position and the alignment.
> Tap «i-Dialog».
> Tap «Pinpoint Placement».
> Tap «2-point Placement».
> Tap «Grid Point Positioning».
– The embroidery design is given a grid with grid points.
> Select the first grid point (point of rotation) and position the needle over the corresponding marking on
the fabric using the multi-function knobs. For the precise positioning of the needle, the laser can be
switched on.
> To confirm the position, tap «Set».
– The point changes color and is set.
> Select the second grid point and position the needle over the corresponding marking on the fabric.
 Loading...