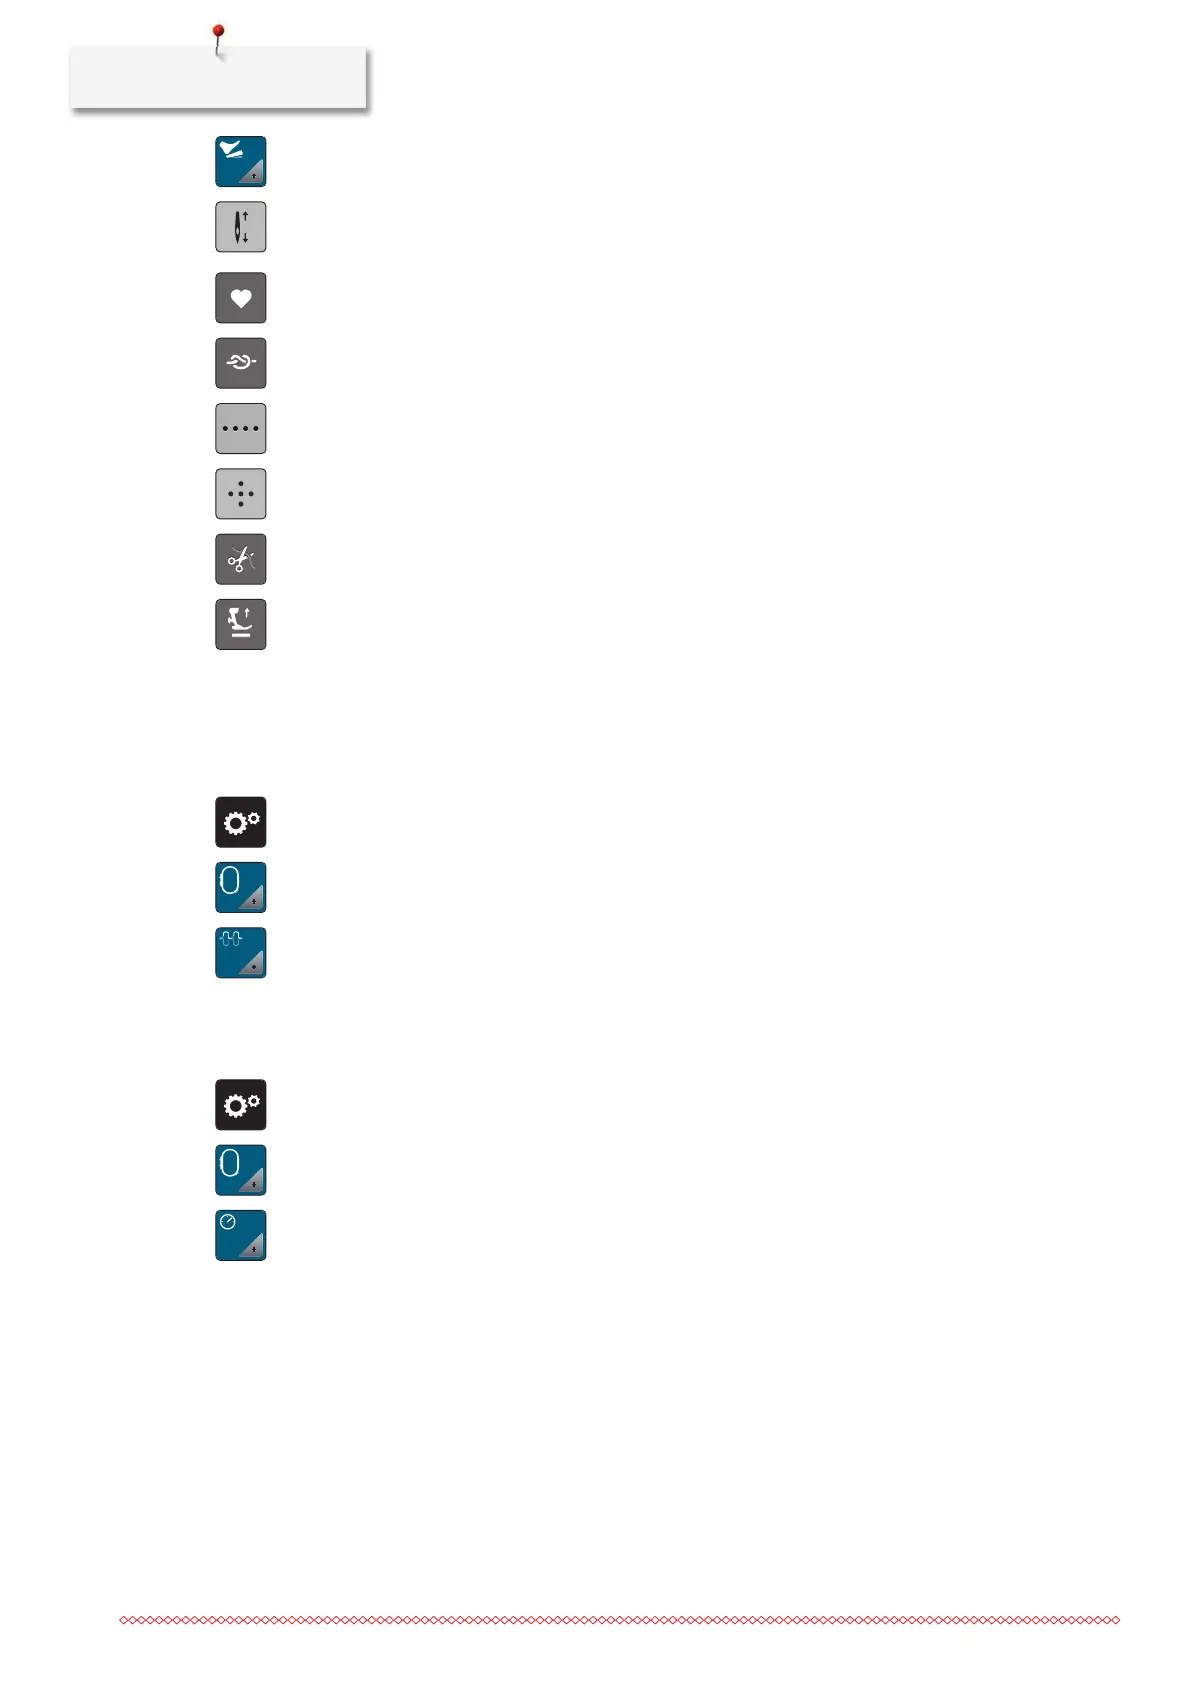
Setup Program
54
> Tap «Programming the Foot Control».
– «Needle Up/Down» is activated in the default setting.
– The back-kick on the foot control raises or lowers the needle.
> To program the Back-kick, tap «Programming the Back-kick».
> To deactivate the automatic securing via the Back-kick, tap «Securing Stitches».
> To activate the automatic securing via the Back-kick, tap «Securing Stitches» again.
> To program subsequent securing stitches, tap «Securing Stitches in Close Succession».
> To program the number of securing stitches, tap «Minus» or «Plus».
> To program 4 securing stitches in place, tap «Securing Stitches in Place».
> To deactivate the automatic thread cut via the Back-kick, tap «Automatic Thread Cutter».
> To activate the automatic thread cut via the Back-kick, tap «Automatic Thread Cutter» again.
> To keep the lowered position of the presser foot via the Back-kick, tap «Raise the Presser Foot».
> To keep the raised position of the presser foot via the Back-kick, tap «Raise the Presser Foot» again.
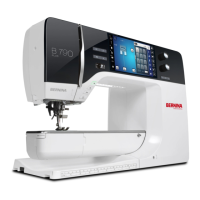
3.2 Embroidery Settings
Adjusting the Upper Thread Tension
Changes to the upper thread tension in the Setup Program affect all of the embroidery designs.
> Tap «Setup Program».
> Tap «Embroidery Settings».
> Tap «Adjusting the Upper Thread Tension».
> Adjust the upper thread tension.
Adjusting the Maximum Embroidering Speed
The maximum speed can be reduced by this function.
> Tap «Setup Program».
> Tap «Embroidery Settings».
> Tap «Maximum Embroidery Speed».
> Set the maximum sewing speed.
Adjusting the Thread Cut
The settings for the thread cut can be customized. Deactivate the thread cut before changing the thread (2),
or adjust the length of the connecting stitch (1). The machine does the cutting of the connecting threads at
the determined length for you. First, set the length from which the connecting stitches are cut, and then
select the embroidery design.