Sewing Preparation
41
Selecting the Presser Foot in the User Interface
After changing the presser foot, a check can be performed to determine whether it is suitable for the
selected stitch pattern. Additionally, alternative presser feet are displayed, which are available for the selected
stitch pattern.
> Switch the machine on.
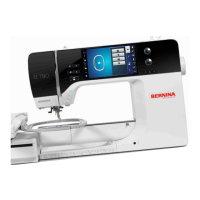
> Select the stitch pattern.
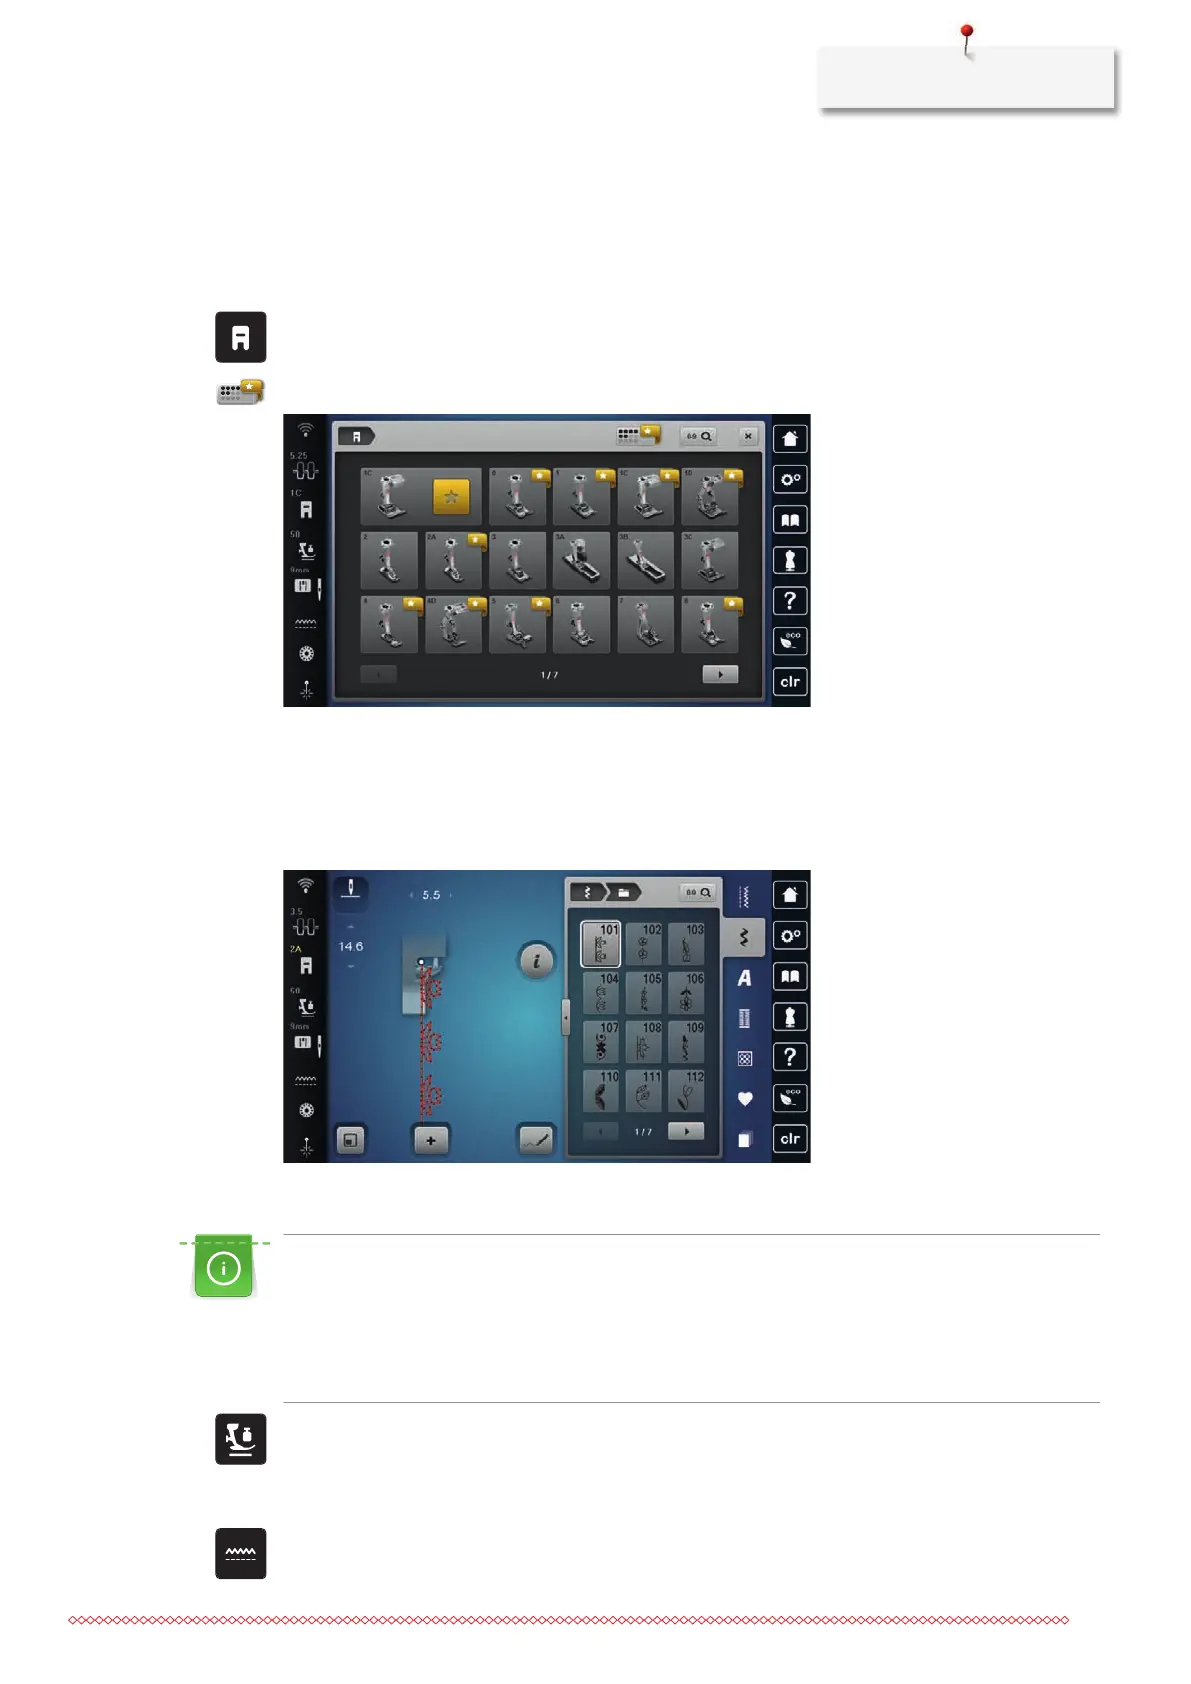
> Tap «Presser Foot Indicator/Presser Foot Selection».
> To display all suitable presser feet for the selected stitch pattern, tap «Optional Presser Feet».
> Select the attached presser foot.
– When the selected presser foot is suitable, sewing can start.
– If the selected presser foot is not suitable for the selected stitch pattern, it can still be selected but the
machine is automatically prevented from starting. An error message is displayed. If an incorrect
presser foot is selected, the sewing stitch is displayed in red in the sewing stitch preview.
Setting the Presser Foot Pressure
The presser foot pressure is designed to adjust the pressure of the presser foot optimally to the fabric
thickness. When working with thick fabrics, it is recommended to reduce the presser foot pressure. This
provides the advantage that the fabric can be moved more easily. When the presser foot pressure is set
below 0, the presser foot even lifts to give more space to the thick fabric. When working with thin
fabrics, it is recommended to increase the presser foot pressure. This provides the advantage that the
fabric cannot be moved too easily under the presser foot.
> Tap «Presser Foot Pressure».
> Adjust the presser foot pressure.
2.9 Adjusting the Feed Dog
> Tap «Feed Dog Indicator».
> Raise or lower the feed dog according to the animation.