SECTION 2 - MECHANICAL SERVICE
page 2-27
CAUTION!
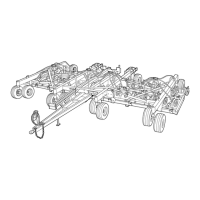
HUB / SPINDLES / WHEELS
To prevent personal injury when servicing the
implement, always block up the raised section.
Be sure the section is stable before assembly and
never rely on a jack or hydraulic device to support
the raised implement.
When removing casters or bogies or repairing wing
linkages the machine will need to be elevated to free up
certain sections for maintenance and repair. Before doing
any maintenance, the machine should be winged down and
lowered so that the openers are resting on the ground.
REPACKING WHEEL BEARINGS
NOTE: Before starting the disassembly procedure, be
sure to have a clean table or surface to place
all components.
1. Securely block wheel off the ground and remove the
wheel.
2. Remove dust cap, cotterpin and spindle nut.
3. Pull hub off spindle and remove washer and outer
bearing.
4. Remove seal and inner bearing.
5. Inspect seal and bearings for damage. Replace as
needed.
6. Re pack bearings if they are in good condition. Rotate
bearings in their races a few times and remove any
excess grease.
7. To prevent bearing damage, be sure that the housing
and spindle are free of dirt and metal particles.
8. Before installing the bearings in the housing, partially
fill the housing with grease. Do not completely fill the
housing with grease since this will cause churning of
the grease and will result in heat and eventual bearing
failure.
9. Place the inner bearing and seal back in the hub and
slide over spindle.
10. Insert outer bearing and washer. Tighten spindle nut
on spindle to set pre-load.
11. Generally the pre-load can be set by tightening the
spindle nut until a ‘grabbing’ or resistance to turning
is felt in the housing. Once this is achieved, back the
spindle nut off one notch and replace the cotterpin.
12. Place a small amount of clean grease in the dust cap
and replace it.