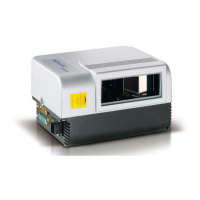
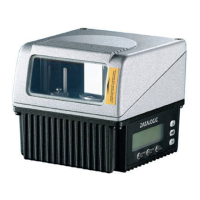
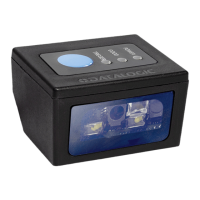
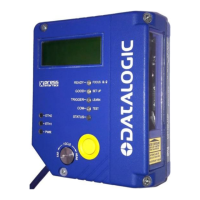
1. Connect your computer to the scanner’s ETH 2 (setup) port using either the CAB-ETH-
M0x M12-IP67 ETHERNET CABLE or CBL-1534-0.2 ADAPT.CABLE ETH M12-TO-
RJ45F. If the ETH 2 (setup) port is taken, ETH 1 (host) can be used.
2. Turn on your computer.
3. If you are connecting to a stand-alone unit (not connected to an in-house network), you
must configure your PC’s IP Address to be in the same network as the scanner’s (or if
used, controller’s) IP Address.
To change your PC’s IP Address:
a. From the desktop, click the Start button, and then select Control Panel.
b. Type adapter in the search box, and then from the results, under Network and
Sharing Center, click View network connections.
c. Right-click Local Area Connection, and then select Properties.
d. Select the Networking tab. Under This connection uses the following items,
click Internet Protocol Version 4 (TCP/IPv4), and then click Properties.
e. Select Use the following IP address.
f. In the IP address field, type the first 3 octets of the IP address of the reader/controller
unit.
g. For the last octet, type a number that differs from the last octet in the
reader/controller’s IP address. The actual number used is not important as long as it
does not match that of the reader/controller.
Example: If the barcode scanner’s IP Address is 192.168.3.100, set your PC’s IP
Address to 192.168.3.101.
h. In the Subnet mask field, type 255.255.255.0
i. Click Okay.
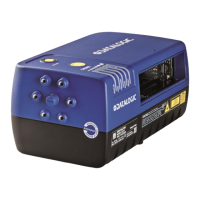
4. Open a web browser and enter the IP address for the DS8110/DX8210. If the correct IP
address is entered, the DS8110/DX8210 Log On window will appear.
The default setup IP address for all DS8110/DX8210 units is: 192.168.3.100
(setup/ETH2) and 172.27.101.220 (Host/ETH1).
 Loading...
