U60 Diagnostic Ultrasound System User Manual Installation Instructions
- 21 -
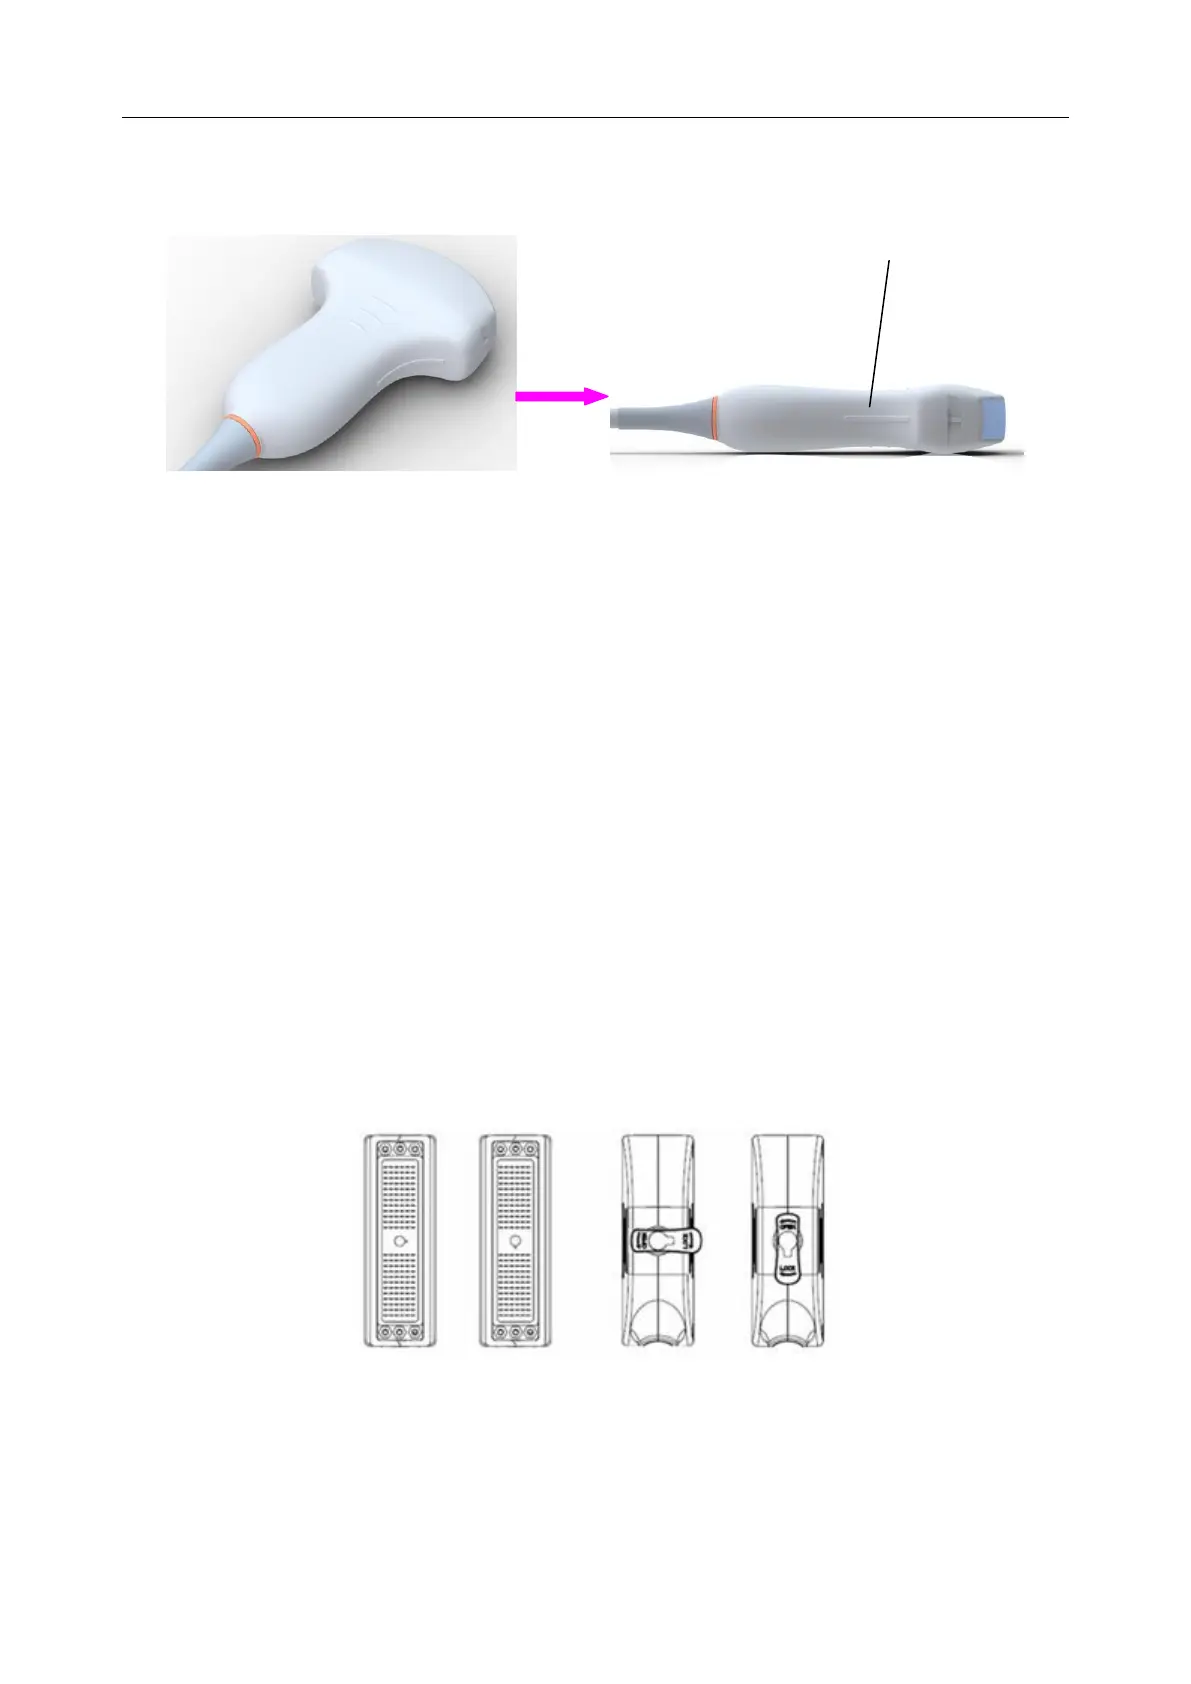
The scan direction mark located at the side of the probe indicates the beginning direction of
scanning. The scan direction mark is shown below.
Figure 4-5 Probe Scan Direction Mark Schematic Diagram
There is information about Model and SN on the probe connector.
To connect a probe:
1. Place the probe’s carrying case on a stable surface and open the case.
2. Carefully remove the probe and unwrap the probe cable.
3. Do not allow the probe head to hang free. Impact of the probe head could result in irreparable
damage.
4. Turn the connector locking handle counterclockwise to the horizontal position.
5. Align the connector with the probe port and carefully push it into place.
6. Turn the locking handle on the transducer connector clockwise to the vertical position. This
ensures the connector in position and ensures the best possible contact.
7. Place the probe in the probe holder.
To disconnect a probe:
1. Turn the locking handle on the connector housing counterclockwise to the horizontal
position.
2. Firmly grasp the probe connector and carefully remove it from the system port.
3. Store each probe in its protective carrying case.
Figure 4-6 Lock and Open Marks on Probe Connectors