EPSON Stylus Pro 9000
Adjustments 124
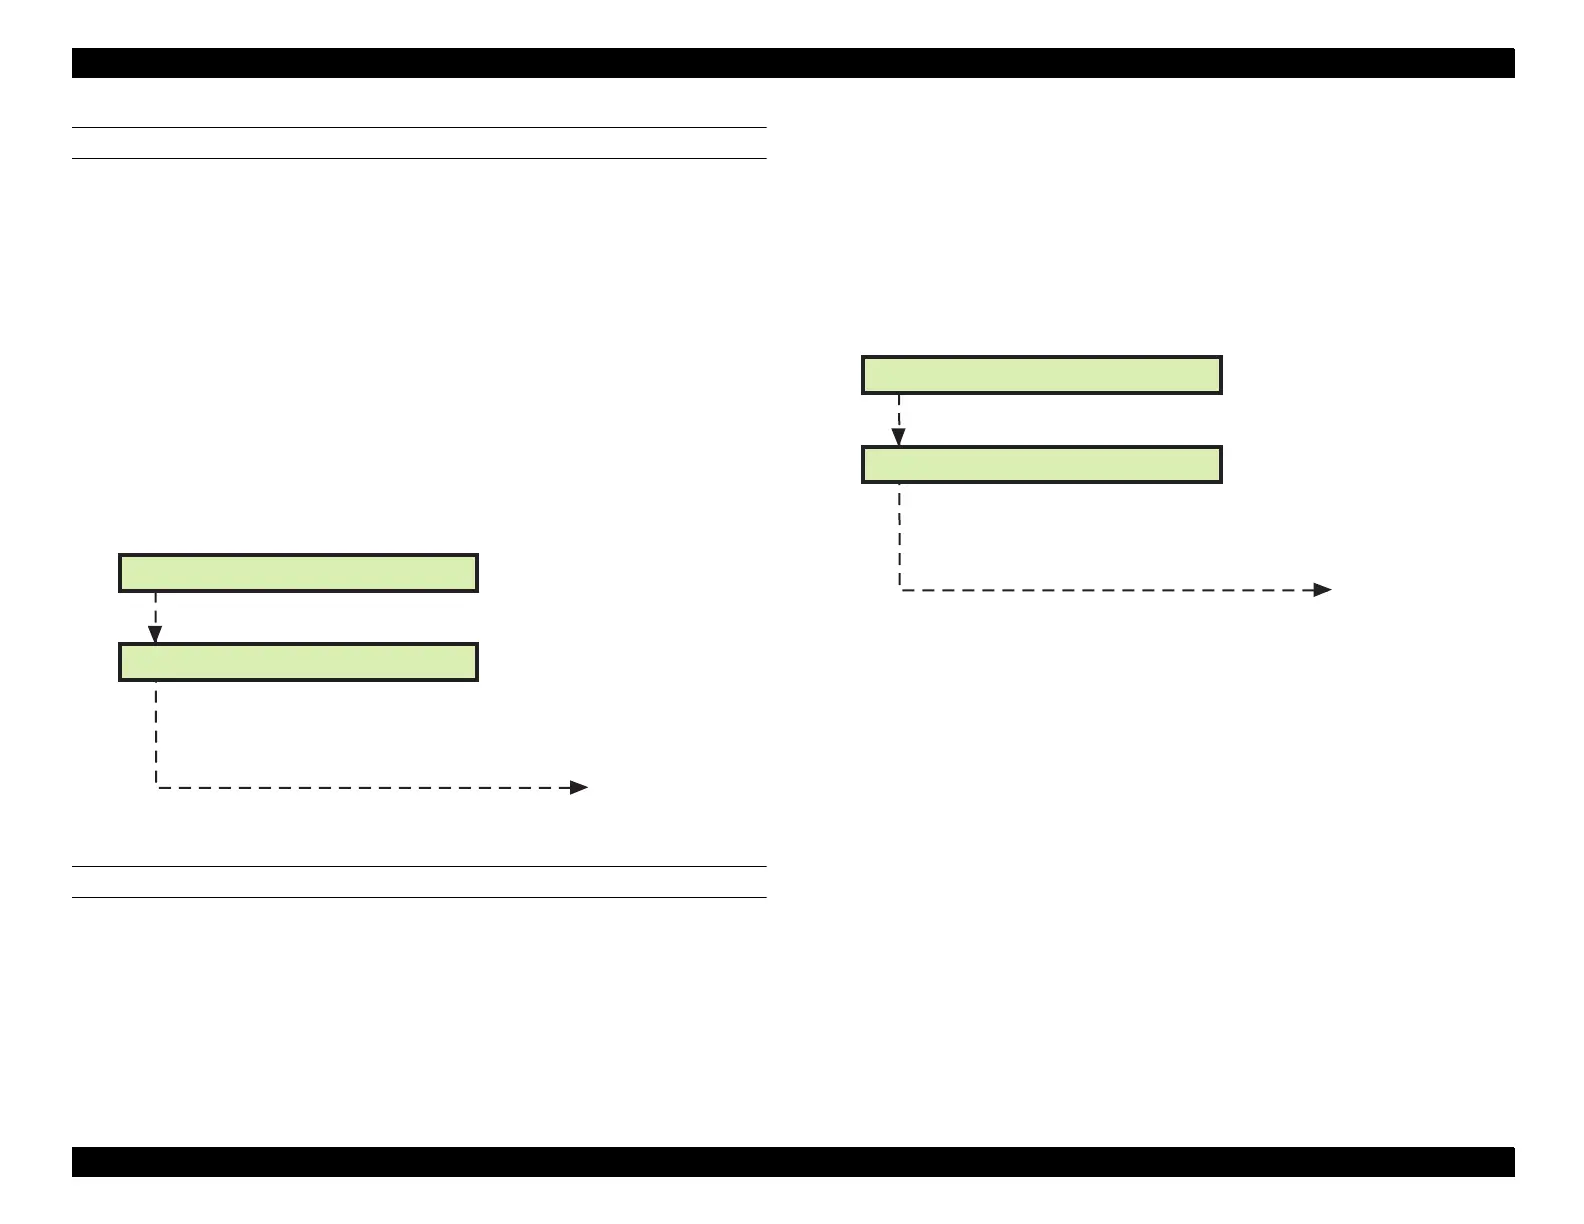
FLUSH POINT RIGHT AND LEFT ADJUSTMENT
This function adjusts the position of the carriage to make sure it’s properly
positioned over the right or left flushing box during flushing.
1. Tape a piece of paper over the flushing box you intend to test.
2. Make sure "Adj. Flash Point x" ("x" = R or L) appears in the LCD, and press
the Enter button.
3. The carriage moves to the flushing position and begins flushing.
4. After flushing is finished, "Point x NNN" ("x" = R or L, NNN = numeric
position) appears. Check the piece of paper you put over the flushing box
to make sure ink went into the box. If no ink spilled outside the box, press
the Enter button to finish. Otherwise, press the Paper Feed +/- buttons to
correct the flushing position. The setting is adjusted as follows:
Correction distance: One press = 1/720 inch
Direction: "+" = toward HP and "-" = away from HP
FEED ADJUSTMENT
This function adjusts the printer’s ability to keep track of the distance it feeds
paper.
1. Make sure "Adj. Feed" appears on the LCD, and press the Enter button.
2. Load roll paper into the printer, and press Enter. Note that you must use
roll paper for this adjustment because the printed pattern is 1 meter long.
3. The printer prints a check pattern while feeding the paper at a fixed
distance.
4. After the pattern is printed, "V Length 1000.0mm" appears. Using a ruler,
measure the printed pattern from the top line to the bottom line. For more
accurate measurement, use a ruler with a Vernier scale attached. Then
enter this measurement using the Paper Feed +/- buttons in 0.1 mm
increments.
5. After entering the measurement, press Enter to finish.
x Flashing
Perform flushing operation
Flashing Point x: -123
Use the Paper Feed +/- button to adjust
the flushing position
[Enter]
End
adjustment/
next menu
Printing Pattern
V Length: 1000.0mm
Use the Paper Feed +/- button to enter
the actual distance
[Enter]
End
adjustment/
next menu