Getting Started
Introduction
3
3-3
Introduction
This chapter starts with the general procedures and precautions necessary for operation
followed by a brief checking procedure. It contains a summary of controls and
connectors on the front and rear panels and the display.
Getting Started
General Information
This section outlines the procedure and precautions necessary for operation. It identifies
and briefly describes the functions of the front and rear panel controls and the display.
Turning the Instrument on
Warning
Before turning the instrument on, ensure that it has been
installed in accordance with the instructions in Chapter 1.
After the instrument has been connected to the line voltage in accordance with
Chapter 1, it can be turned on by setting the
POWER
switch on the front panel to
ON.
The specifications given in Chapter 7 of this manual are valid when the instrument is
installed in accordance with the instructions in Chapter 1 of this manual and after a
warm-up period of 30
minutes.
After turning the power off, wait at least 5 seconds before turning it on again. This
allows all power to completely discharge and the instrument to reset.
Self-test Routine
After power on, the instrument performs a self-test routine of the PROM, processor
RAM, stored instrument settings, calibration data, and available digital modules. After
approximately 2 seconds the generator automatically recalls its instrument state before
power off.
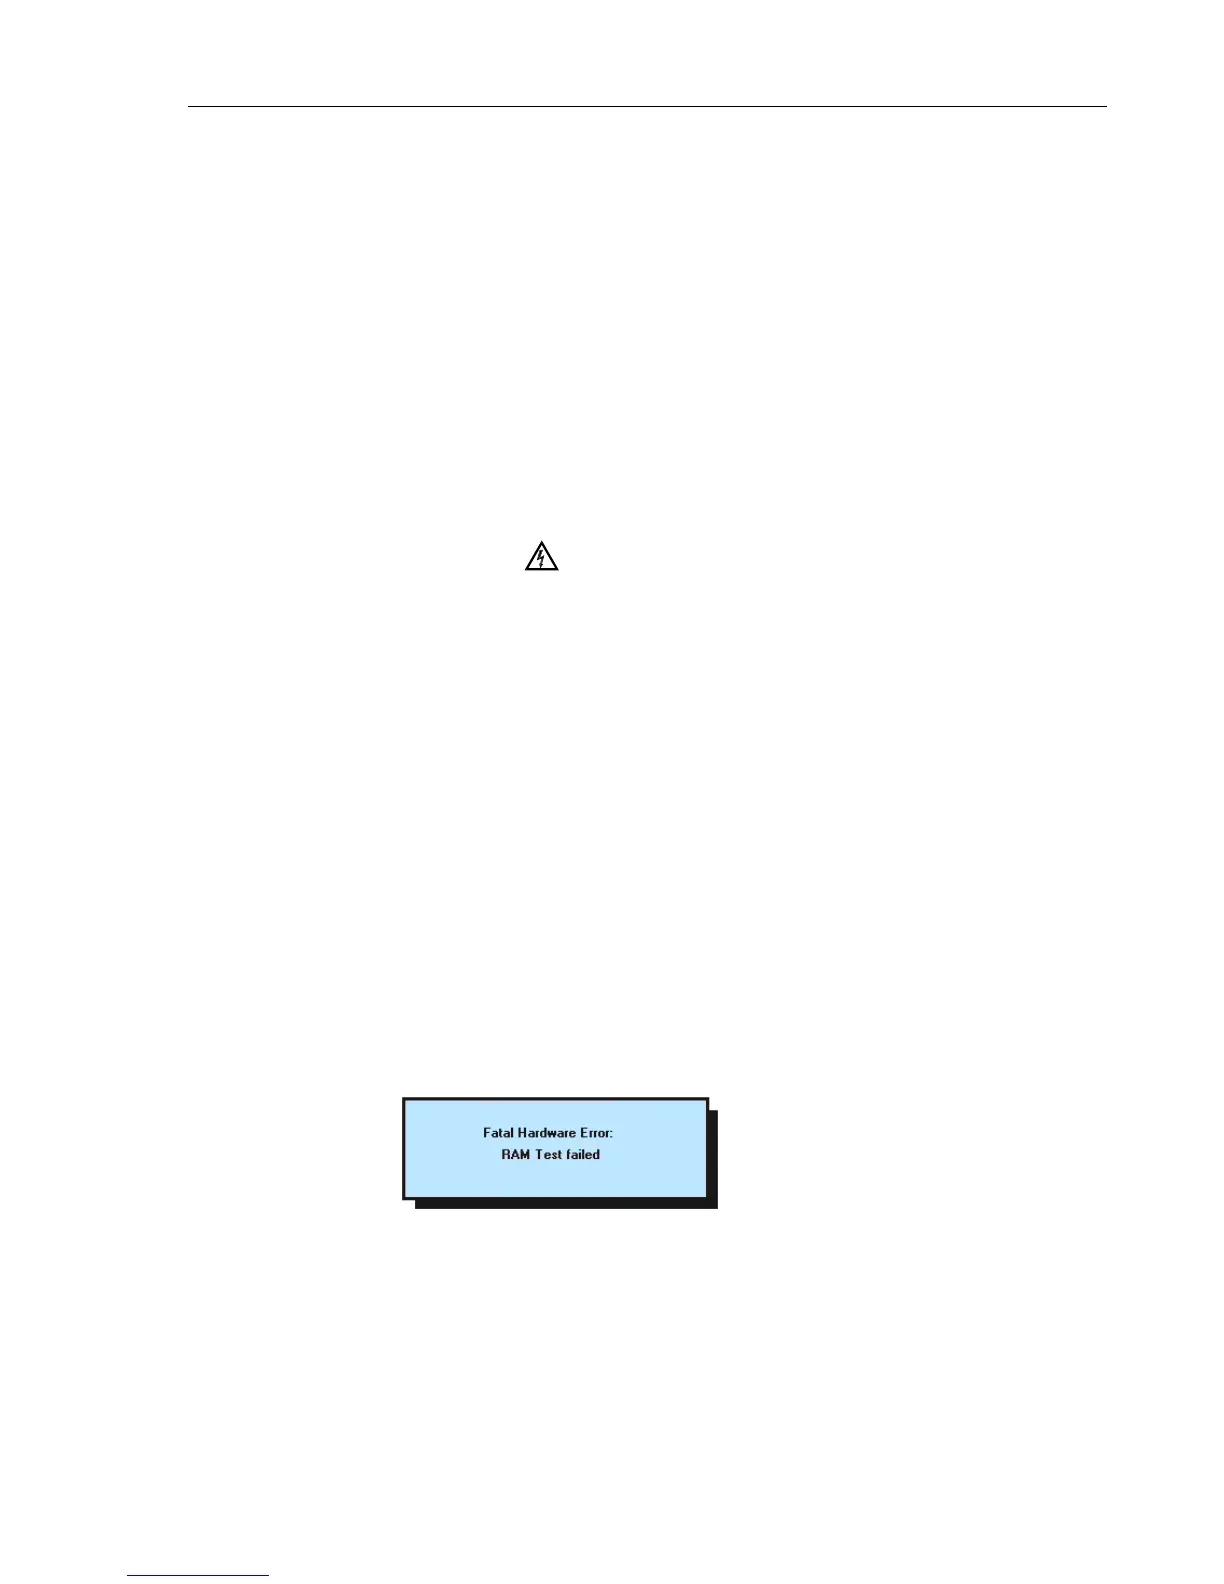
If a fault is found during the self-test this fault is indicated as follows,
for example:
For detailed information, see the end of Chapter 5 ‘Operating Hints, Out of Range and
Error Messages’.