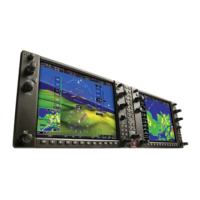
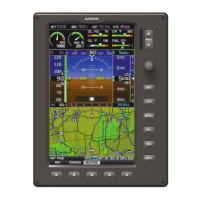
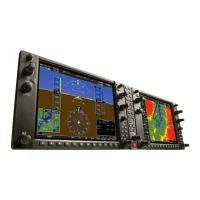
Cockpit Reference Guide for the Cirrus SR2x with Perspective Touch+ by Garmin
190-02954-01 Rev. A 5
Flight
Instruments EIS
Nav/Com/
XPDR/Audio
Flight
Management
Hazard
Avoidance AFCS
Additional
Features Annun/Alerts Appendix Index
Flight Instruments
Flight
Instruments EIS
Nav/Com/
XPDR/Audio
Flight
Management
Hazard
Avoidance AFCS
Additional
Features
Abnormal
Operation Annun/Alerts Appendix Index
Flight
Instruments EIS
Nav/Com/
XPDR/Audio
Flight
Management
Hazard
Avoidance AFCS
Additional
Features
Abnormal
Operation Annun/Alerts Appendix Index
Flight
Instruments EIS
Nav/Com/
XPDR/Audio
Flight
Management
Hazard
Avoidance AFCS
Additional
Features
Abnormal
Operation Annun/Alerts Appendix Index
Flight
Instruments EAS
Audio and
CNS
Flight
Management
Hazard
Avoidance AFCS
Additional
Features
Abnormal
Operation Annun/Alerts Appendix Index
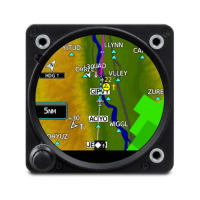
REQUIRED NAVIGATION PERFORMANCE AND ESTIMATED POSITION ERROR
Setting the RNP Manually:
1) From MFW Home, touch Utilities > FMS Sensors > RNP/EPE Tab.
2) Touch the RNP/EPE Button.
3) Enter the new RNP setting using the keypad or large/small data entry knobs.
4) Touch the Enter Button or push the upper right knob. The new setting is now displayed
on the HSI and on the RNP Button with a pencil icon to indicate it has been manually
entered.
Canceling Manual RNP Setting:
1) From MFW Home, touch Utilities > FMS Sensors.
2) Touch the RNP/EPE Tab.
3) Touch the RNP Button.
4) Touch the Restore Default Button. The system now automatically sets the RNP.
Enabling/Disabling OBS Mode While Navigating a GPS Flight Plan:
1) From PFW Home, touch the OBS Button to select OBS Mode.
2) Turn the upper knob to select the desired course to/from the waypoint. Push the upper
Knob to synchronize the Selected Course with the bearing to the next waypoint.
3) Touch the OBS Button again to return to automatic waypoint sequencing.
Or:
1) Press the OBS Softkey to select OBS Mode
2) Turn the upper knob to select the desired course to/from the waypoint. Push the upper
Knob to synchronize the Selected Course with the bearing to the next waypoint.
3) Press the OBS Softkey again to return to automatic waypoint sequencing.
ANGLE OF ATTACK (AOA) INDICATOR
Selecting the AOA Indicator Display Mode:
1) From PFW Home, touch the PFD Settings Button.
2) Touch the AOA Button.
3) Touch the On, Off, or Auto Button.
Or:
1) Press the PFD Settings Softkey.
2) Press the Other PFD Settings Softkey.
3) Press the AOA Softkey to cycle through the different modes (On, Off, or Auto).
 Loading...