IP8820/IP8830/IP8840
Installer Guide
105
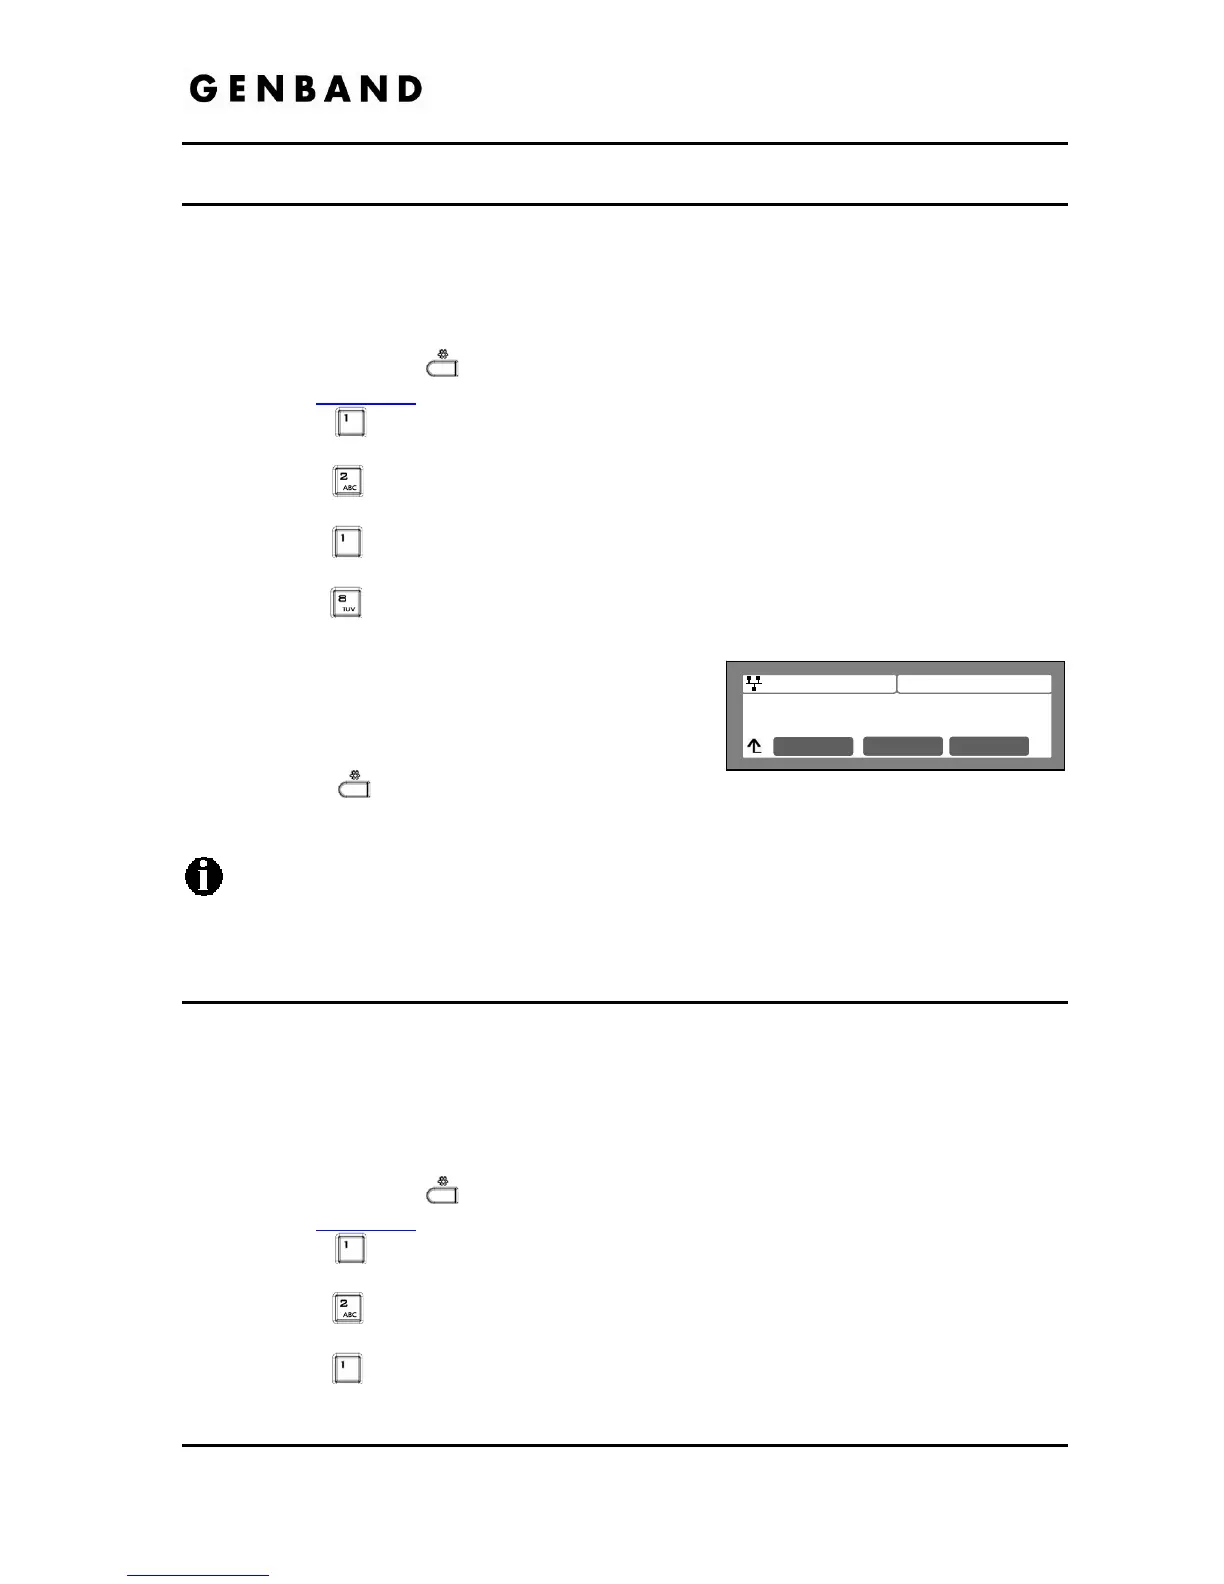
Jan 17 4:32
Primary DNS Address
192.168.0.1
Clear OK
5.3.1.8 Primary DNS Address
Using an FQDN (Fully Qualified Domain Name) for any of the servers in the IP phone
configuration requires entry of a primary DNS IP address. The IP phone contacts the primary
DNS server to resolve the FQDN to an IP address.
To assign the Primary DNS Address:
Press the Settings (
) button. If the LCD Menu is locked, use the unlock procedure.
Refer to section 3.3
.
Press the
digit, or move the cursor to 1.Network Configuration using the [Next]-
[Previous] softkeys and press the [OK] softkey.
Press the
digit, or move the cursor to 2.WIFI Configuration using [Next]-[Previous]
softkeys and press the [OK] softkey.
Press the
digit, or move the cursor to 1.Profile using [Next]-[Previous] softkeys and
press the [OK] softkey.
Press the
digit, or move the cursor to 8.Primay DNS using [Next]-[Previous] softkeys
and press the [OK] softkey.
Input the Primary DNS using the dial pad and press
the [OK] softkey to save your entry.
Move to another parameter with the navigation
buttons and continue the session or press the
Settings (
) button to exit the configuration
session.
Changing the Primary DNS Address requires a reboot of the IP phone; when you leave
the menu, you will receive a reboot notice. The IP phone must reboot to utilize the new
values entered.
5.3.1.9 Secondary DNS Address
With an FQDN assigned as any of the servers in the IP phone configuration, the IP phone
contacts the primary DNS server to resolve the FQDN to an IP address. Should the primary not
respond, the IP phone contacts a secondary DNS for FQDN resolution. This is an optional but
recommended setting.
To assign the Secondary DNS Address:
Press the Settings (
) button. If the LCD Menu is locked, use the unlock procedure.
Refer to section 3.3
.
Press the
digit, or move the cursor to 1.Network Configuration using the [Next]-
[Previous] softkeys and press the [OK] softkey.
Press the
digit, or move the cursor to 2.WIFI Configuration using [Next]-[Previous]
softkeys and press the [OK] softkey.
Press the
digit, or move the cursor to 1.Profile using [Next]-[Previous] softkeys and
press the [OK] softkey.