ext
Previous
Jan 17 4:32
Secondary DNS Address
0.0.0.0
Clear OK
Press the
digit, or move the cursor to 9.Secondary DNS using [Next]-[Previous]
softkeys and press the [OK] softkey.
Input the Secondary DNS using the dial pad and
press the [OK] softkey to save your entry.
Move to another parameter with the navigation
buttons and continue the session or press the
Settings (
) button to exit the configuration
session.
Changing the Secondary DNS Address requires a reboot of the IP phone; when you
leave the menu, you will receive a reboot notice. The IP phone must reboot to utilize
the new values entered.
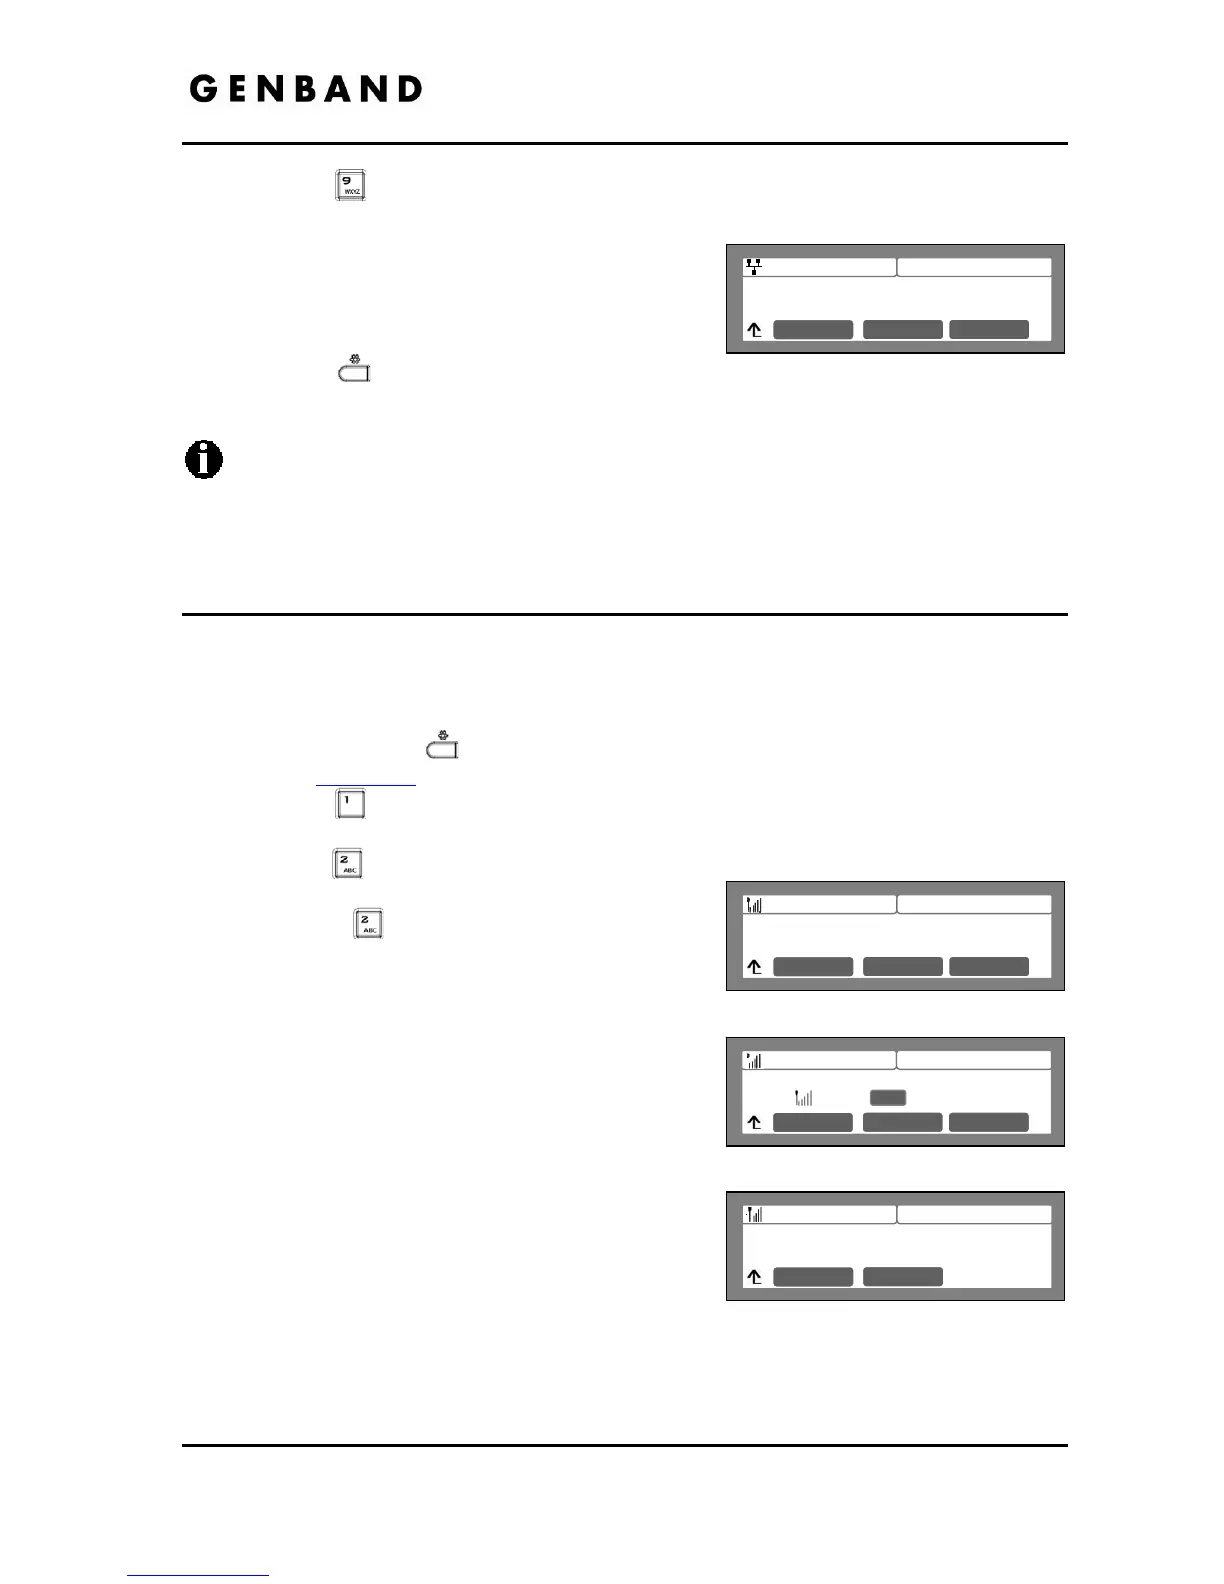
5.3.2 Searching for APs (Access Point)
Using this menu, you can see the wireless AP list around and connect AP what you want.
The results show RSSI Value, Channel, Security mode, AP SSID.
To view Search AP lists and set wireless configuration.
Press the Settings (
) button. If the LCD Menu is locked, use the unlock procedure.
Refer to section 3.3
.
Press the
digit, or move the cursor to 1.Network Configuration using the [Next]-
[Previous] softkeys and press the [OK] softkey.
Press the
digit, or move the cursor to 2.WIFI Configuration using [Next]-[Previous]
softkeys and press the [OK] softkey.
Press the
digit, or move the cursor to
2.Searching for APs using [Next]-[Previous]
softkeys and press the [OK] softkey.
After ‘Searching’ the list of detected WiFi Networks
is displayed. Use the Up and Down Navigation
buttons to scroll through the list of APs.
From the List,
Press the [Detail] softkey to display information for
the selected AP.
Use the [Next]-[Previous] softkeys to display the
BSSID
RSSI
Rate
Or
4:32
WIFI Configuration
1.Profile