IP8820/IP8830/IP8840
Installer Guide
43
Jan 17 4:32
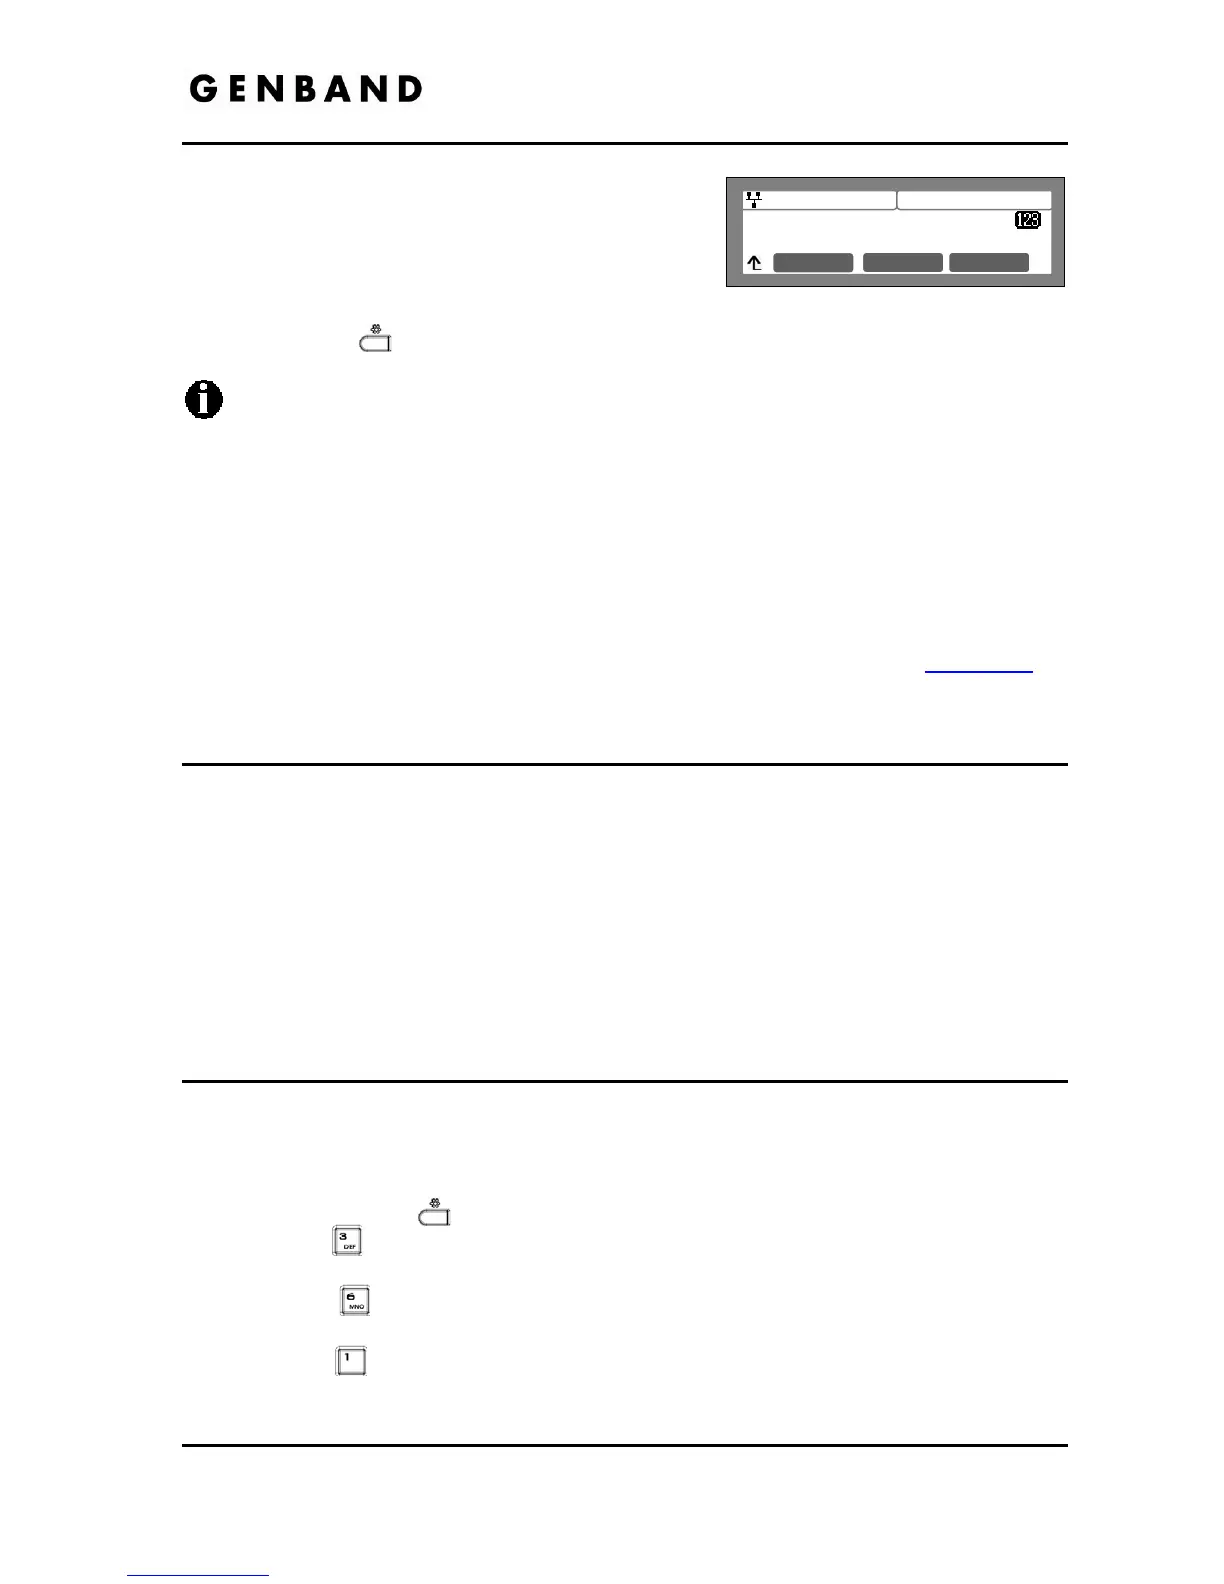
(07) Enter Label
Spd 5559988
Mode OK
Each flexible button can have its own label, which
displays in the LCD of the IP8840 or the
IP8812LSS enter the label and press the [OK]
softkey to save the entry.
Move to another parameter with the navigation buttons and continue the session or press
the Settings (
) button to exit the configuration session.
Only flexible buttons not assigned as line buttons can be assigned a function.
For proper operation, Flexible button 1 should be assigned as the user’s primary
extension line appearance.
The IP8820 has 12 flexible buttons, the IP8830 has 24 flexible buttons and the IP8840
has 10 Flexible buttons.
Up to two Expansion Modules may be connected to the IP Phone. Each Module
expands the number of Flexible buttons available with the IP Phone by 12.
The IP8840 LCD will display a label of up to 12 characters for each button, the
IP8812LSS will display up to 10 characters.
To enter alphanumeric characters select the [Mode] softkey. Refer to Appendix E
for
the character mapping of dial pad digits.
3.6.6 Time Configuration
Within the Time Configuration menu, the IP Address or FQDN of the desired Simple Network
Time Protocol (SNTP) server and the local time zone are defined. In addition, Daylight Savings
Time (DST) is enabled.
The following SNTP server addresses or other private SNTP server addresses may be used for
Time Configuration:
- clock.via.net
- ntp.nasa.gov
- tick.ucla.edu
3.6.6.1 SNTP Server Address
SNTP is a standard protocol that permits a network device to obtain the network’s current time.
For operation with SNTP, the IP Phones require an SNTP server IP address or FQDN.
To assign the SNTP Server Address:
Press the Settings (
) button.
Press the
digit, or move the cursor to 3.Phone Settings using the [Next]-[Previous]
softkeys and press the [OK] softkey.
Press the
digit, or move the cursor to 6.Time Configuration using the [Next]-
[Previous] softkeys and press the [OK] softkey.
Press the
digit, or move the cursor to 1.SNTP Server Address using the [Next]-
[Previous] softkeys and press the [OK] softkey.