100 / 116
S1002.PRO_mz12PRO_Teil2_V1sh
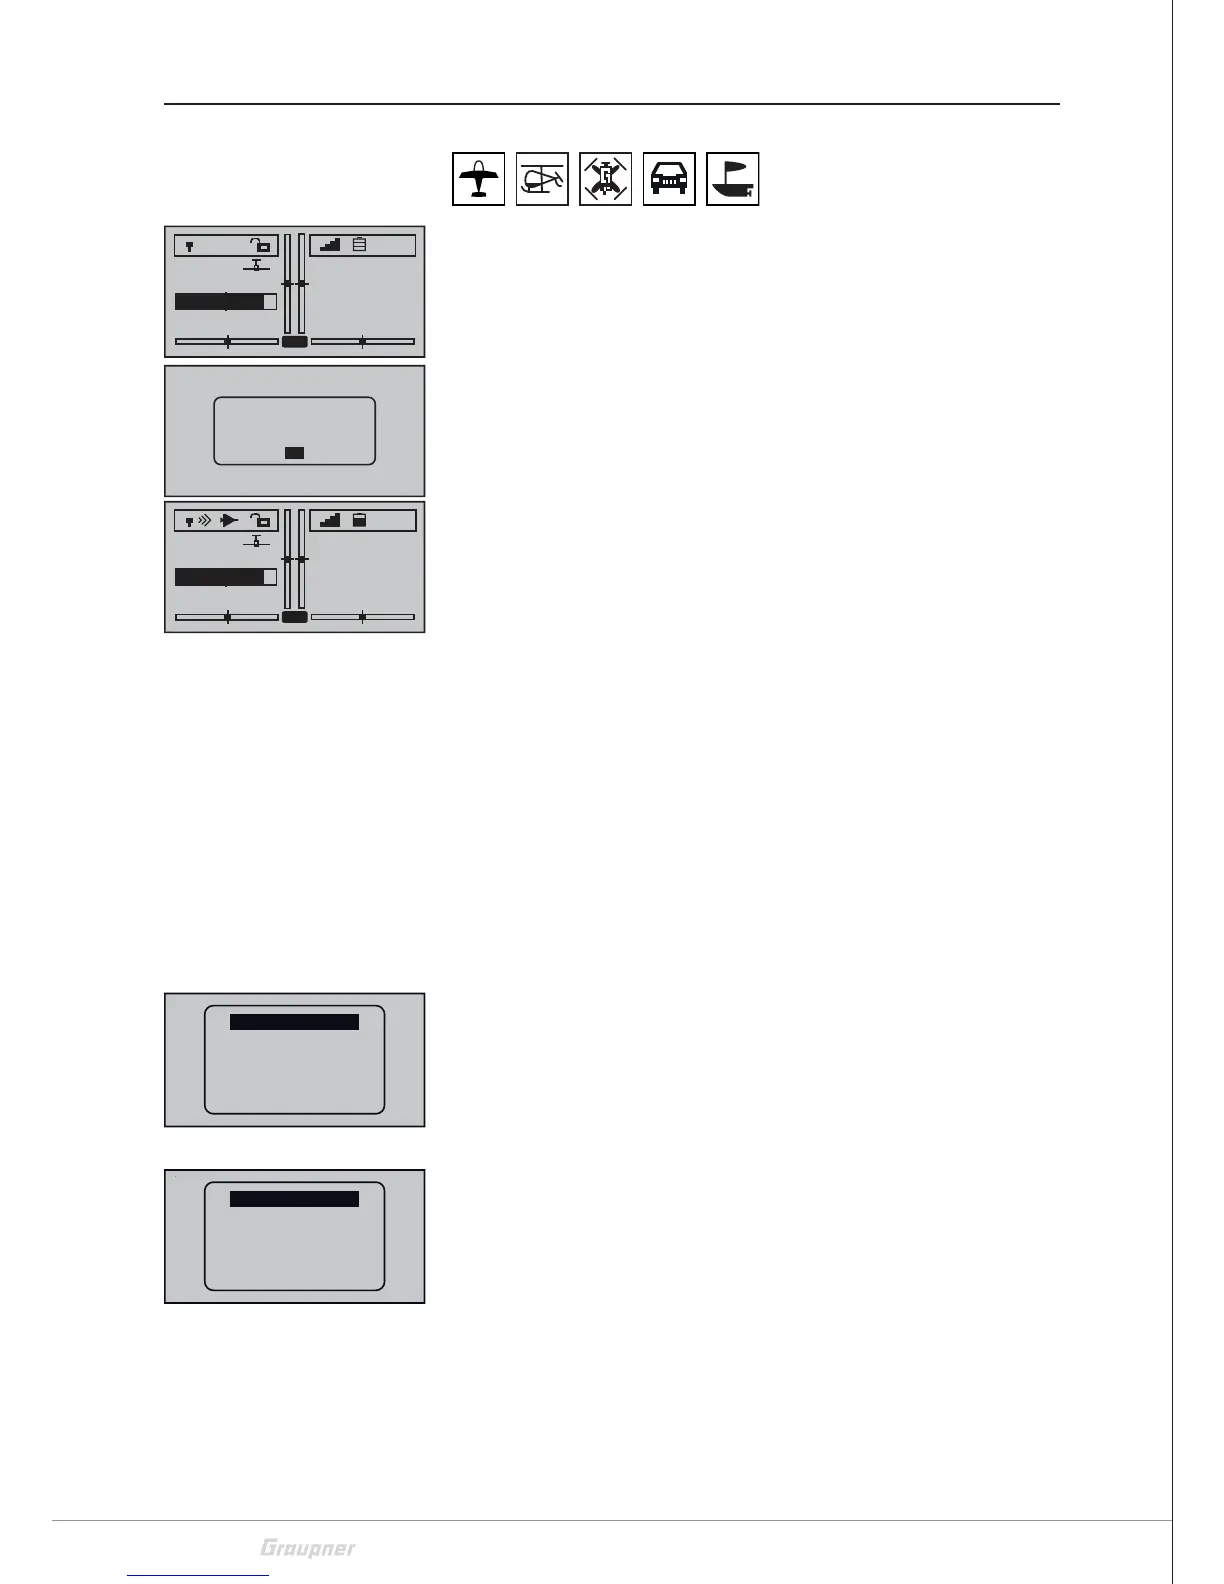
Telemetry data display
The display of the mz-12 HoTT Pro transmitter is used for operating
the transmitter and to graphically display telemetry data. The change
between these two use mode is carried out in the main display by
pushing one of the two selection keys of the left four way keys.
If, instead of the expected display, the adjacent message appears, no
receiver is within range which can respond to the telemetry link.
Turn on your receiver, or bind a receiver to the active model mem-
ory.
Switch between basic display and telemetry displays
As long as there is a telemetry connection to the receiver and the
basic display is active in the display of the transmitter, pressing any
selection key switches the display of the telemetry displays and
returns to the basic display by pressing the ESC key.
After recalling the telemetry display, the "receiver" display is shown
as a standard, the more detailed description can be found in the sec-
tion with the same name.
Sensors
Any combination of to four sensors can be connected to a receiver
that operates by telemetry. The data from the sensors are transmit-
ted to the graphs described below only if they are properly con-
nected to the receiver before the receiver is turned on and after
they recognized by the transmitter.
In addition, sensors in the submenu "SETTINGS & DATA VIEW" of the
"Telemetry" menu will only respond under the above prerequisite
corresponding to the instructions for the respective sensor.
Switch between the modules step-by-step
1. Push simultaneously the upper and the lower selection keys.
A list of selectable telemetry modules is displayed.
2. Select the desired line using the upper and the lower selection
keys.
If no sensor is activated, all further telemetry modules are
excluded from the selection list, with the exception of the
"RECEIVER" display described below.
3. The selected module can either be confirmed immediately with
the ENT key or you can simply wait until the desired display is
automatically displayed after a short time.
4. Pressing the left or right selection button changes between the
displays of the selected sensor.
5. To return to the basic display, press the ESC key.
M-01
1:23h
Stop
Flight
0:00
0:00
5.5V
3.9V
NR
0:0V
GRAUBELE
CAN‘T
RECEIVE
ANY DATA
OK
M-01
1:23h
Stop
Flight
0:00
0:00
5.5V
3.9V
NR
5:1V
GRAUBELE
RX–S QUA: 100%
RX–S ST : 100%
TX–dBm: 33dBm
RX–dBm: 33dBm
RX–SPG.:4.8 TMP
V–PACK: 10ms
CH OUTPUT TYPE:ONCE
GENERAL
ELECTRIC AIR
VARIO
GPS
RECEIVER
AIR ESC
RX–S QUA: 100%
RX–S ST : 100%
TX–dBm: 33dBm
RX–dBm: 33dBm
RX–SPG.:4.8 TMP
V–PACK: 10ms
CH OUTPUT TYPE:ONCE
GENERAL
ELECT. AIR
VARIO
GPS
RECEIVER
AIR ESC

 Loading...