32 / 116
S1002.PRO_mz12PRO_Teil2_V1sh
Note
A switching threshold of more than +100% is achieved by temporar-
ily increasing the path on the plus side of servo 1 in the "Servo
adjustment" menu to more than 100% and returning it to the orig-
inal value after storing the switching threshold.
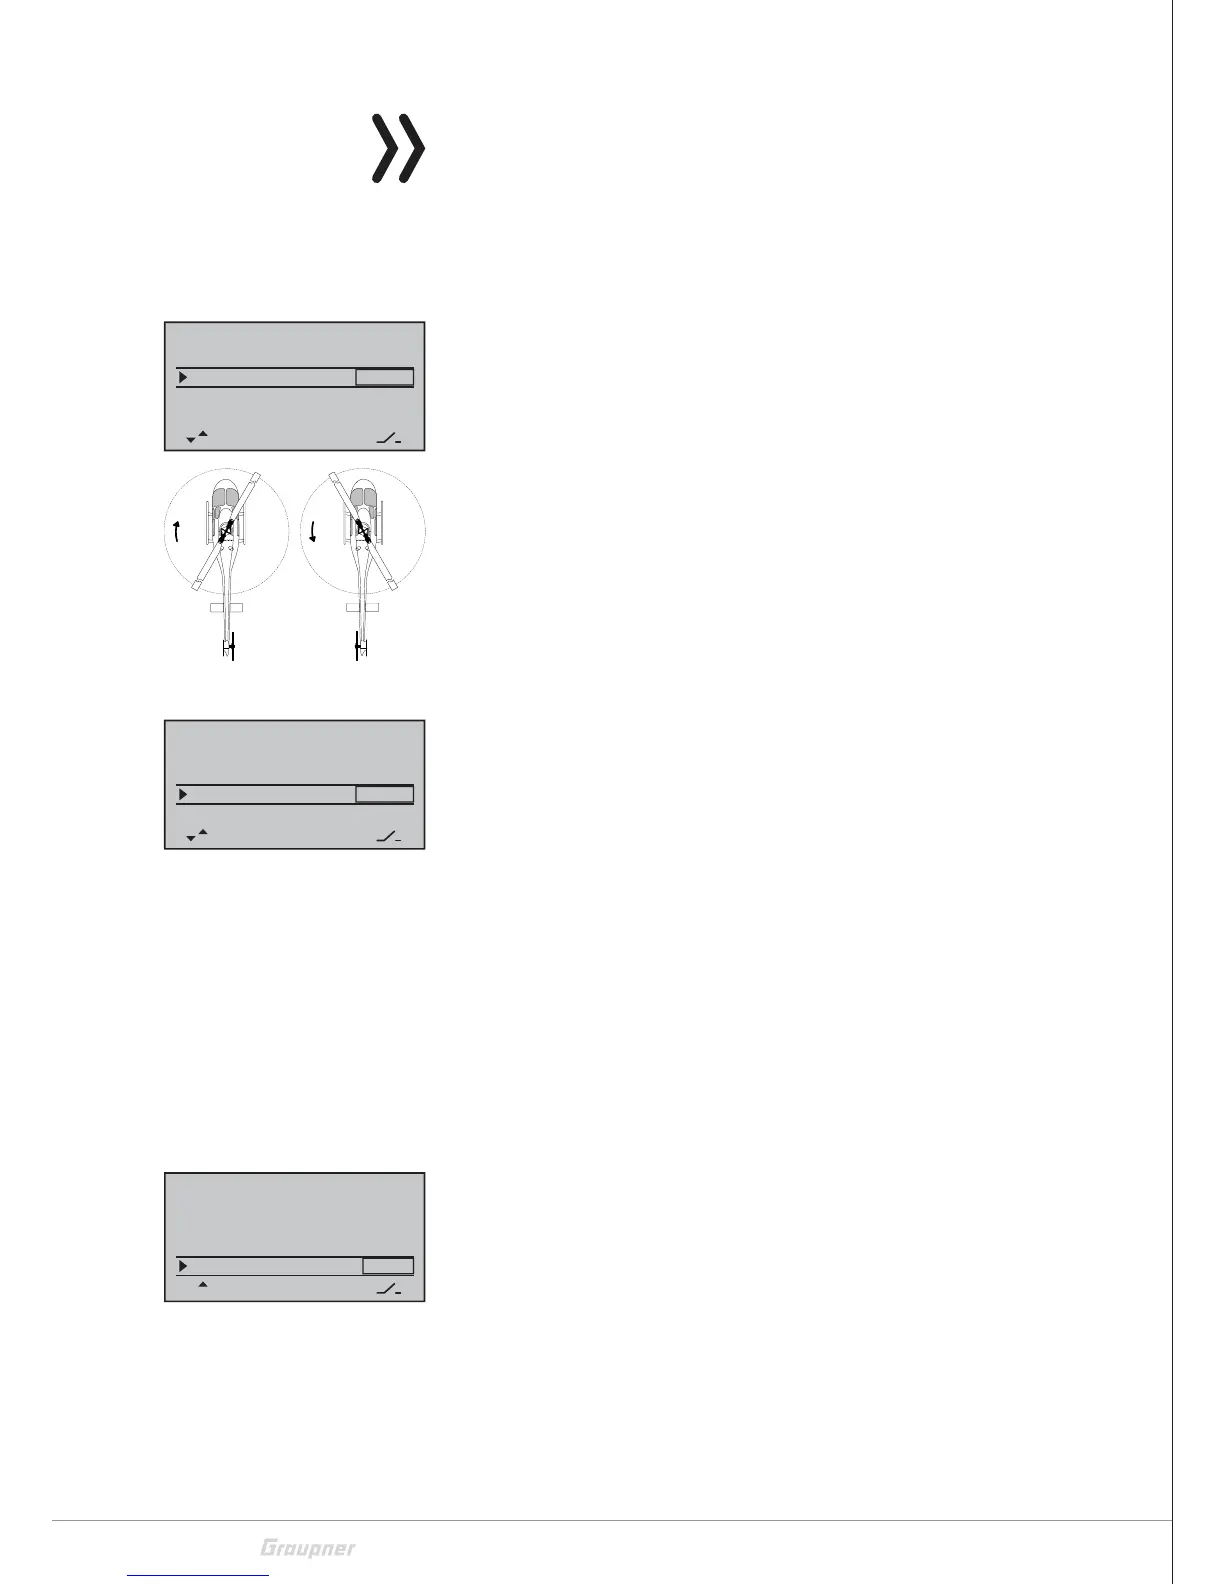
Rotor direction
In the "Rotor direction" line, the main rotor rotation is entered:
• "right"
When viewed from above, the main rotor rotates clockwise.
• "left"
When viewed from above, the main rotor rotates counterclock-
wise.
Programming step-by-step
1. Push the ENT key.
2. Use the selection keys to select "left" or "right".
3. Push the ENT key.
Pitch min
In the line "Pitch min", the operating direction of the throttle / pitch
stick is adapted to the control habits.
• "front"
minimum pitch setting at the "front", the throttle / pitch control
stick (CH1) points away from the pilot.
• "back"
minimum pitch setting at the "back", the throttle / pitch control
stick (CH1) points to the pilot.
Programming step-by-step
1. Push the ENT key.
2. Use the selection keys to select "front" or "back".
3. Push the ENT key.
Autorotation
The name "Autorotation" is fixed for Phase 3 and can NOT be
changed. A switch can only be assigned to the right of the display, as
described in the section "Control, switch and control switch assign-
ment".
Rotor direction
Swashplate
right
–––
M.Stop +150%–100%
Pitch min back
Autorotation
–––
1 Servo
STO
C l o c k w i s e
C o u n t e r -
c l o c k w i s e
Rotor direction
Swashplate
right
–––
M.Stop +150%–100%
Pitch min back
Autorotation
–––
1 Servo
STO
Rotor direction
Swashplate
right
–––
M.Stop +150%–100%
Pitch min back
Autorotation
–––
1 Servo
STO

 Loading...