66 / 116
S1002.PRO_mz12PRO_Teil2_V1sh
Support points moving step-by-step
1. Move the solid vertical line with the corresponding control ele-
ment to the point to be set.
2. Use the selection keys to set the desired value.
3. Proceed in the same way with the remaining points.
Support points deactivating step-by-step
1. Move the solid vertical line with the corresponding control ele-
ment to the point 2 ... 4 to be set.
Both end points 1 and 5 cannot be deleted.
2. By simultaneously pressing the left and right selection buttons,
the selected point can be reset to "deact."
3. Proceed in the same way with the remaining points.
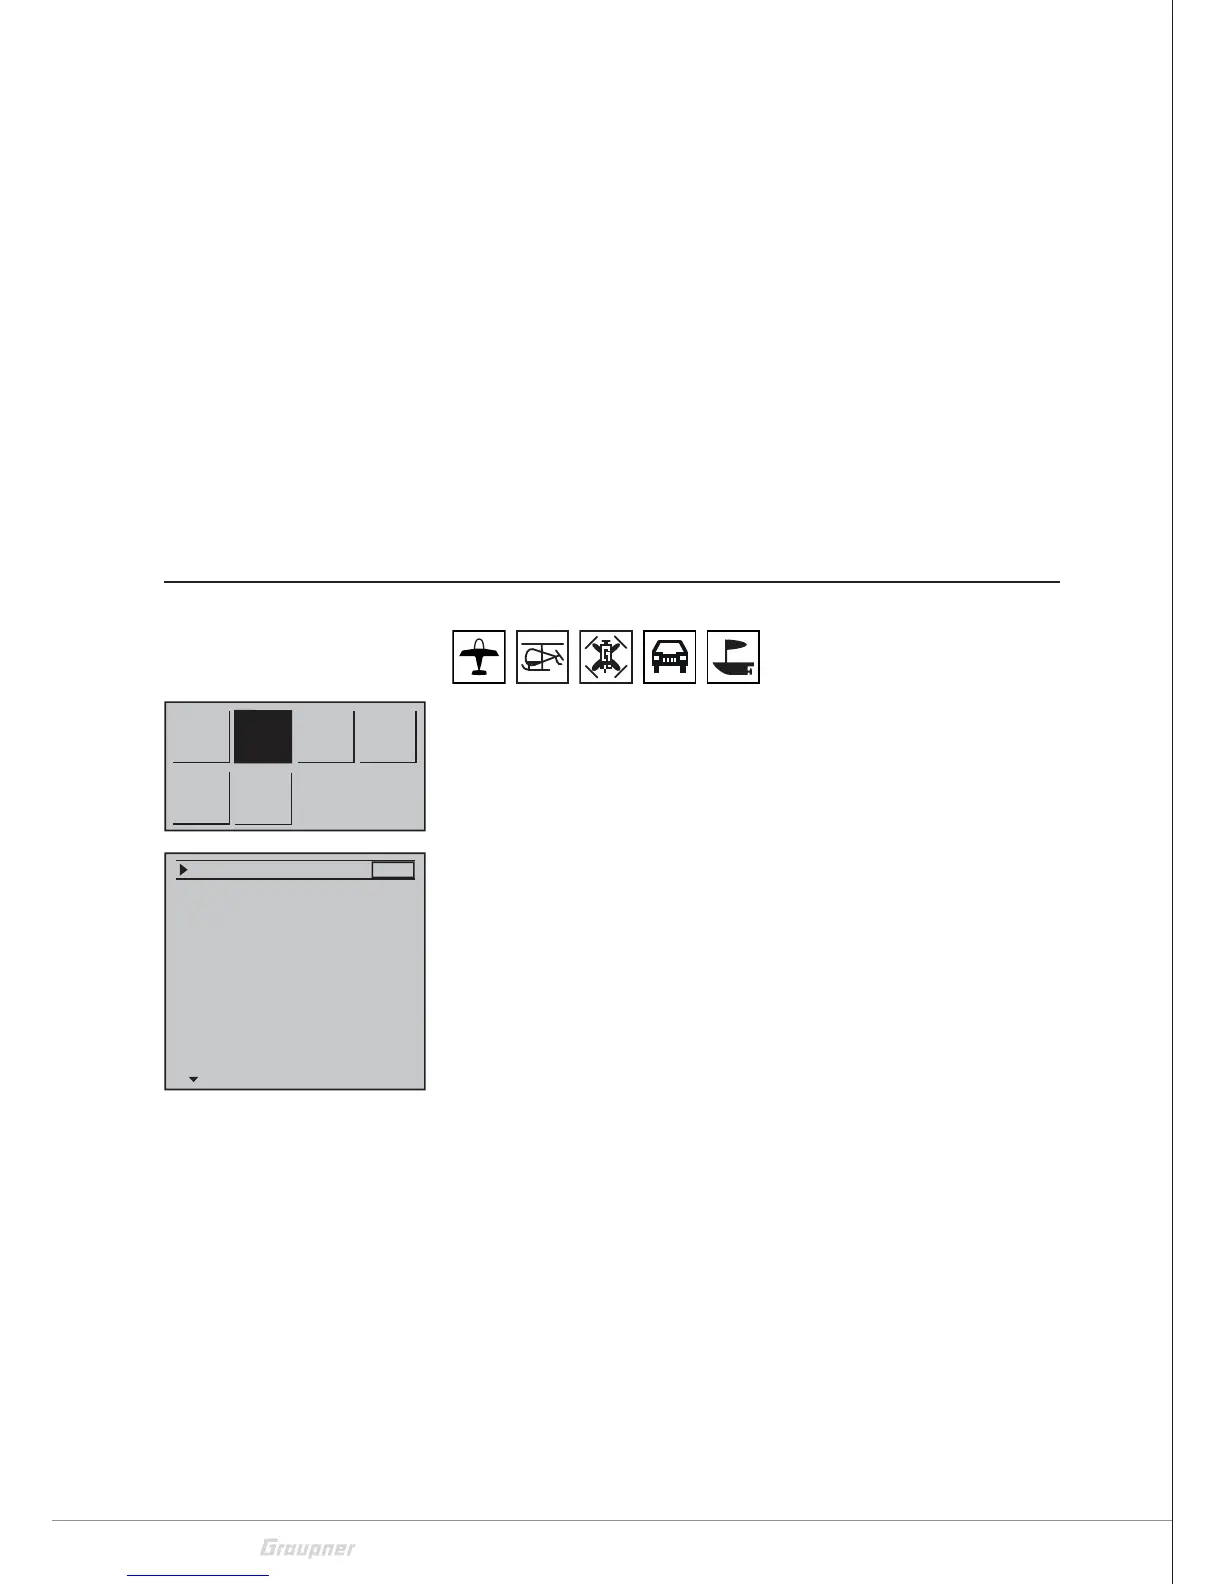
General settings
Push the ENT key to recall the selection menu from the base display.
Select the desired menu with the selection buttons, then press the
ENT button again to recall the setting list of the menu.
Push the ESC key to stop the procedure.
In this menu, transmitter-specific settings are defined.
Programming step-by-step
1. Select the desired value field or line using the selection keys.
2. Push the ENT key.
3. Use the selection buttons to set the desired value, or alternatively
by pressing the left and right selection buttons reset a changed
value to the default value.
4. Press the ENT key to complete the operation.
5. Proceed in the same way with the remaining lines.
6. Leave the menu pushing the ESC key.
Trainer
Fail-
Safe
General
setting
Free
Mixer
An-
nounce
Info
display
Battery alarm threshold
Key reaction
Contrast
Display light
RF Region
Voice volume
2
3.4V
0
Europe
3
always
Signal volume
3
Back port Ear
DATA sel.
Telemetry
DSC output
PPM10
USB joystick
0
~
100

 Loading...