Configuring Event Settings
101
4. Click Apply to save your changes, and then click OK.
Configuring POS Settings
Note
This function is only available for
HEN081*4/HEN162*4/HEN163*4/HEN161*4/HEN322*4/HEN323*
4/HEN321*4/HEN642*4/HEN643*4.
Use the POS settings screen to setup a connection to a point of sales device, such as a cash
register, to enable POS info to be synchronized with video data.
1. Go to Main Menu SETTING EVENT POS.
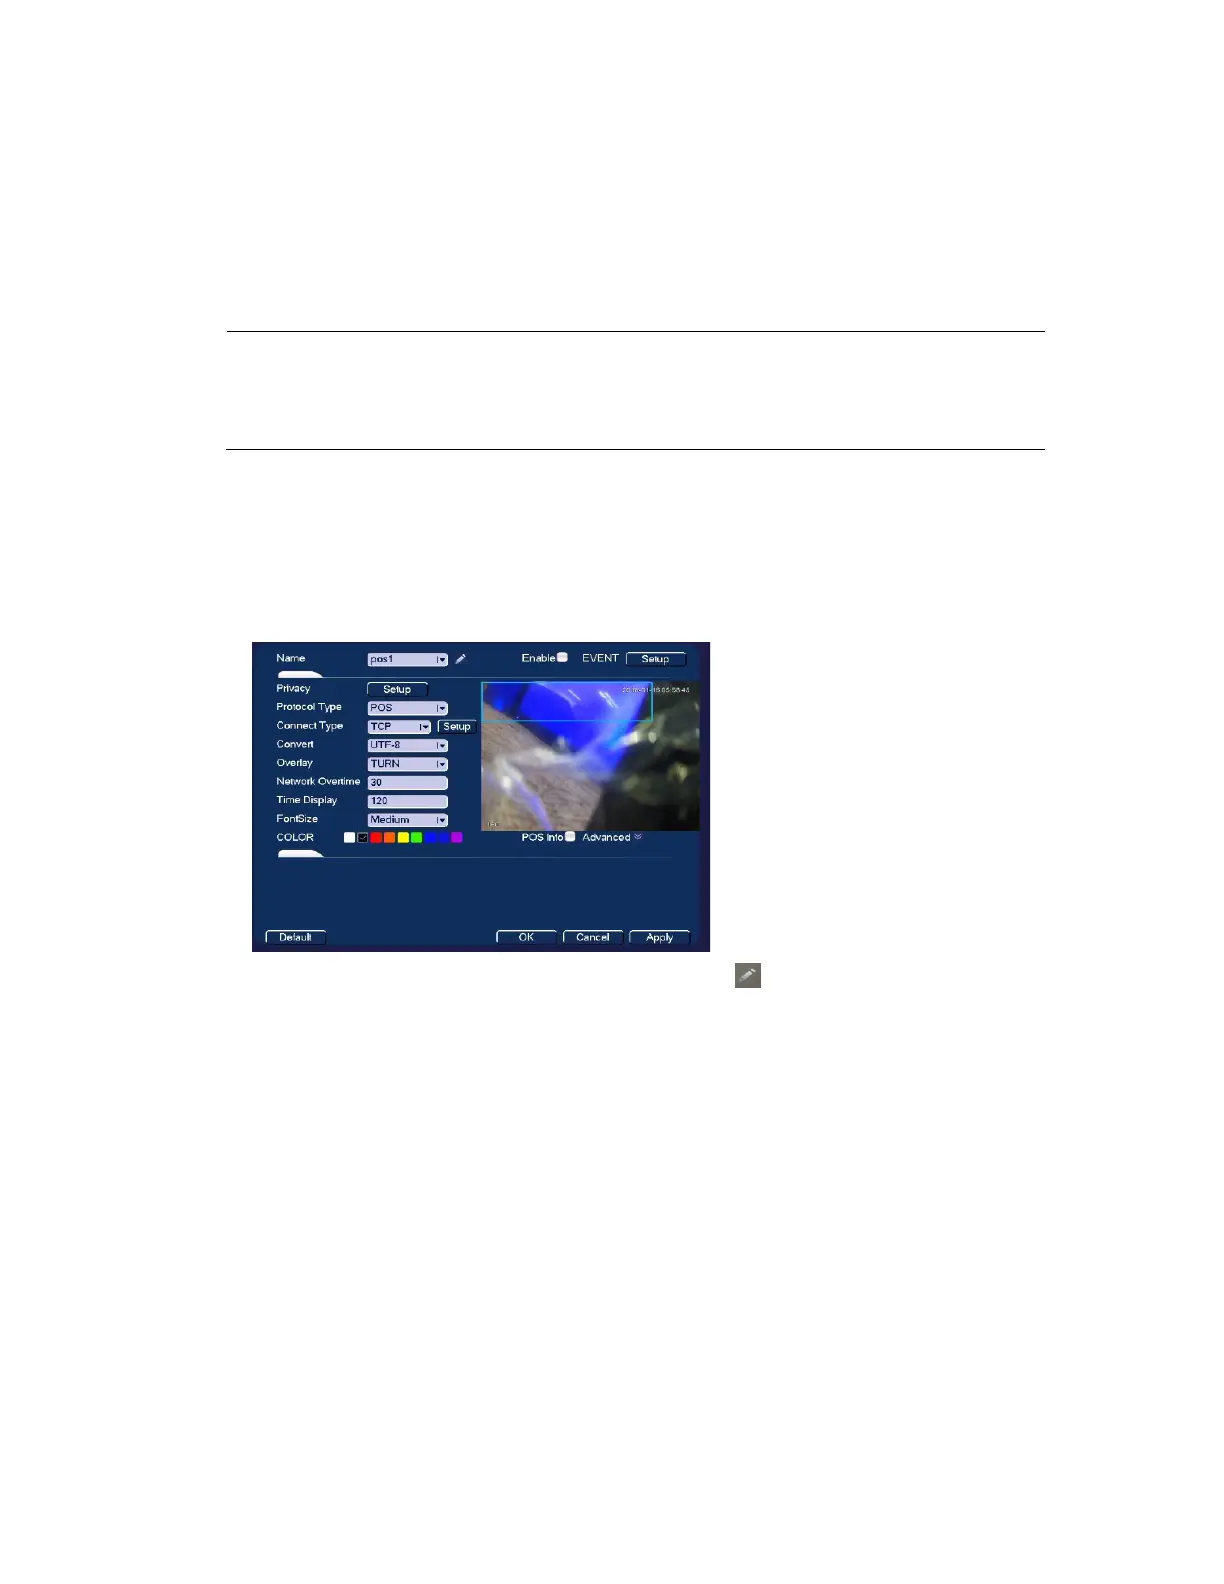
Figure 8-25 POS Configuration Window
2. Select a POS name in the Name dropdown list. Click to edit the name if you want.
3. Select the Enable checkbox to enable the POS that you select in step 2.
4. Next to Event, click Setup to configure the POS arm/disarm period, record channel, etc.
for the POS. See Configuring Motion Detection Settings on page 77 for the detailed
information.
5. Next to Privacy, click Setup to configure the privacy character for the POS. After this
function is enabled, once the overlay information contains the privacy character, it
displays as *. For example, the privacy character is 12,56,89, the local preview and WEB
surveillance information is shown as **34**7** if the overlay information is 123456789.

 Loading...