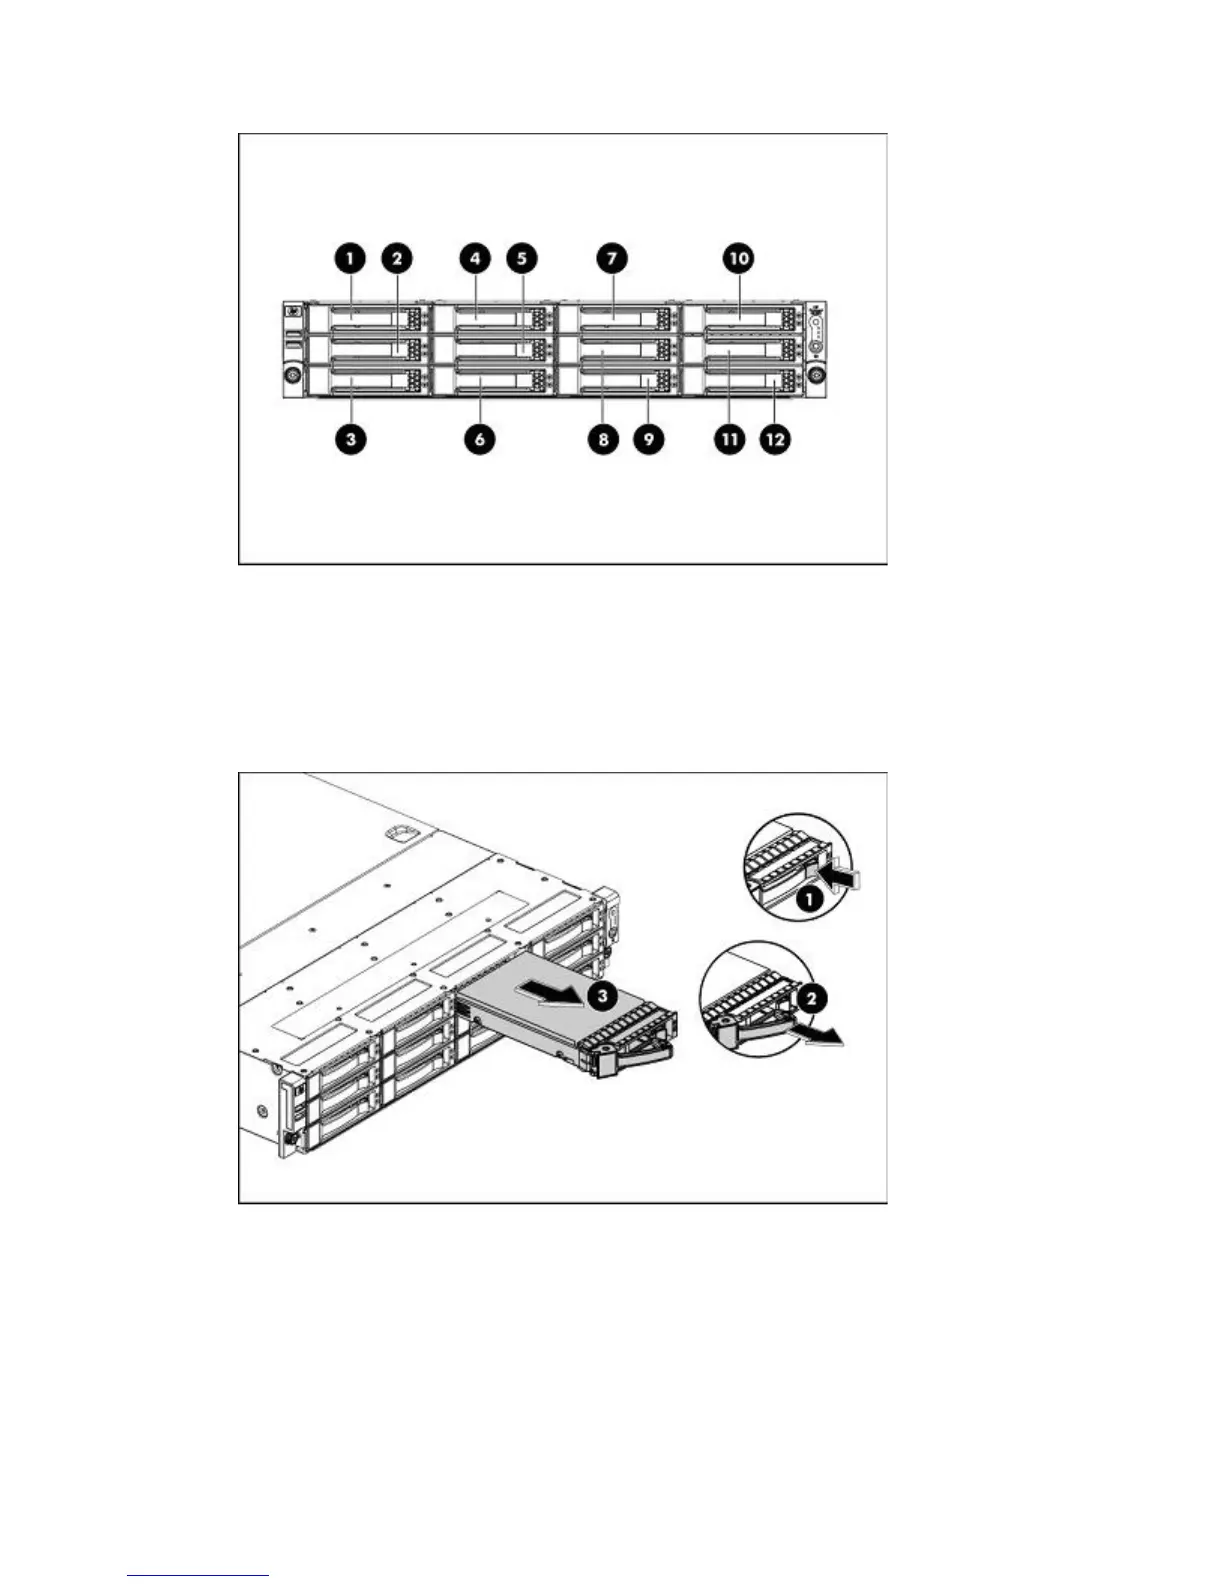
2. The hard drives installed in the server are labeled from device 1 to device 12, from left to right,
top to bottom, when viewed from the front of the server.
Figure 65 Disk numbering
3. Remove the disk.
• Press the hard disk carrier button (1) to release the ejector lever.
• Use the HDD carrier latch (2) to pull the drive out of the cage. Be sure to support the drive
when pulling it out of the cage.
• Pull the hard drive assembly (3) out of the drive bay.
Figure 66 Removing the hard drive
D2D Backup System HP D2D4112 189