2. Use any CAT-5E network cable (also supplied with the product) to connect to a Gigabit network
switch. 100 Base-T Ethernet will limit performance; 10 Base-T Ethernet will severely limit
performance. See also “Dual network ports” on page 37.
NOTE:
The Web Management Interface is used to configure devices and it requires an Ethernet connection.
LAN Port 1 (the lower LAN port on the rear of the HP D2D) must always be connected, even if you
are using the FC ports to back up and restore data to the HP D2D.
NOTE:
The HP D2D also supports direct connection of a monitor and keyboard. Please refer to
“Using the system console to discover the HP D2D” on page 56 for more information about this.
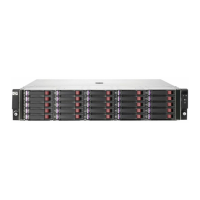
Connecting to the Capacity Upgrade Kit (optional)
Install the rail kit and expansion module immediately below or above the HP D2D Backup System,
as described in “Capacity upgrade” on page 197.
1. To ensure correct keying, first connect the supplied cable to the IN connector on the rear of the
Capacity Upgrade Kit.
2. Connect the other end of the cable to the port labeled “Port 2E” on the SmartArray RAID PCI-e
card on the rear of the HP D2D Backup System.
3. Use the supplied power cords to connect the Capacity Upgrade Kit to the mains power supply.
Connecting and installing the HP D2D Backup System36

 Loading...
