HT2800T_en_c.doc Page 103 of 275
Figure 111: Syringe remove and installation screen
The autosampler should be automatically positioned in a convenient position to allow the
old syringe to be removed. If this is OK proceed to step 5.
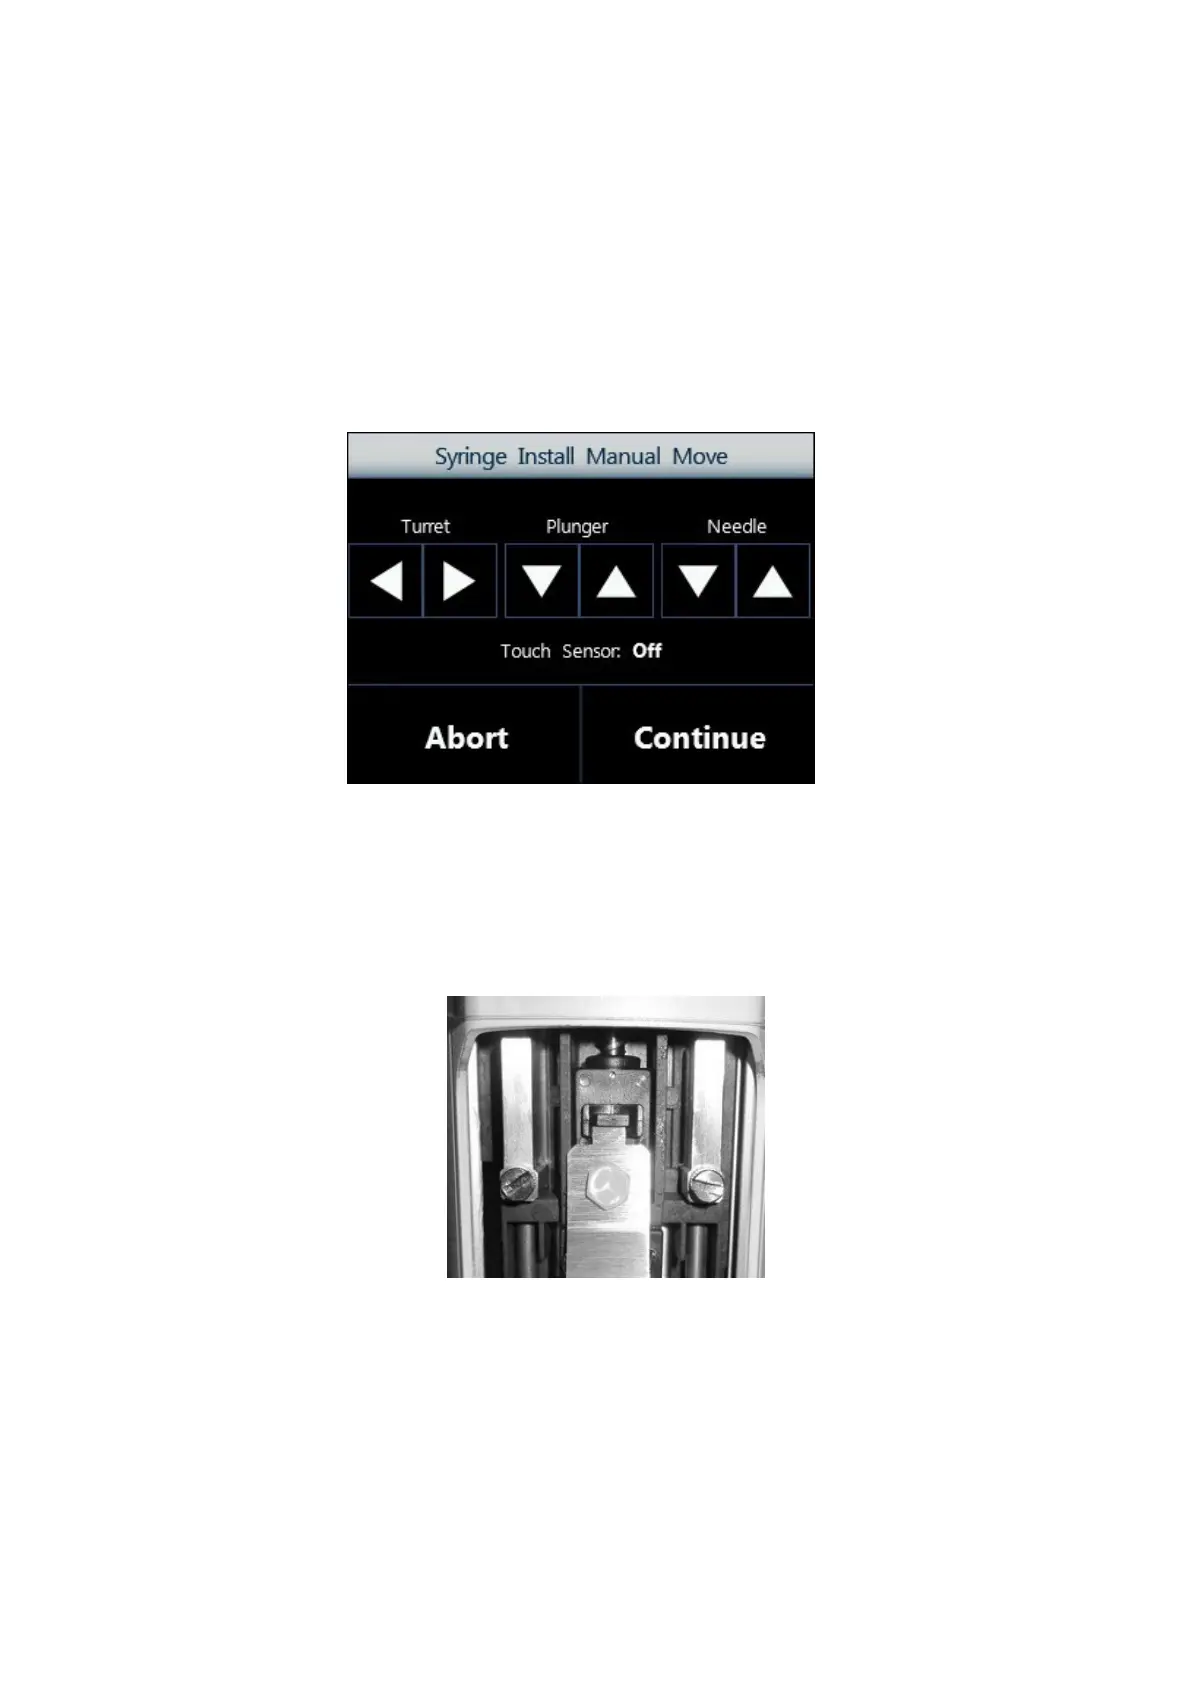
4. If the syringe location is not convenient tap “MANUAL” to display following screen. From
here, it is possible to move the plunger, tower (turret) and needle in order to reposition
autosampler to your desired position.
Figure 112: Syringe Install Manual Move screen
5. Follow this procedure:
a) Open the syringe location pushing up the sliding lid.
b) Remove the plunger locker pulling it out using the syringe pointer.
Figure 113: Plunger locker removing
c) Remove the syringe locker loosening the finger screws: