HT2800T_en_c.doc Page 182 of 275
5) “Insert new rack” screen: remove the rack for 20/10/6ml vial and install the rack for 2ml
vials, then press “CONTINUE”.
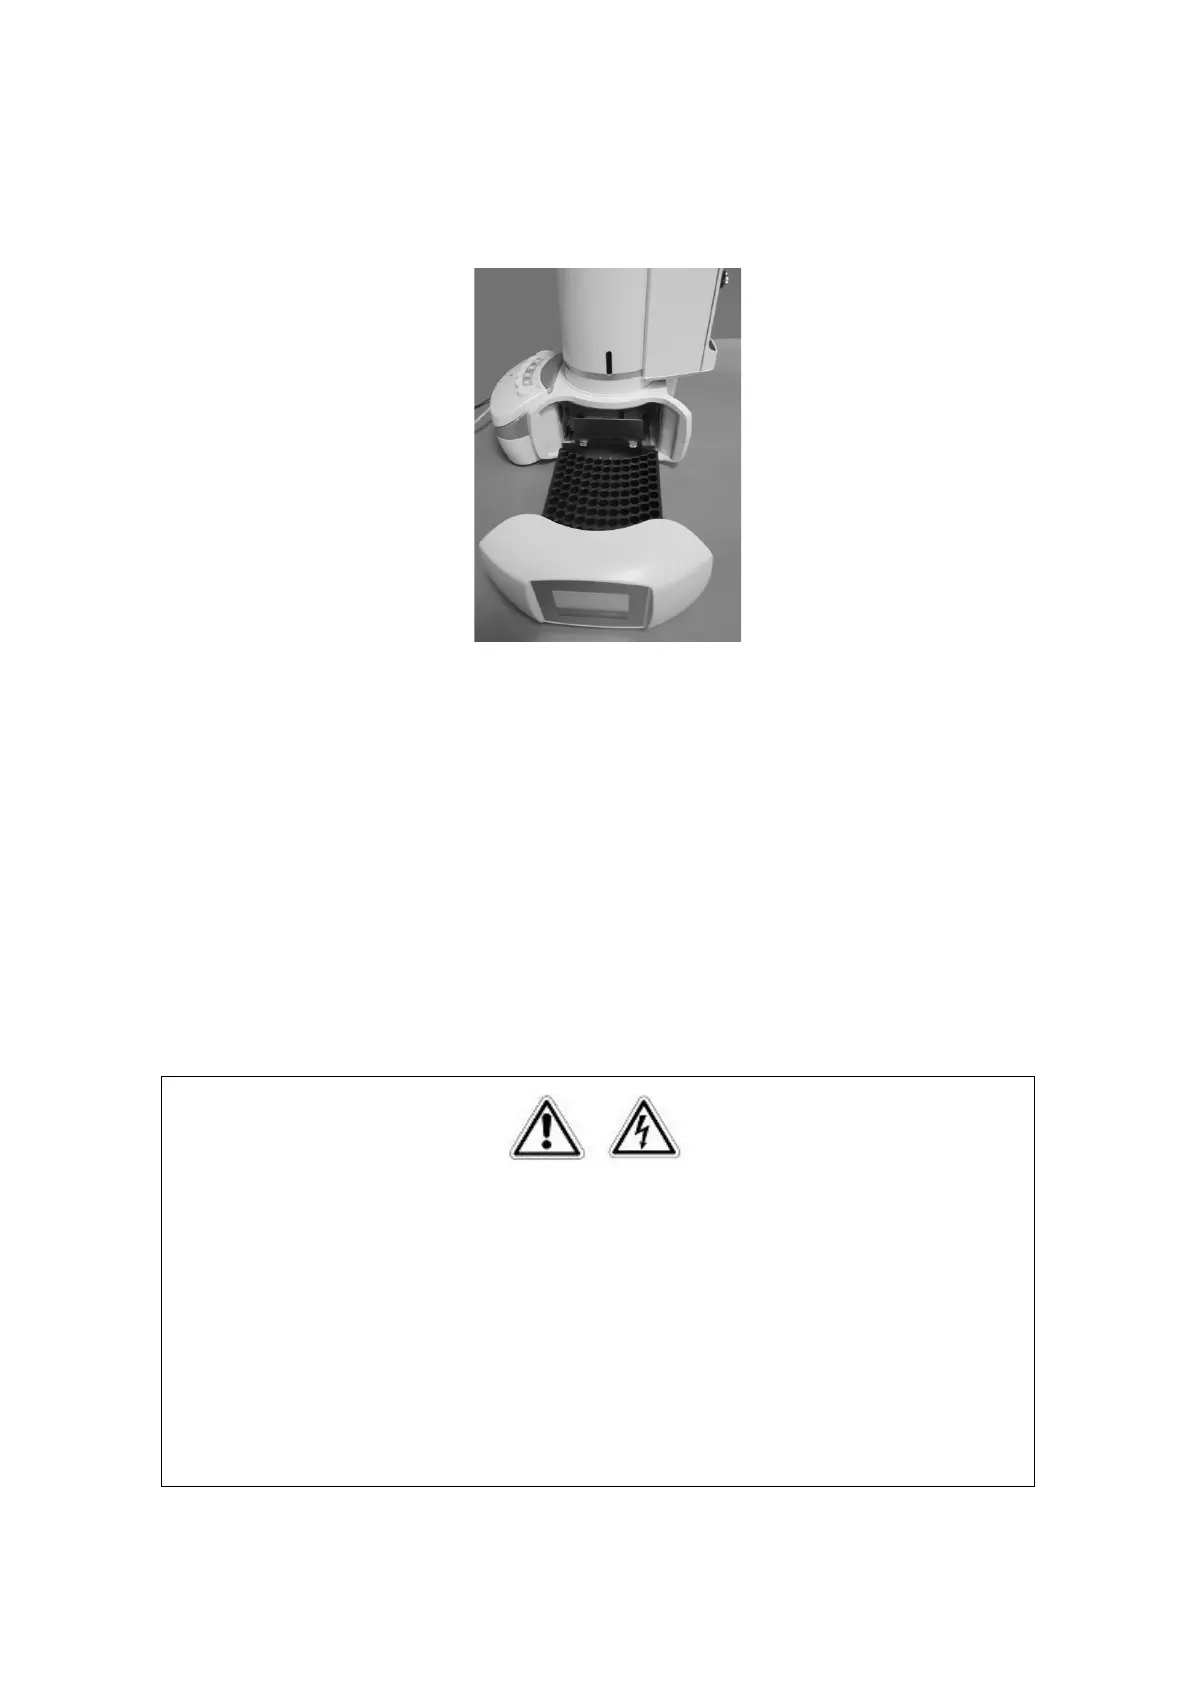
Figure 152: Rack for 2ml vials installation
6) “Insert black spacers and vials in position A6, C and waste vial in proper position”
screen: insert the six black spacers for liquid configuration in the oven, a 2ml sample vial
in the A.6 position of the rack, a solvent vial in position C of the oven and a waste vial
into its the dedicated position on the back of the autosampler (see paragraph 2.1.1.1
“HT2800T/HT2850T Main parts“), then press “CONTINUE”.
7) If during the final Zero procedure the alignment on injector is not correct please modify it
(see paragraphs 4.2.1.2 “Alignment: Front Injector“and 4.2.1.3 “Alignment: Rear
Injector“).
7.10.2 Change from SPME to Liquid mode
Warning
If syringeID system is used, be careful while handling the syringe holder of the SyringeID
system (1.7.2 “Options and 11.2 “Liquid mode“). Do not touch the connector or the
electronic circuit placed on the back of the holder. The components may be damaged. If
not used, the SyringeID holder must be stored in the antistatic bag supplied with the
packaging.