HT2800T_en_c.doc Page 221 of 275
1. Try to identify the cause of the damage and the position in which the damage happened.
Ensure the alignment on the sample vials and on the injector(s) (see paragraphs 4.2.1
“Setup: Alignment“) were made correctly. Check that the septa of the sample vials and
injector are correctly pierced in the centre.
2. Check that the syringe was installed correctly, as indicated in paragraph 4.2.2 “Setup:
Syringe warmer assembly installation/ replacement (Headspace mode)”, and
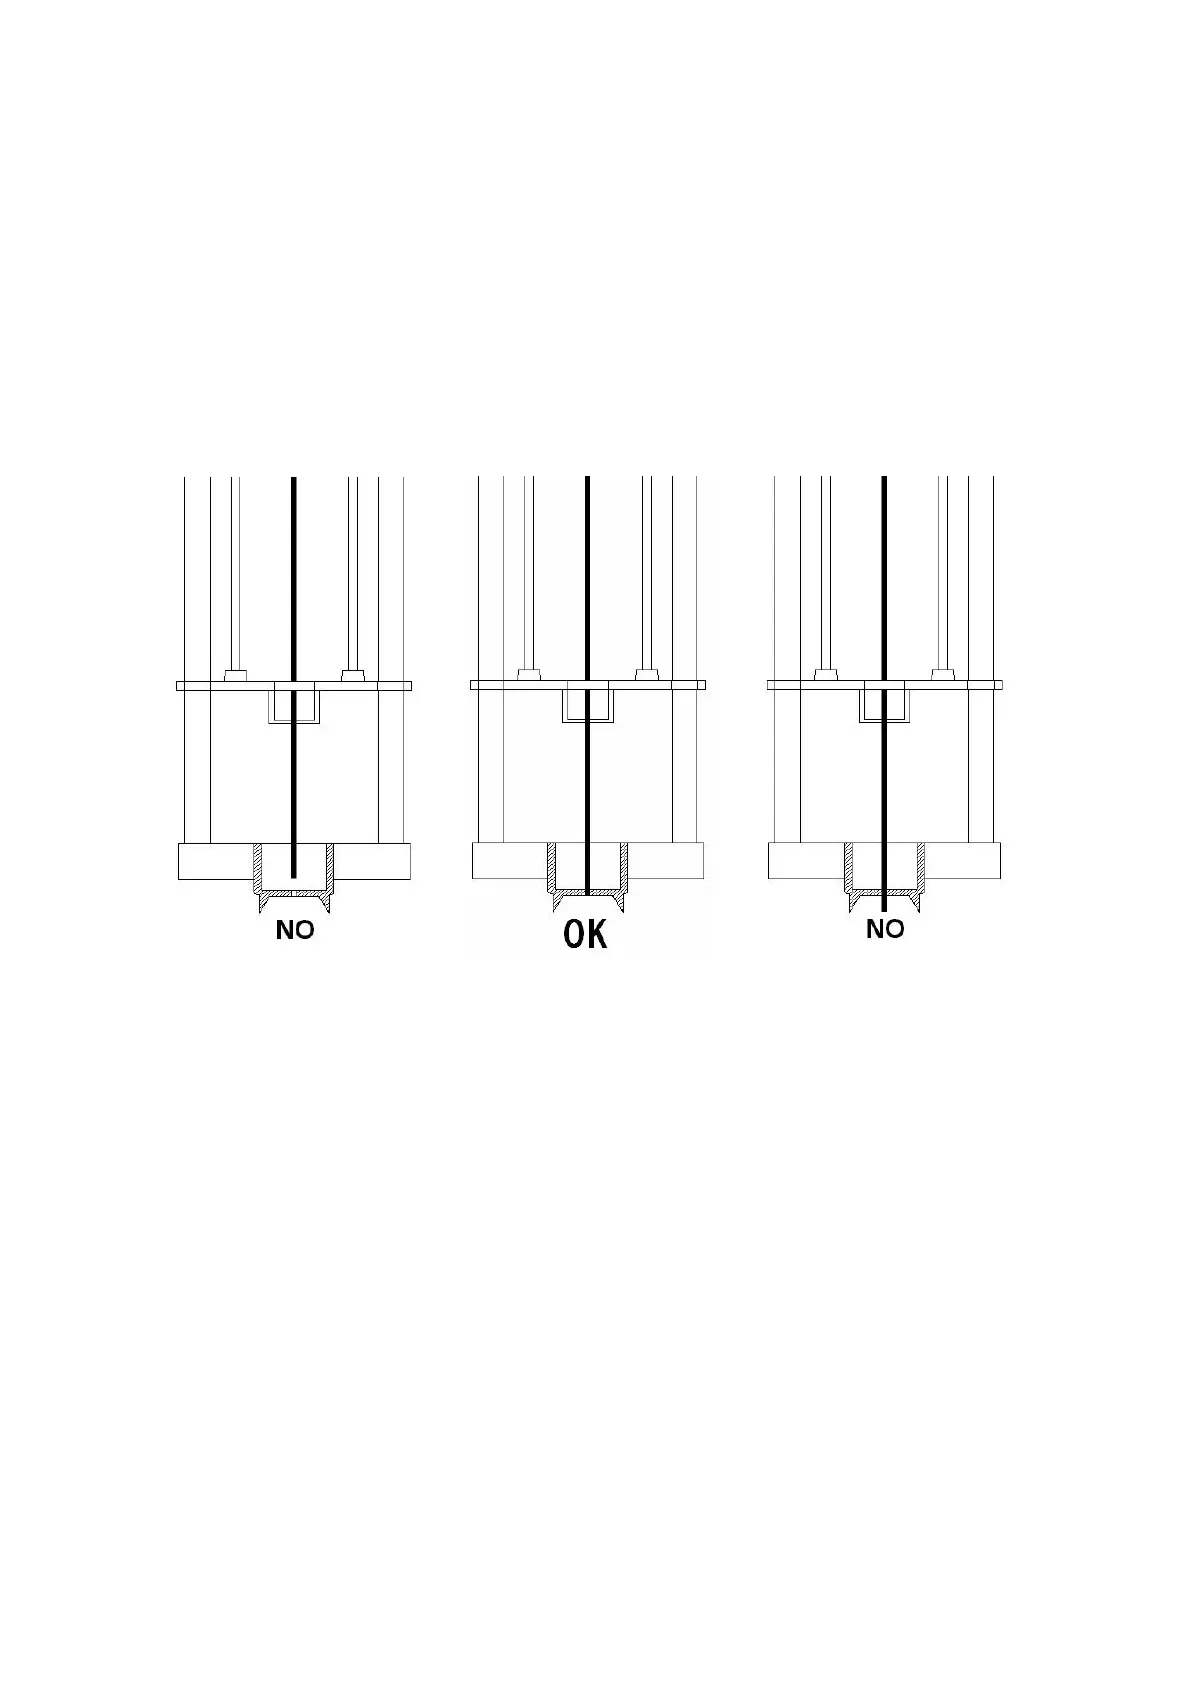
ensure that all instructions and notes were followed. In particular, check that the vial
locator was correctly aligned with the needle tip, as indicated in the following figure:
Figure 183: Damage to the syringe needle
3. Verify the specifications of the syringe with that supplied in 12 “Appendix B –
Consumables”. In particular, check that the needle used has a tip suitable for the septum
to pierce.
4. Verify suitable septa were used.
4. Check that there are no obstacles inside the vial(s) (such as an insert).
5. Inspect the syringe to check for abnormalities (see paragraph 8.16.1 “Syringe
inspection”).
8.16.1 Syringe inspection
Only for Headspace and liquid mode. Before installing a syringe perform the following inspection
procedure