HT2800T_en_c.doc Page 70 of 275
Figure 77: P address/Subnet mask modification
5) Follow the wizard to end the procedure (the instrument has to be switched off/on). If a
communication problem occurs, close the software and run it again.
3.5.2 Autosampler connected directly to the PC
3.5.2.1 Autosampler connected directly to the PC by the Ethernet port
1) Connect the autosampler directly to the PC, inserting the Ethernet cable provided with the
autosampler in the port indicated with the number 4 in Figure 29) and then into the Ethernet
port of the PC (see paragraph 3.3.3 “Electrical connections“);
2) The IT/ network administrator must verify that the PC you are working with has a static IP
address (do not work with DHCP);
3) Then operate as described in paragraph 3 . 5 . 1 . 2 “ Operations“ start from point 3).
3.5.2.2 Autosampler connected directly to the PC by a RS232 port
1) Connect the autosampler directly to the PC, inserting the serial cable provided with the
autosampler in the port indicated with the number 4 in Figure 29) and then onto the PC in any
RS232C port available. (see paragraph 3.3.3 “Electrical connections“);
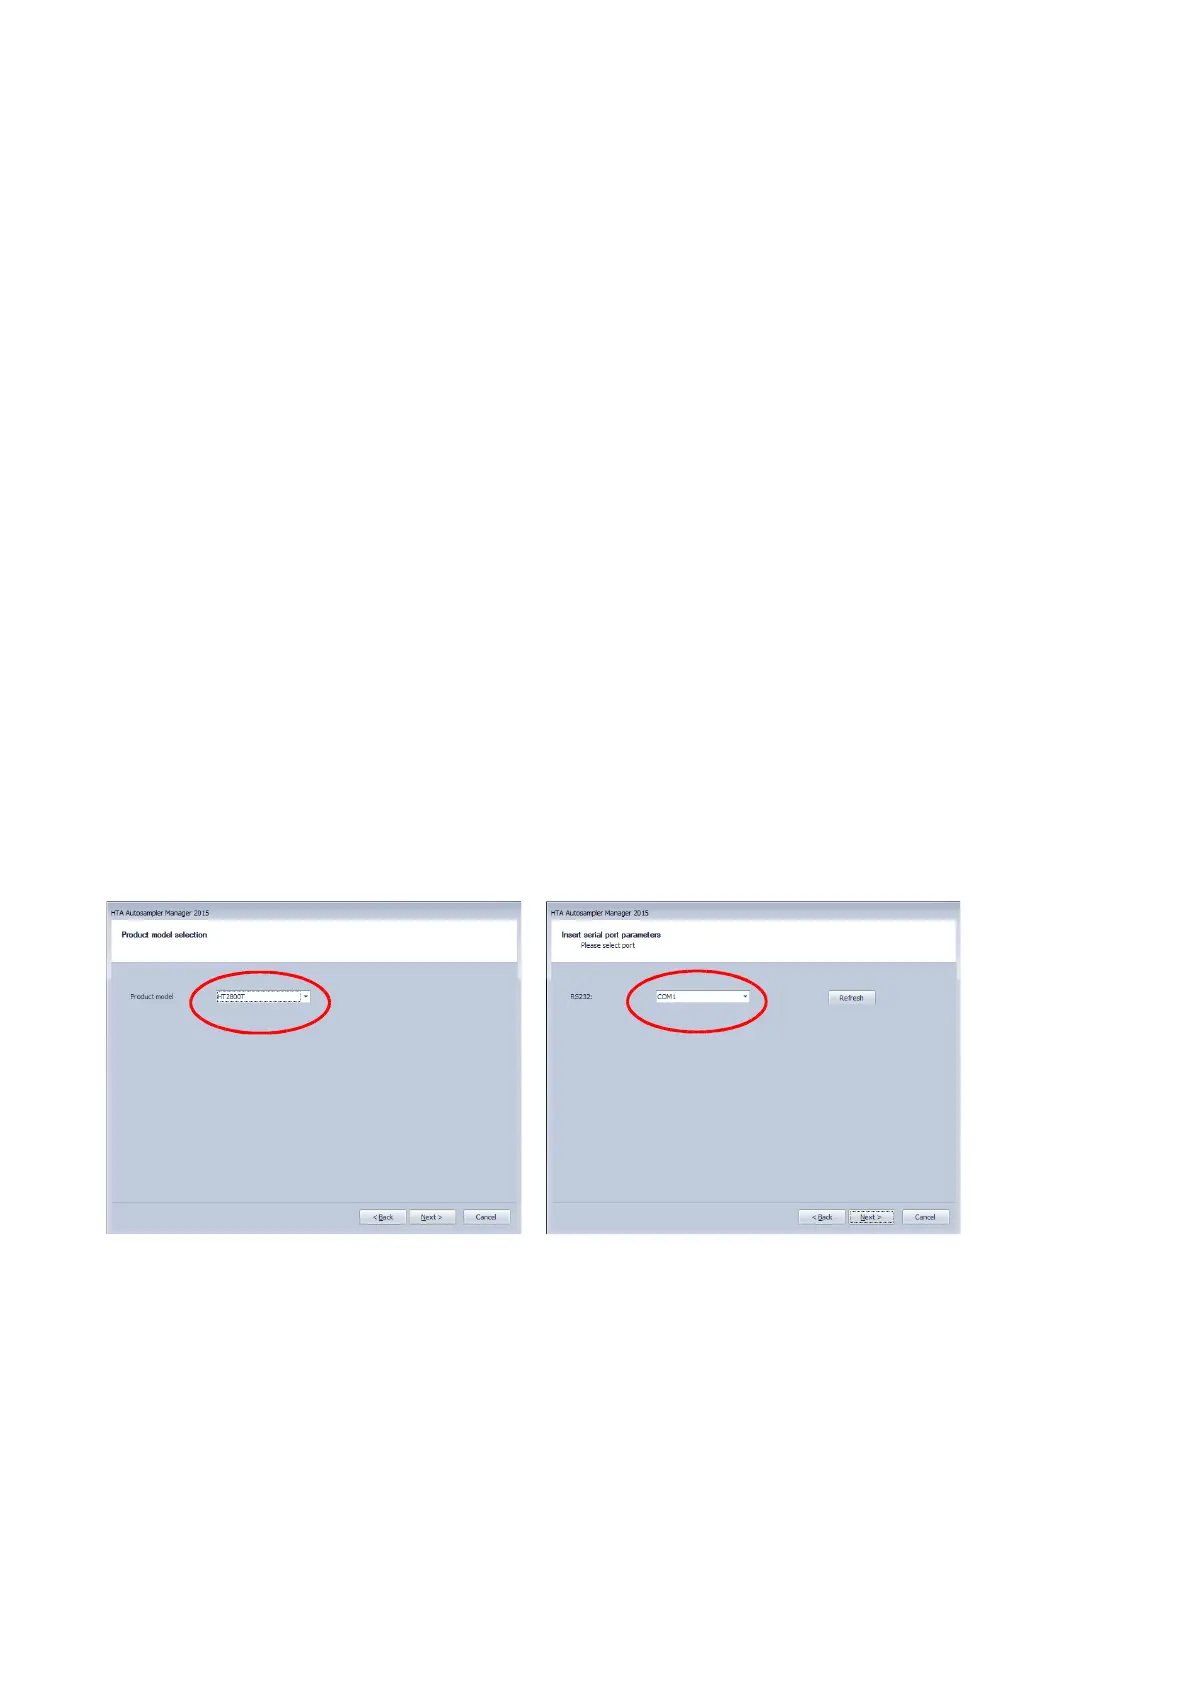
2) Then operate as described in paragraph 3 . 5 . 1 . 2 “ Operations“ start from point 3). The
only difference is that, instead of selecting “TCP/IP port” (see point 9), you have to select “Serial
Port” and then select the product model and the correct communication port from the combo
boxes.
Figure 78: PC connection by RS232 port