HT2800T_en_c.doc Page 200 of 275
Figure 176: Mount Headspace vial locator
12) “Fiber lenght” screen: select the lenght of the installed Fiber and press “SAVE”. If the
Fiber length has been modified, please check compatibility with injector depth values
(see paragraphs 4.2.1.2 “Alignment: Front Injector” and 4.2.1.3 “Alignment: Rear
Injector “).
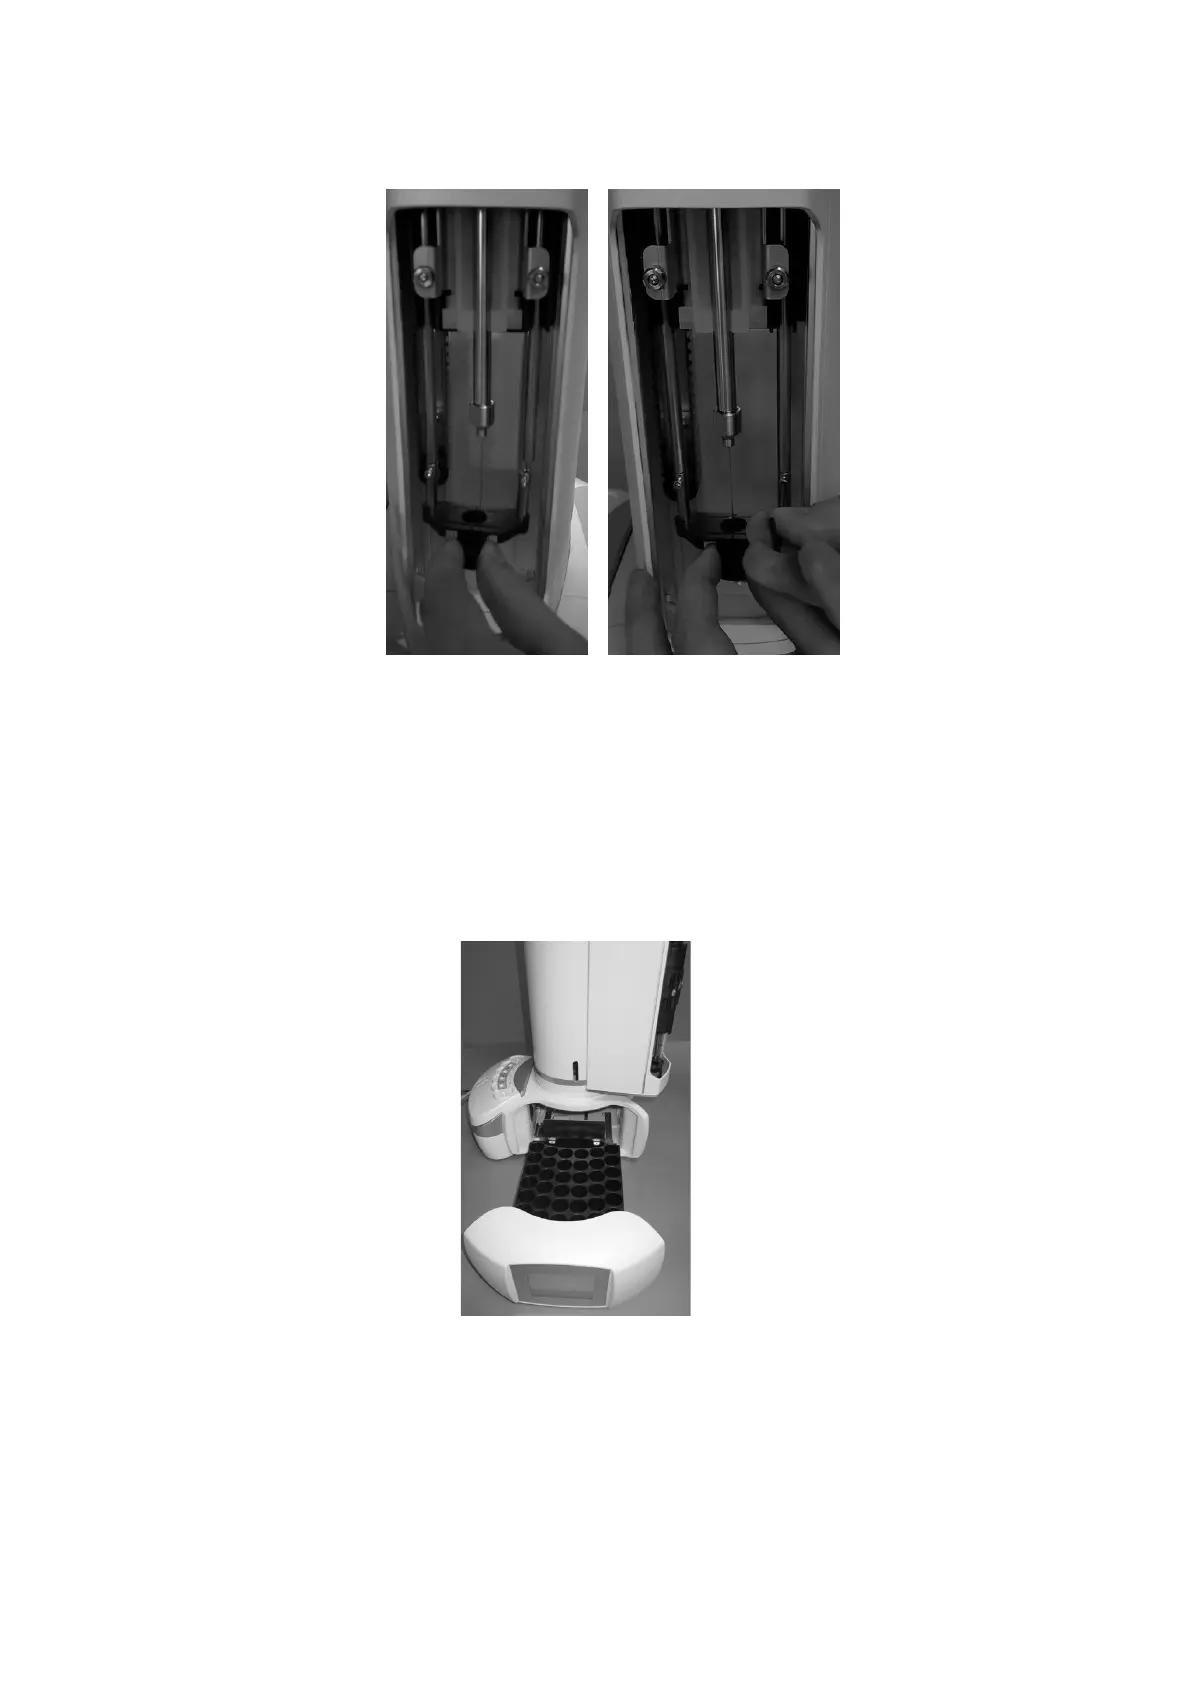
13) “Insert new rack” screen: remove the rack for 2ml vial and install the rack for 6/10/20ml
vials, then press “CONTINUE”.
Figure 177: Rack for 20ml vials installation
14) “Remove spacers and insert vials in position A4, C and wash vial in proper position”
screen: remove the six black spacers for liquid configuration in the oven using the
supplide tweezers (see paragraph 2.3 “Tool kit“), a 20ml sample vial in A.4 position of the