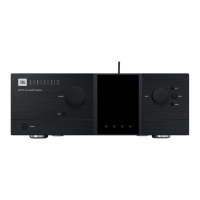
29
2.2 CONNECTING TO THE SDP-75
OVERVIEW OF THE NETWORK CONNECTION PROCEDURE
The factory settings of the SDP-75
are designed to make it as easy as possible to establish the first
network connection between your device (tablet or computer) and the SDP-75
so that you can
access its graphic user interface.
IMPORTANT NOTE: Please keep in mind that another straightforward option for using the SDP-75 is to
connect a display, mouse, and keyboard directly to the back panel PC connectors.
The following overview introduces the main steps of the network connection procedure in order to help you understand
the overall process and choose your preferred options:
1. Step 1: download and install a VNC Client software application on your device.
2. Step 2: put the SDP-75
and your device on the same network. Choose one of these options:
A. Your device joins the SDP-75’s Wi-Fi network: Disconnect your device from your usual Wi-Fi network
and connect it to the SDP-75‘s own Wi-Fi network (Access Point).
B. The SDP-75 joins your existing Wi-Fi network: use the SDP-75’s front panel menus to connect it to
your local Wi-Fi network.
C. The SDP-75
joins your existing Ethernet network: use an Ethernet cable to connect the SDP-75
to your
local Ethernet network.
3. Step 3: open your VNC Client and configure it to connect to the SDP-75’s VNC Server. Choose one of these
options:
A. iOS devices, Android devices or Mac OS X computers: the zeroconf-enabled VNC clients available for
these devices will not require knowing the IP address of the SDP-75.
B. Windows computers: you will need to configure your VNC client (Tight VNC) with the IP address of
the SDP-75.
4. Once your VNC Client is configured correctly, connect to the SDP-75’s VNC Server and start using the SDP-
75’s graphical user interface.
These steps are described in detail in the following pages.