44
CONNECTING THE SDP-75 TO A WI-FI NETWORK
The most flexible network option for the final installation of your SDP-75 is to connect it as a Wi-Fi client to your existing
Wi-Fi network. This will allow you to connect to the SDP-75 and to the Internet simultaneously, without switching back
and forth between two different Wi-Fi networks.
To connect the SDP-75 to an existing Wi-Fi
network:
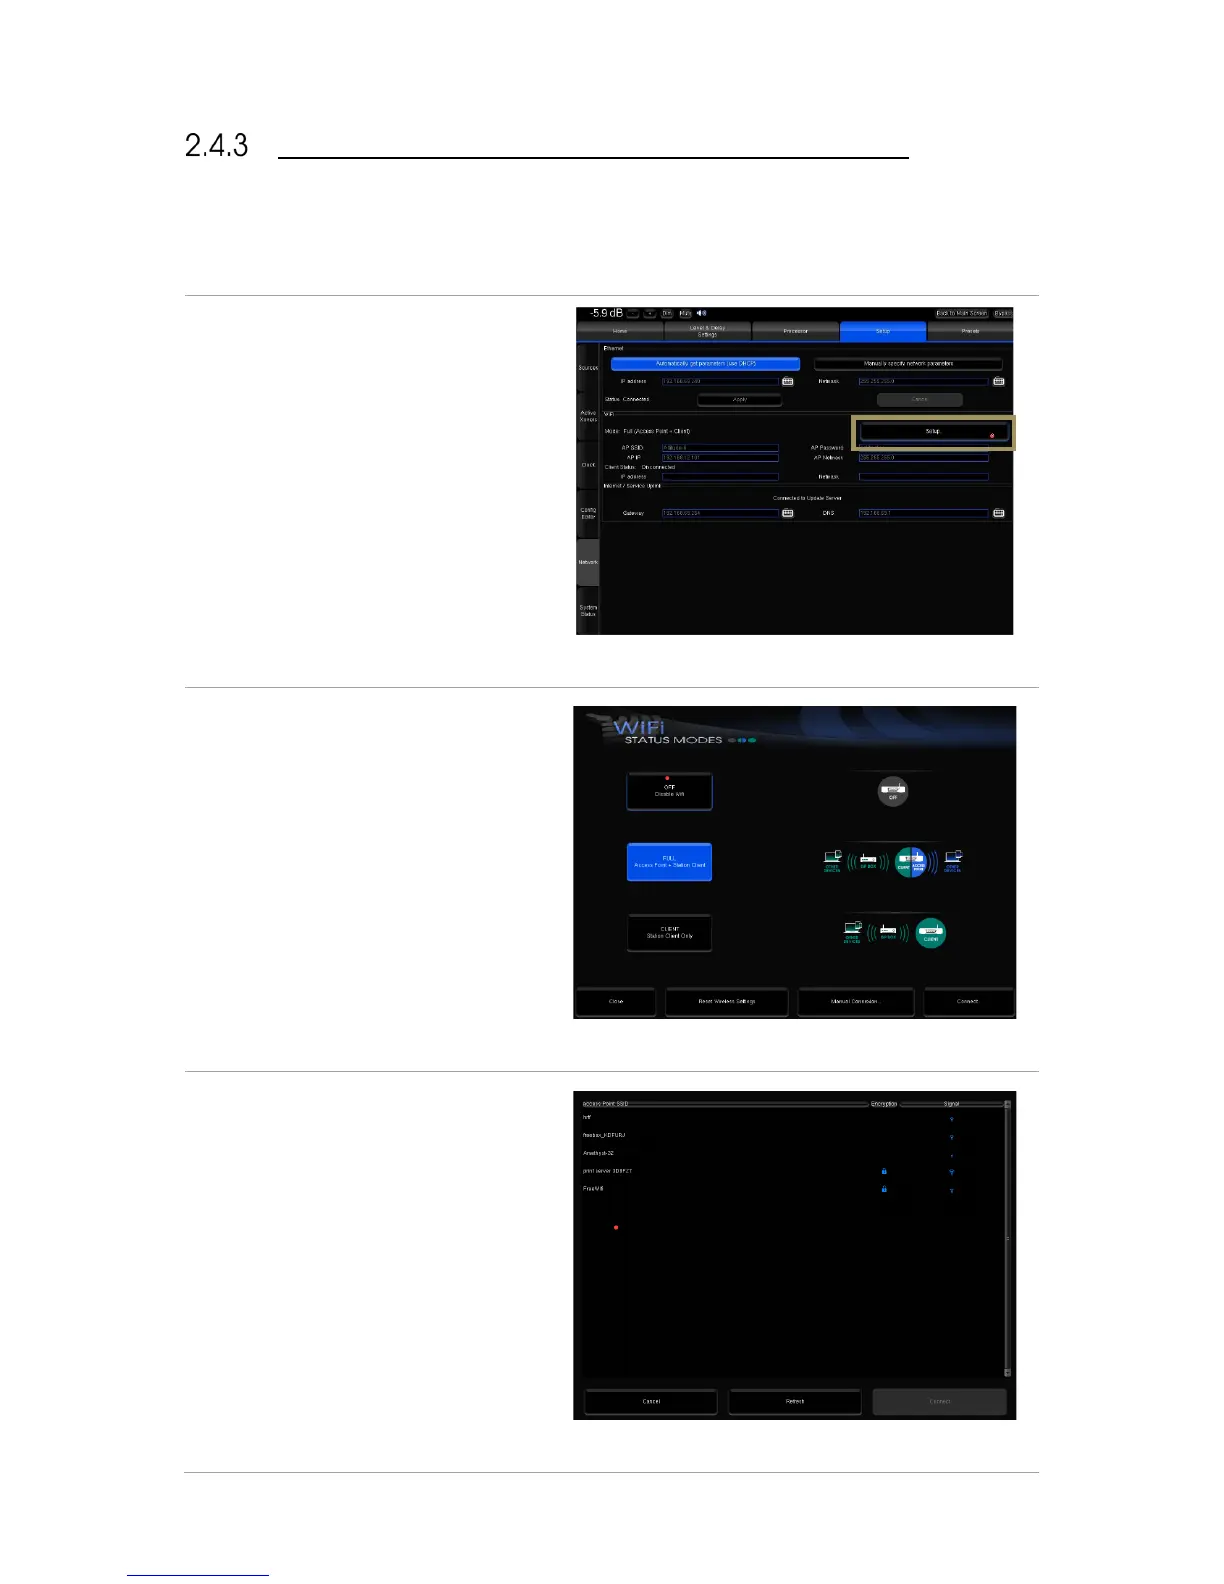
● Open the Advanced Settings user
interface.
● Go to the Setup/Network page.
● In the Wi-Fi section, click on the
Setup... button. This opens the Wi-
Fi Status Modes page.
Figure#29:#the#Setup/Ne tw o r k#p a g e#
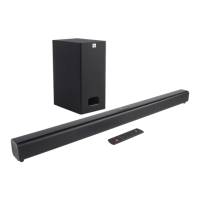
• Click on the Connect... button in
the bottom right corner of the
page. This will display the
available Wi-Fi networks. The
encryption column displays a lock
icon when the network is
protected by a passphrase and/or
encrypted. The signal column
displays a Wi-Fi signal icon,
indicating the strength of the Wi-
Fi signal
#
Figure#30:#Wi-Fi#status#modes#page#
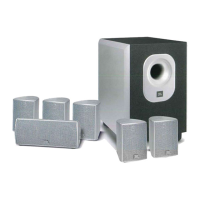
• Select the Wi-Fi network you want
to join, and click on the Connect
button. If you select an encrypted
Access Point, you will be asked for
the passphrase.
• Enter the passphrase and press
the OK button.
Your SDP-75 should now be
connected to the chosen Wi-Fi
network.
#
Figure#31:#list#of#available#W i-Fi#networks#