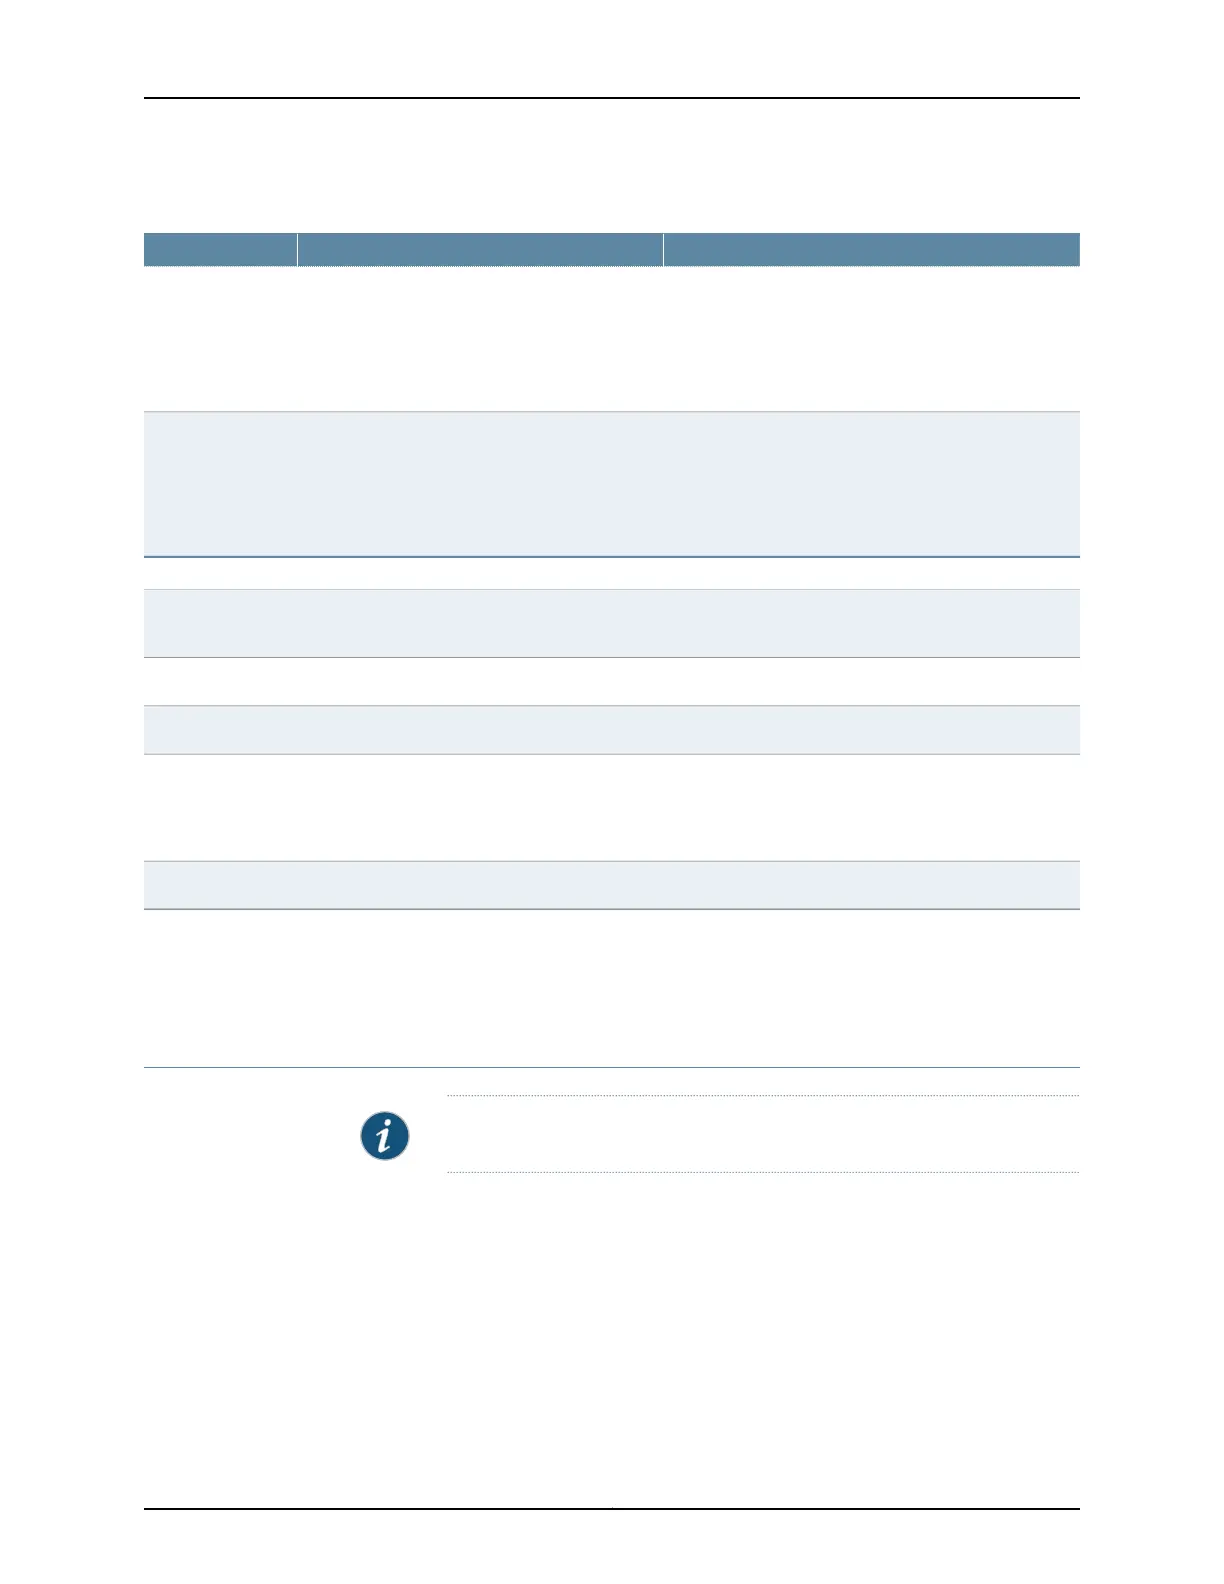
Table 71: Edit OSPF Global Settings (continued)
Your ActionFunctionField
Click Add to add an import policy.
Click Moveup or Move down to move the selected policy
up or down the list of policies.
Click Remove to remove an import policy.
Specifies one or more policies to control which
routes learned from an area are used to generate
summary link-state advertisements (LSAs) into
other areas.
Import Policy
Click Add to add an export policy.
Click Moveup or Move down to move the selected policy
up or down the list of policies.
Click Remove to remove an export policy.
Specifies one or more policies to control which
summary LSAs are flooded into an area.
Export Policy
Trace Options tab
Type or select and edit the name.Specifies the name of the file to receive the
output of the tracing operation.
File Name
Type or select and edit the name.Specifies the maximum number of trace files.Number of Files
Type or select and edit the name.Specifies the maximum size for each trace file.File Size
Select True to allow any user to read the file.
Select False to disallow all users being able to read the
file.
Specifies whether the trace file can be read by
any user or not.
World Readable
Select a value from the list.Specifies the tracing operation to perform.Flags
Related
Documentation
Monitoring OSPF Routing Information on page 209•
• Layer 3 Protocols Supported on EX Series Switches
Configuring a RIP Network (J-Web Procedure)
NOTE: This topic applies only to the J-Web Application package.
You can use the J-Web interface to create RIP networks.
To configure a RIP network:
Copyright © 2017, Juniper Networks, Inc.144
J-Web Application Package User Guide for EX Series Switches, Release 14.1X53-A1