Enabling limits
Use the following procedure to turn on the limits operation:
1. Press the SHIFT-ON/OFF keys to view the present beeper status:
BEEP: NEVER
2. Use the ▲ and ▼ keys to change the beeper status (NEVER, OUTSIDE, INSIDE). Press
ENTER when finished.
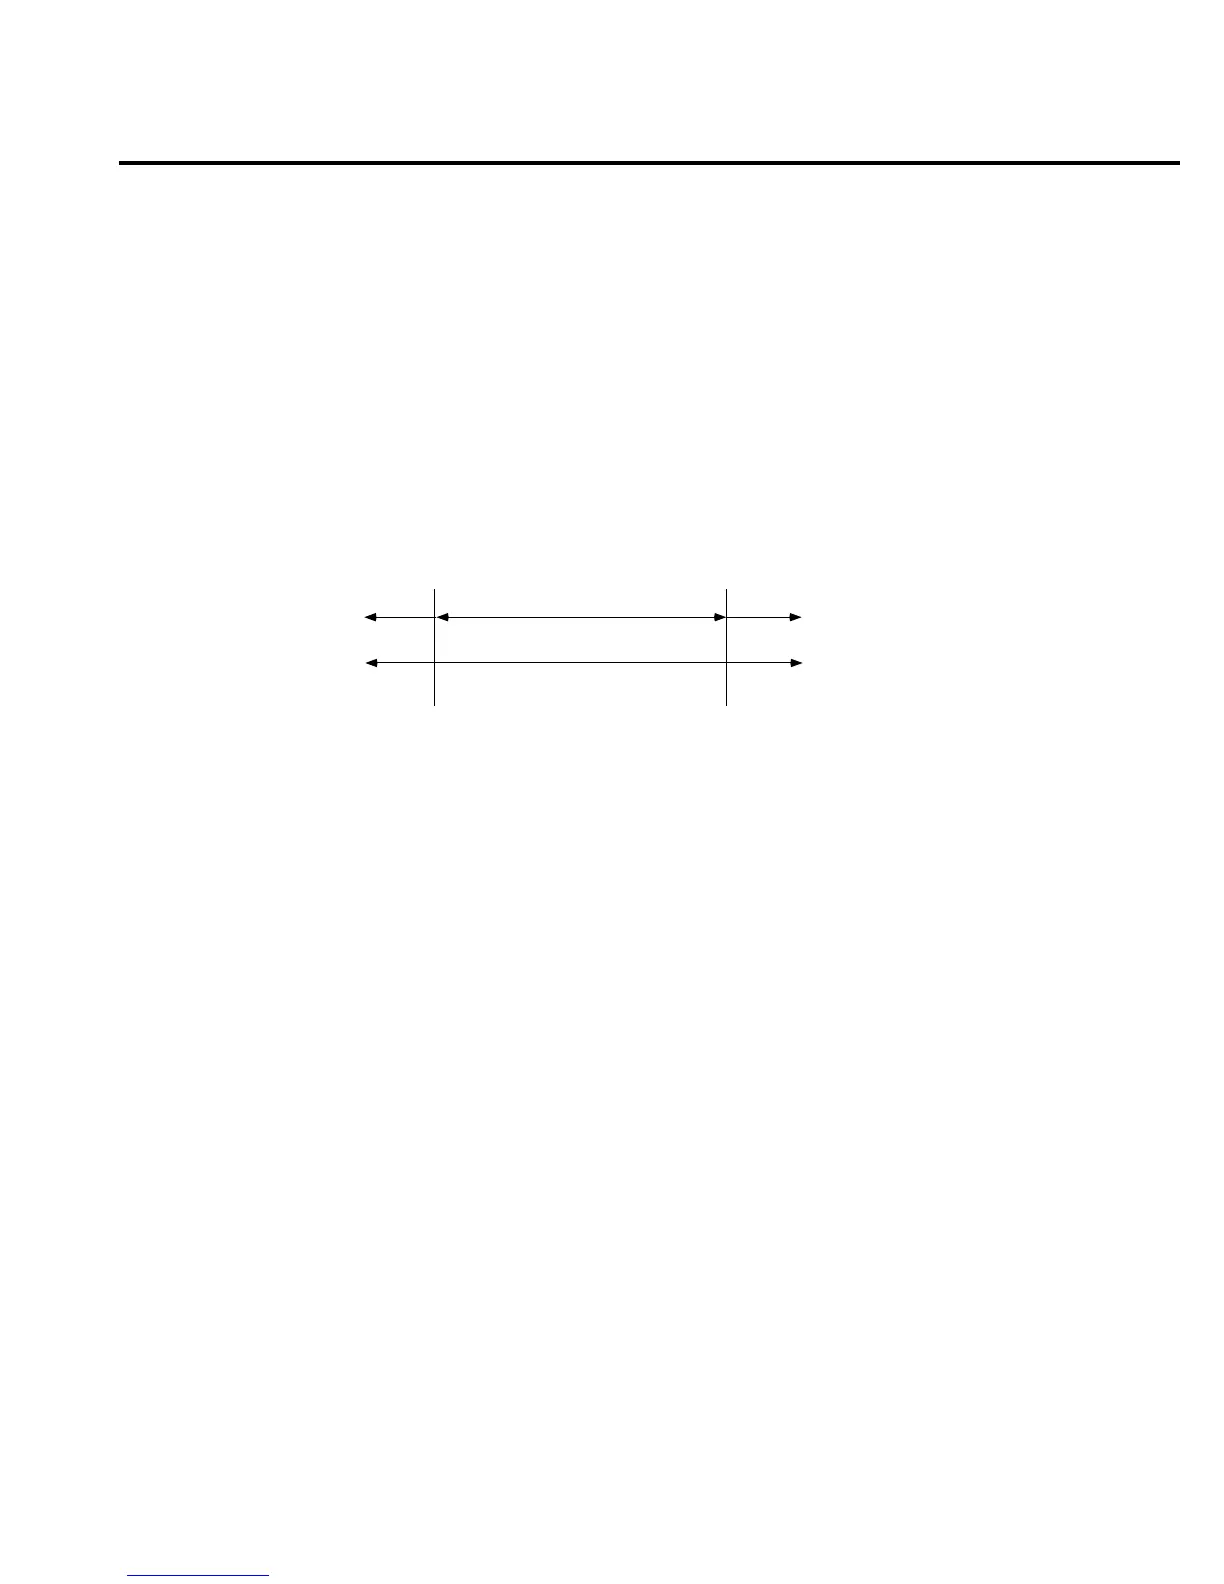
When the multimeter returns to the normal display, the HI/IN/LO status is displayed along
with the reading. To disable limit testing, press SHIFT-ON/OFF again. An example of using
limits to sort resistors is shown in Figure 3-11.
The CALC3:LIMit2 subsystem has all the same commands available as the CALC3:LIMit[1]
subsystem. From the front panel, the same menu is used to control the beeping state and
conditions (inside or outside) for both limits. Since there is only one beeper, there are two
distinct tones used for the two limits, but limit set 1 will take precedence.
Example: Power up with default limits (HLIM1 = +1, LLIM1 = -1,HLIM2 = +2, LLIM2 = -2).
Set the beeper to beep inside. Then, apply 0.9 volts. The beep will be higher in pitch. When the
voltage is increased past 1V, the input is no longer inside limit set 1 but is still inside limit set 2.
At that point, the tone of the beep will change, indicating that you are still inside limit set 2.
NOTE: Limit 1 takes priority over Limit 2 when beeper is set to outside. No change in tone
will be detected.
LO IN HI
90Ω
LO Limit
110Ω
HI Limit
gure
-
Using limits test to
sort 100
Ω
, 10%
resistors
Measurement Options 3-19

 Loading...


