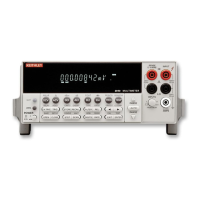
Measuring resistance
The Model 2010 can make two-wire and four-wire resistance measurements from 1µΩ to
120MΩ.
Connections
Assuming factory default conditions, the basic procedure is:
1. Connect test leads to the Model 2010 as follows:
A. For Ω2-wire, connect the test leads to INPUT HI and LO.
B. For Ω4-wire, connect the test leads to INPUT HI and LO, and SENSE Ω4 WIRE
HI and LO. Recommended Kelvin test probes include the Keithley Models 5805
and 5806. Either the front or rear inputs can be used; place the INPUTS button in
the appropriate position.
2. Select the measurement function by pressing Ω2 or Ω4.
3. Pressing AUTO toggles autoranging. Notice the AUTO annunciator is displayed with
autoranging. If you want manual ranging, use the RANGE ▲ and ▼ keys to select a
measurement range consistent with the expected resistance.
4. Connect test leads to the resistance as shown in Figure 2-6.
CAUTION Do not apply more than 1000V peak between INPUT HI and LO or 350V
peak between SENSE HI and SENSE LO, or instrument damage may occur.
5. Observe the display. If the “OVERFLOW” message is displayed, select a higher range
until an on-scale reading is displayed. Use the lowest possible range for the best
resolution.
6. Take a reading from the display.
2-24 Basic Measurements

 Loading...