System Settings
3-8
4
Press [Close]. The touch panel will return to the Copy Default screen.
Selecting Copy Paper for Zooming
Automatically specifies the copy paper according to the selected zooming level or according to the
size of the original document.
1
Access the Copy Default screen. (For instructions, refer to Accessing the Copy Default Screen on
page 3-3.)
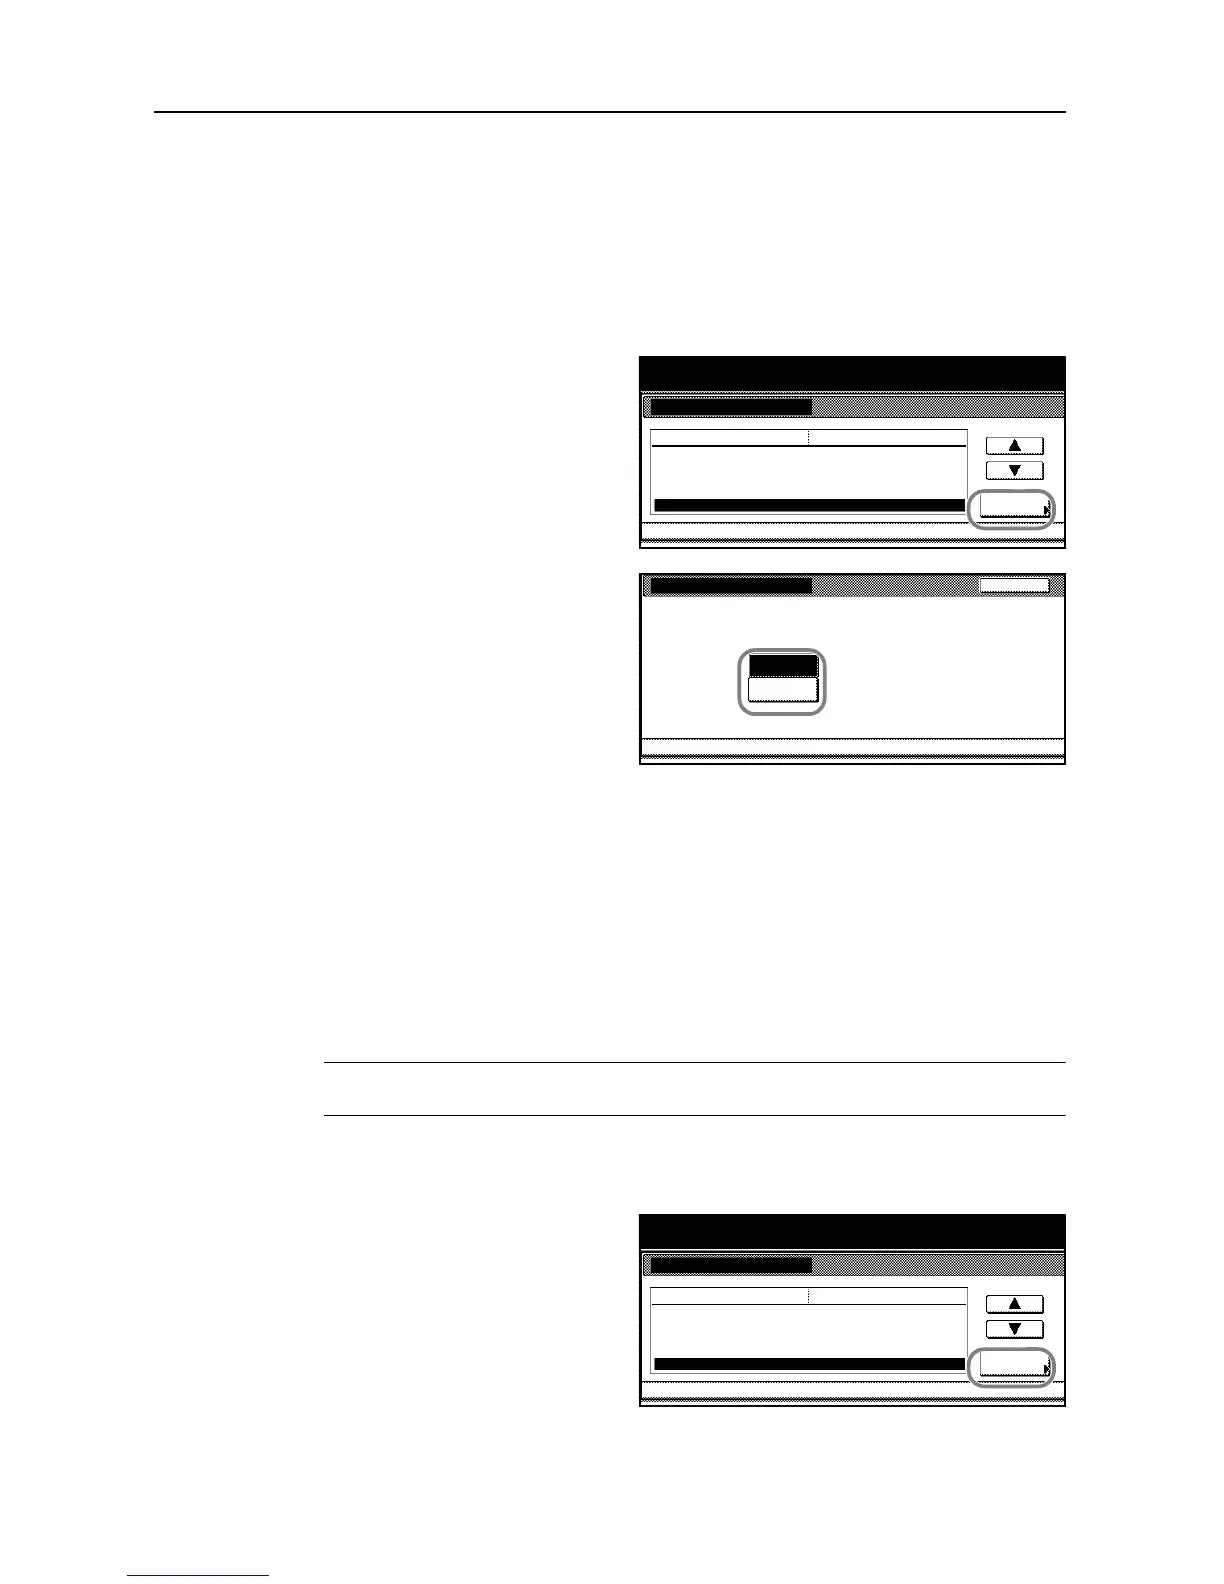
2
Press [S] or [T] to select APS Setting
and press [Change #].
3
Choose [Most Suit Size] to automatically
copy the zoomed image onto the target
zoom size. Choose [Same as Orig. Size]
to copy the zoomed image on the size
matching the size of the original.
4
Press [Close]. The touch panel will return to the Copy Default screen.
Selecting Media Types for Automatic Paper Selection
Specifies the type of paper when the copier automatically selects the copy paper according to the
size of the original. The type of paper can be specified from the following types of paper supported.
Plain, Transparency, Rough, Vellum, Labels, Recycled, Preprinted, Bond, Cardstock, Color
(Colour), Prepunched, Letterhead, Thick paper, Envelope, High Quality and Custom 1-8
When Plain is selected in the following example, the copier looks for the cassette or MP tray in
which the paper of the matching type (plain) and size (of the original document) is loaded and
begins copying.
NOTE: To assign media type to the cassette according to the type of the paper loaded, refer to
Selecting Media Type on page 3-22 for details.
1
Access the Copy Default screen. (For instructions, refer to Accessing the Copy Default Screen on
page 3-3.)
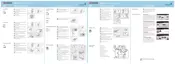
2
Press [S] or [T] to select Select media
type (APS) and press [Change #].