Document and Output Management Functions
2-6
4
Complete the function settings as required.
The following functions are available.
To select other documents, press [Select document].
5
Use the numeric keys to enter the copy quantity.
6
Press the Start key to start printing.
Reviewing and Renaming Documents
Check the size, registered date and other information on documents stored in the Shared Data Box,
and rename documents. You can also print the first page of documents for review.
1
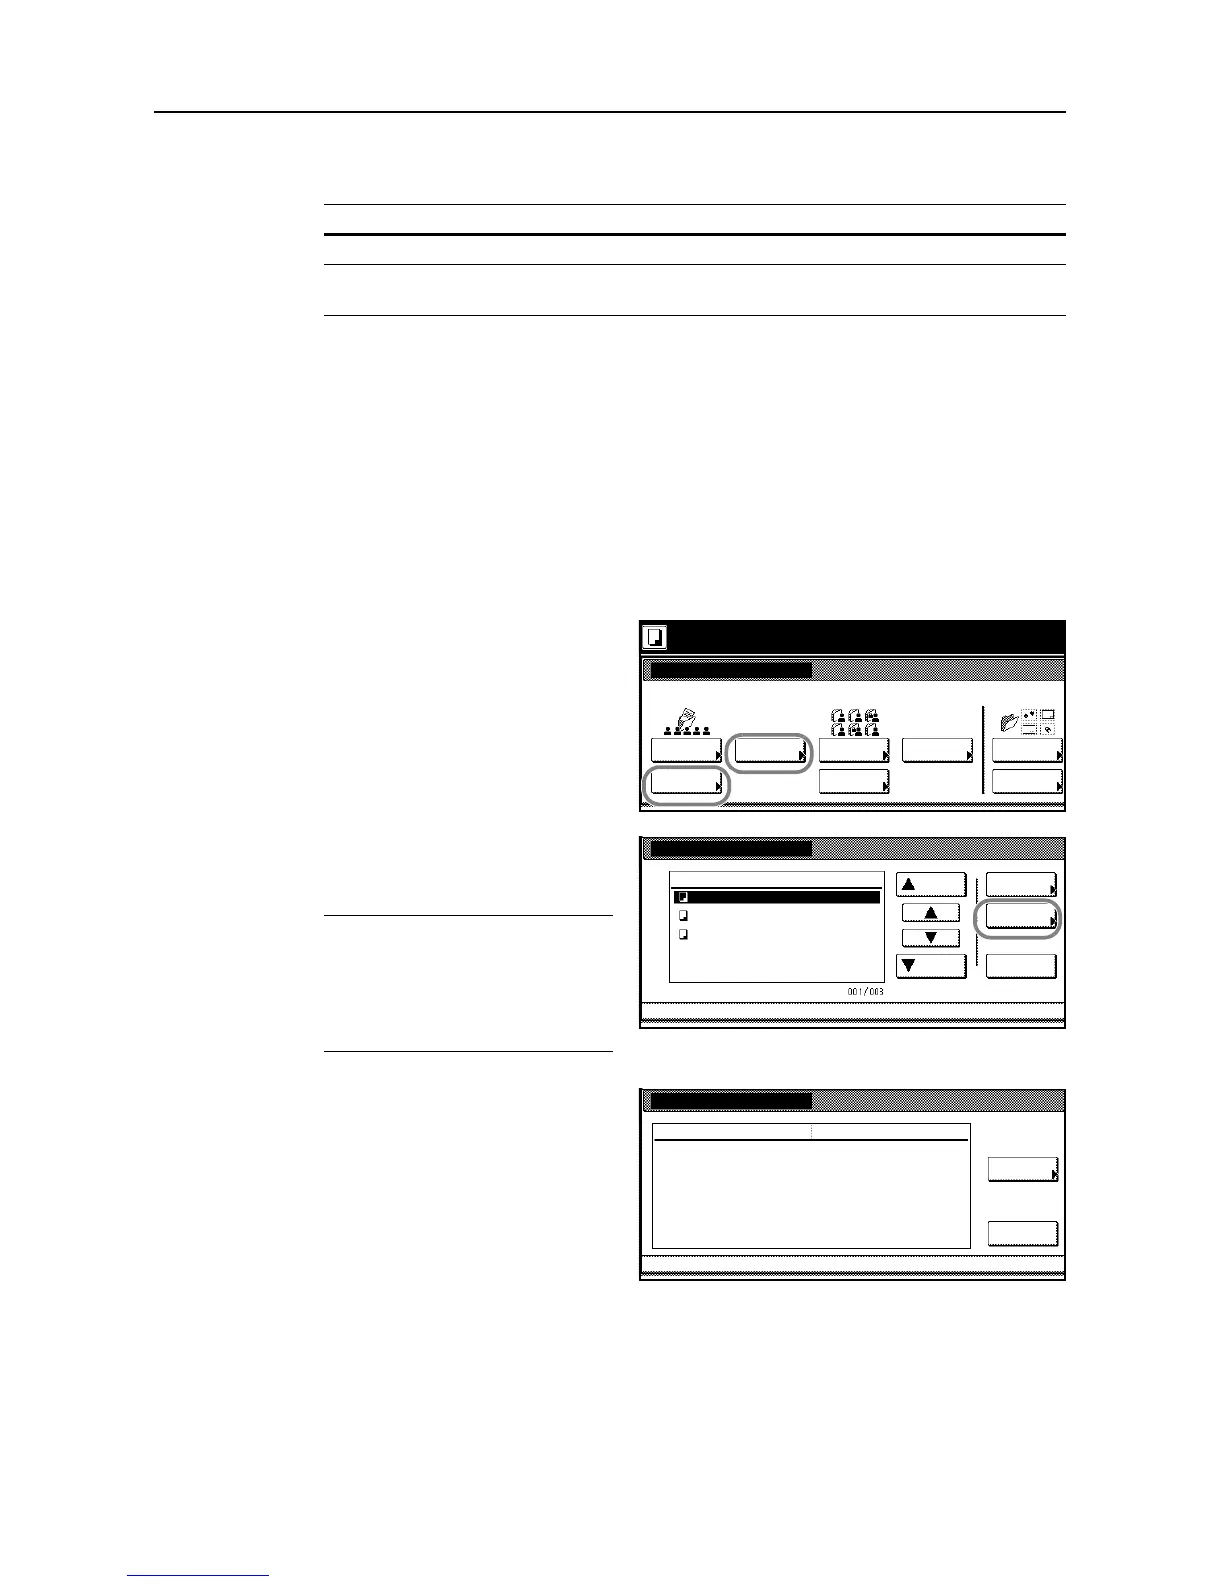
Press the Document Management key.
2
Under Shared Data Box, press
[Document Printing] or [Box Editing].
3
Select the document to be checked and
press [Document Properties]
([Check/Rev. Details]).
NOTE: You can change the document
collate order. Press [Order of
indication] and choose from [Sort by
Date] ([New J Old] and [Old J New])
or [Sort by Name] ([A J Z] and [Z J
A]).
4
Check the displayed selection.
To print the first page, press [Print from
1st] ([Head Print]).
To rename the document, press
[Change doc. name] and enter the new
document name.
For instructions on entering characters,
refer to Entering Characters When Using
Document Management Functions on
page 3-58.
5
After reviewing the document, press [Close]. The touch panel will return to the screen from step 3.
To check other documents, repeat steps 3 to 5.
6
Press [Cancel] or [Close]. The touch panel will return to the Document Management screen.
Tab Functions
Basic Paper selection, collate/offset, duplexing, and stapling or hole punching
Edit Image compositing, margins, covers, page numbering, booklets, and output
destination