314 X75HD/X75SD Installation and Operation Manual
Appendix D: Software
3. To add new Trap Destination IP Addresses, see “Adding New
Addresses for SNMP Traps” on page 314. To modify them, see
“Modifying an SNMP Trap Destination” on page 315.
4. (Optional) If you wish the device to reboot automatically when you
send the new configuration to it, place a check beside Reboot
device after performing transfer.
5. Click Write to send the new configuration to the device.
6. If you did not place a check beside Reboot device after
performing transfer in step 6, click Reboot now and your changes
to the configuration will take effect.
Adding New Addresses for SNMP Traps
To add a new SNMP trap destination, follow this procedure:
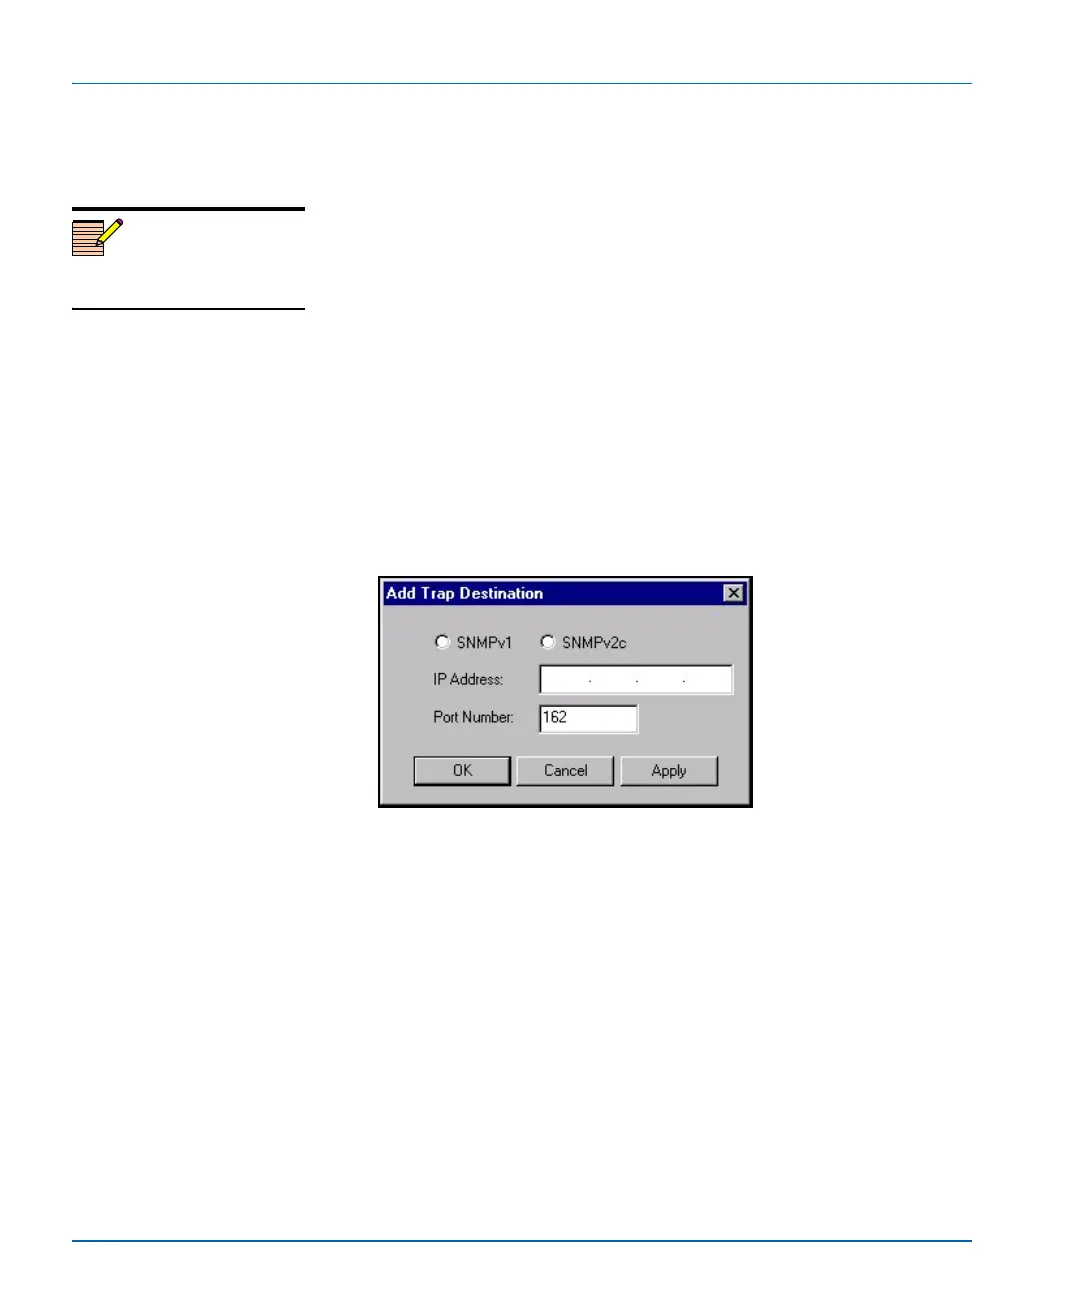
1. Click Add beneath the Trap Destination IP Addresses field. The
Add Trap Destination window opens.
Figure D-6. Add Trap Destination Window
2. Choose the SNMP version that you would like to use for traps.
3. Choose the IP address of that trap destination.
4. Choose the port number. The default is 162, but an administrator
can set this to any number between 0 and 65535.
5. Click Apply. A new line is added in the Trap Destination IP
Addresses field.
6. Repeat steps 2 through 5 to add more rows to the window.
7. Click OK to return to the SNMP tab of the Configuration window.
Note
The device must be rebooted
before changes will take effect.
 Loading...