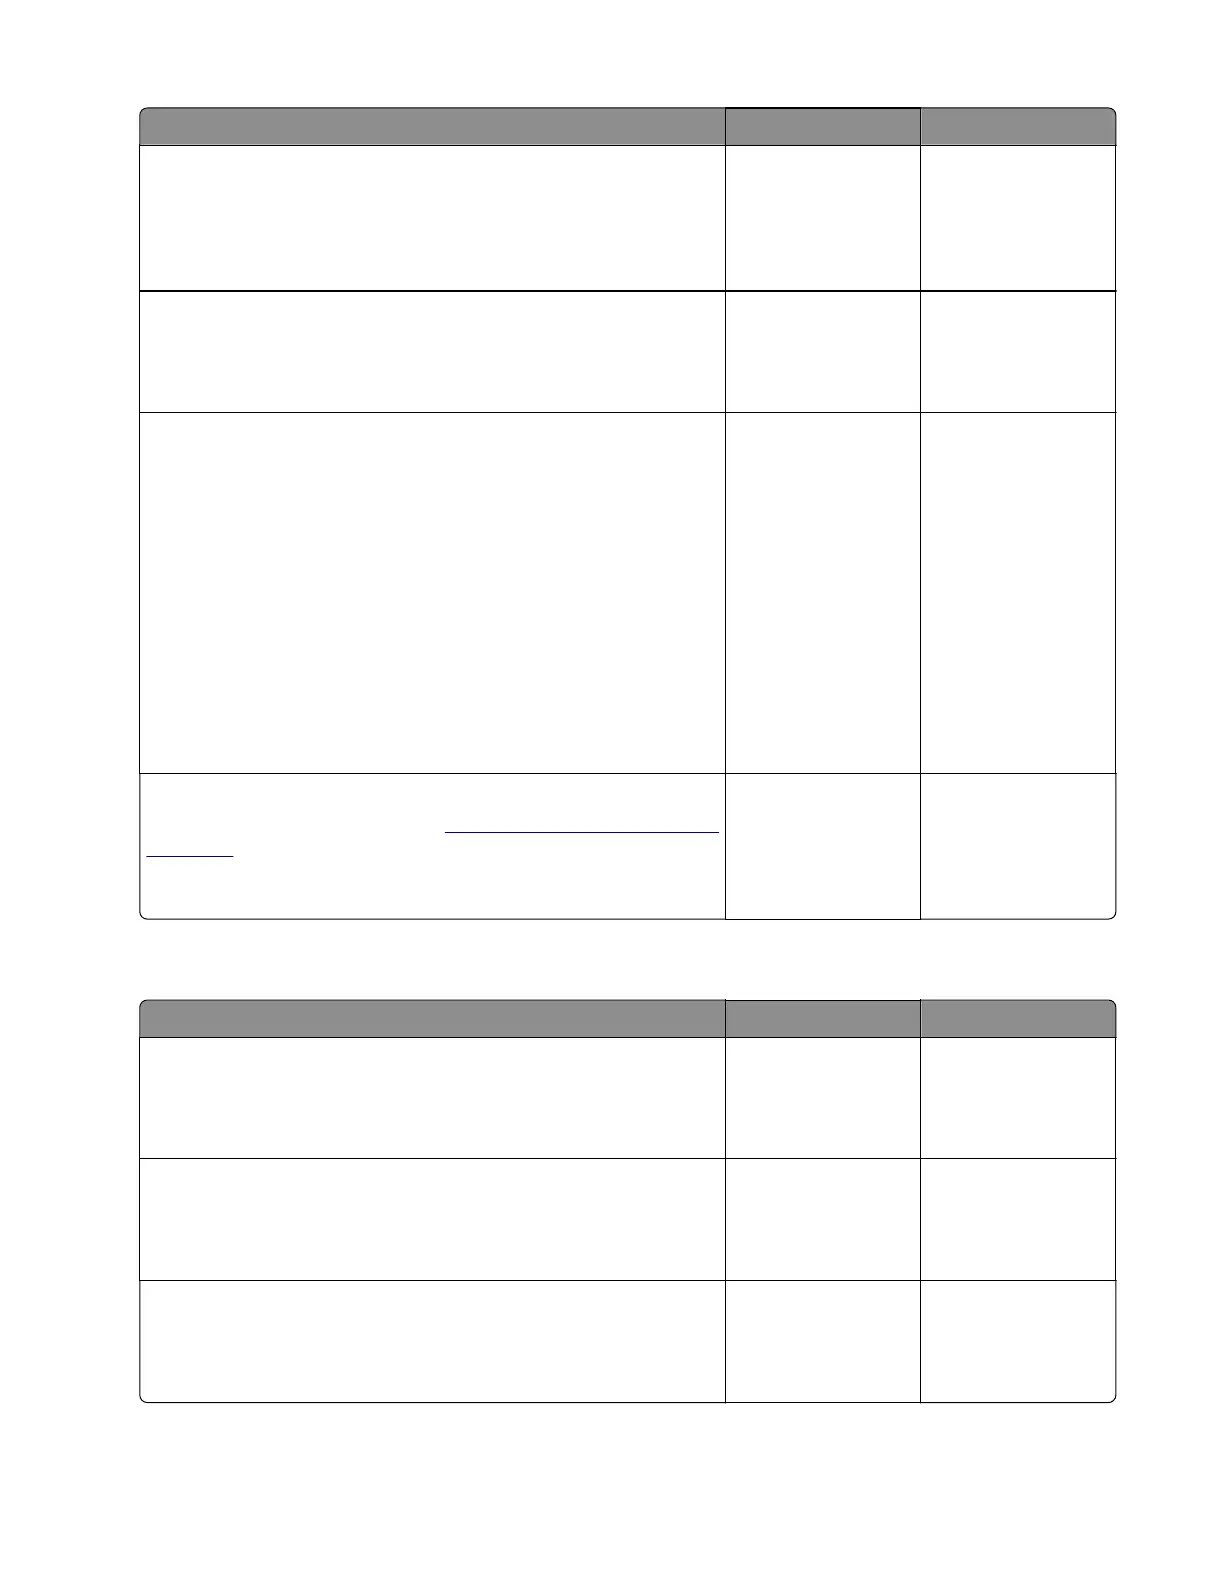
Action Yes No
Step 5
Make sure that the modem cable is properly connected to the
modem card and to the JFAX2 connector on the controller board.
Does the problem remain?
Go to step 6. The problem is
solved.
Step 6
Replace the fax card.
Does the problem remain?
Go to step 7. The problem is
solved.
Step 7
Check the voltages values of the following pins on the JFAX2
connector on the controller board:
• Pin 2: +3.3 V dc
• Pin 3: +3.3 V dc
• Pin 5: +5 V dc
• Pin 7: Ground
• Pin 9: Ground
• Pin 11: Ground
• Pin 13: Ground
Are the voltage values approximately the same?
Contact the next
level of support.
Go to step 8.
Step 8
Replace the controller board. See
“Controller board removal” on
page 244.
Does the problem remain?
Contact the next
level of support.
The problem is
solved.
Blank spaces on incoming fax service check
Actions Yes No
Step 1
Receive fax from another machine.
Does the problem remain?
Go to step 2. The problem is
solved.
Step 2
Attach the printer to a dierent telephone line.
Does the problem remain?
Go to step 3. The problem is
solved.
Step 3
Print a test page.
Does the problem remain?
Go to step 4. The problem is
solved.
7018
Diagnostics and troubleshooting
165

 Loading...


