Mini-Crawler Crane M A E D A Section 5 – INSPECTION
1/2019 MC405C-3 5-25
(2) After refilling with coolant, securely
install the cap (2) of the reserve tank
(1).
5. If the reserve tank was empty, follow the
steps below.
(1) Remove the machinery cover as
described in "Removing Machinery
Cover" on page 5-18.
(2) Remove the radiator cap (5) and check
the coolant level in the radiator.
Fig. 5-32
(3) If the coolant level in the radiator was
low, check the radiator, radiator hose,
and engine for water leakage.
(4) Fill water from the radiator filler opening
and securely install the radiator cap (5).
(5) Remove the cap (2) of the reserve tank
(1) and fill water from the filler opening
to the level "FULL".
(6) After refilling with the coolant, securely
install the cap (2) of the reserve tank
(1).
(7) Reattach the machinery cover as
described in "Installing Machinery
Cover" on page 5-18.
6. Close the access hatch.
Check / Add Engine Oil
CAUTION: Securely install the oil level gauge
and filler cap after checking the oil level and
refilling with the oil. If the oil level gauge falls
during the operation, the hot oil spouts out of
the pan, causing burns.
CAUTION:
• For more information on the which oil to be
used, see "LUBRICATING OIL" on page 5-
14. Using other oil than those specified may
shorten the life of the engine. Be sure to
refill with the specified oil.
• Keep the engine oil at the appropriate level.
The oil level being too high will result in too
much oil consumption and this tends to
increase the oil temperature, deteriorating
the oil faster. The oil level being too low
may burn out the engine.
• Be careful not to let any foreign substance
go into the filler opening when refilling with
the oil.
1. Stop the machine at levelled location.
2. Open the access hatch in the right-hand
machinery cover.
3. Pull the oil level gauge (G) out and wipe the
oil with a disposable cloth.
Fig. 5-33
4. Insert the oil level gauge (G) into the gauge
guide and pull it out.
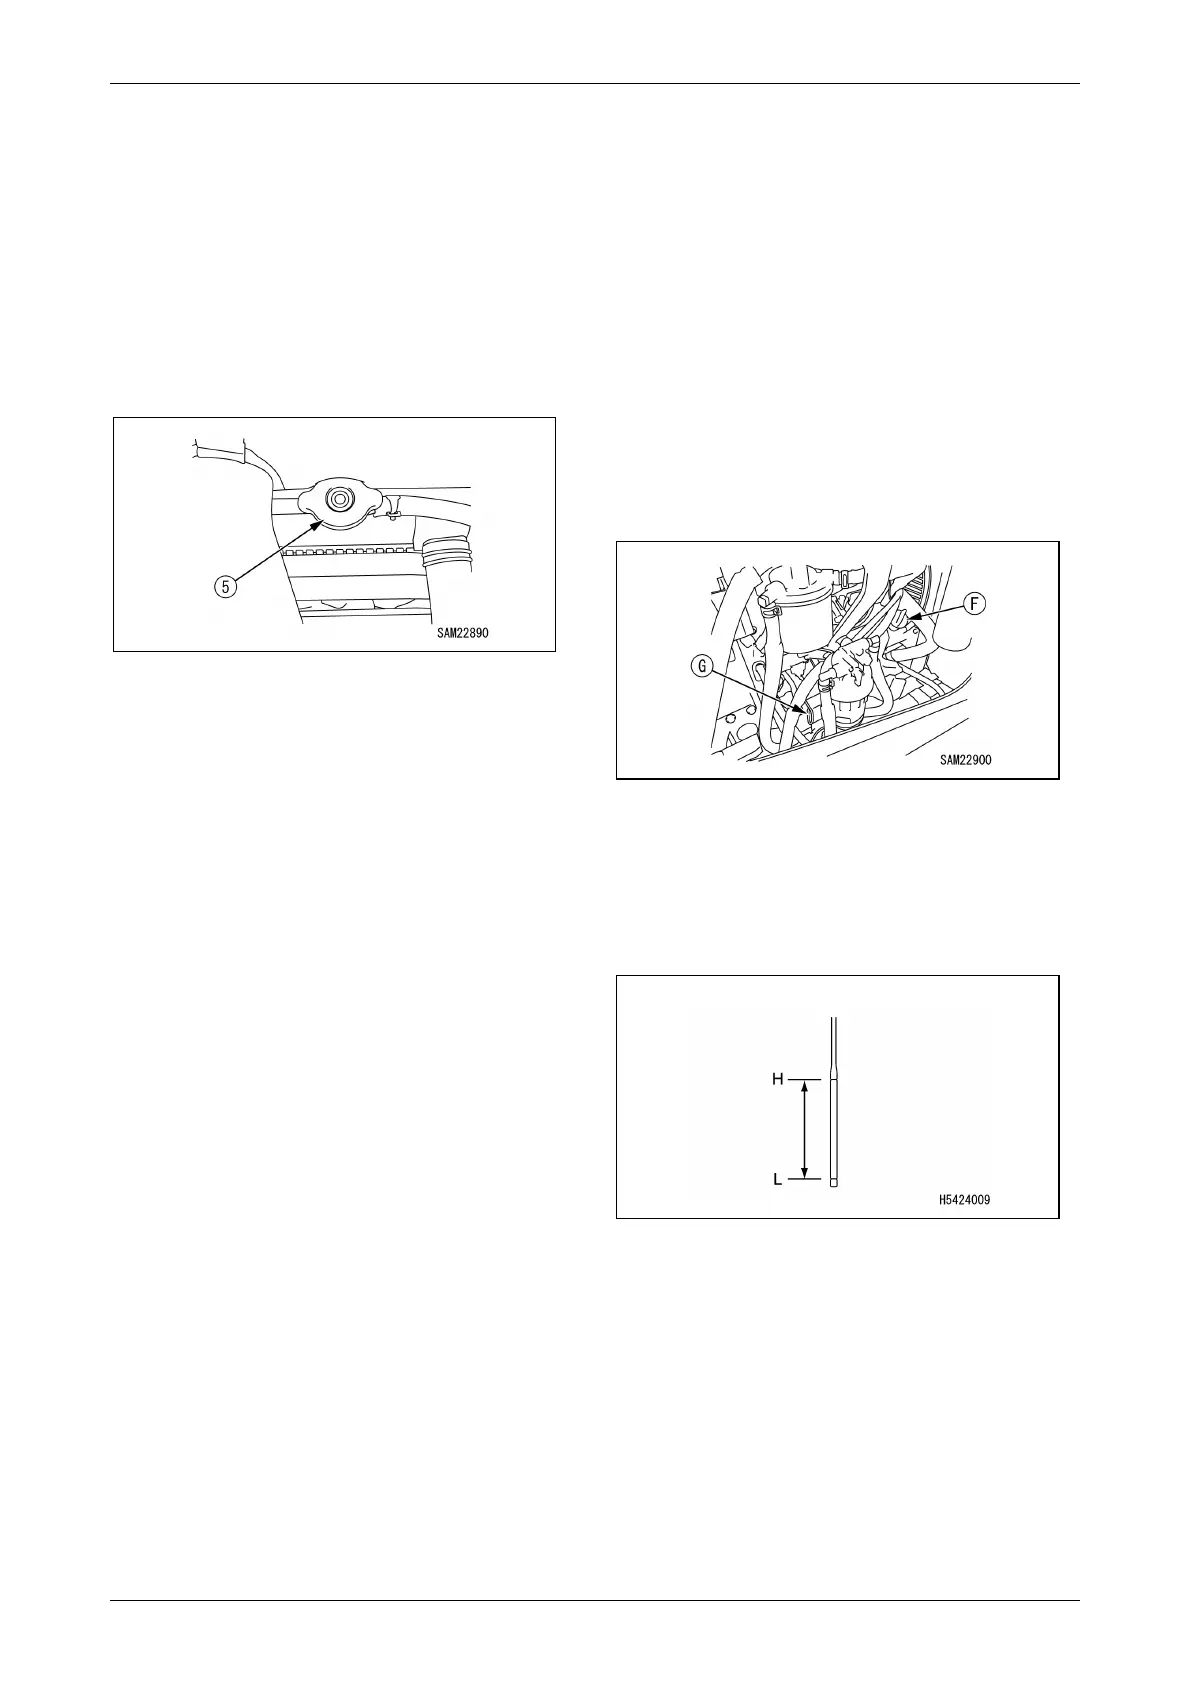
5. If the oil level is between the "H" mark and
"L" mark on the oil level gauge (G), the oil
level is normal.
Fig. 5-34
6. If the oil level is lower than the "L" mark,
remove the filler cap (F) and refill with the
engine oil from the filler opening.
NOTICE: Refill with the engine oil so that the oil
level will be in the middle of the "H" and "L"
marks on the oil level gauge (G).
7. After refilling with the oil, securely install the
oil level gauge (G) and the filler cap (F).
8. Close the access hatch.