Mini-Crawler Crane M A E D A Section 5 – PERIODIC MAINTENANCE
1/2019 MC405C-3 5-47
9. Turn the filter cartridge (3) counterclockwise
(left) with the use of the filter wrench to
remove it.
Fig. 5-96
NOTICE: The oil is to be drained in large quantity
immediately after the engine is stopped. Wait for
10 minutes before removing the filter cartridge
(3).
10. Clean the filter stand. Apply clean engine oil
(or a light coating of grease) to a new filter
cartridge gasket and thread part, and install
the filter cartridge.
NOTICE: With the gasket surface maintained
contact with the sealing surface of the filter stand,
rotate the filter cartridge one-half to three-
quarters of a turn to secure it.
Always give manual tightening to the filter
cartridge.
11. Check around the filter cartridge (3) for oil
leaks. Be sure to wipe off oil completely if
spilled.
12. After replacing the filter cartridge (3), supply
the engine oil at a specified amount from the
filler cap (F).
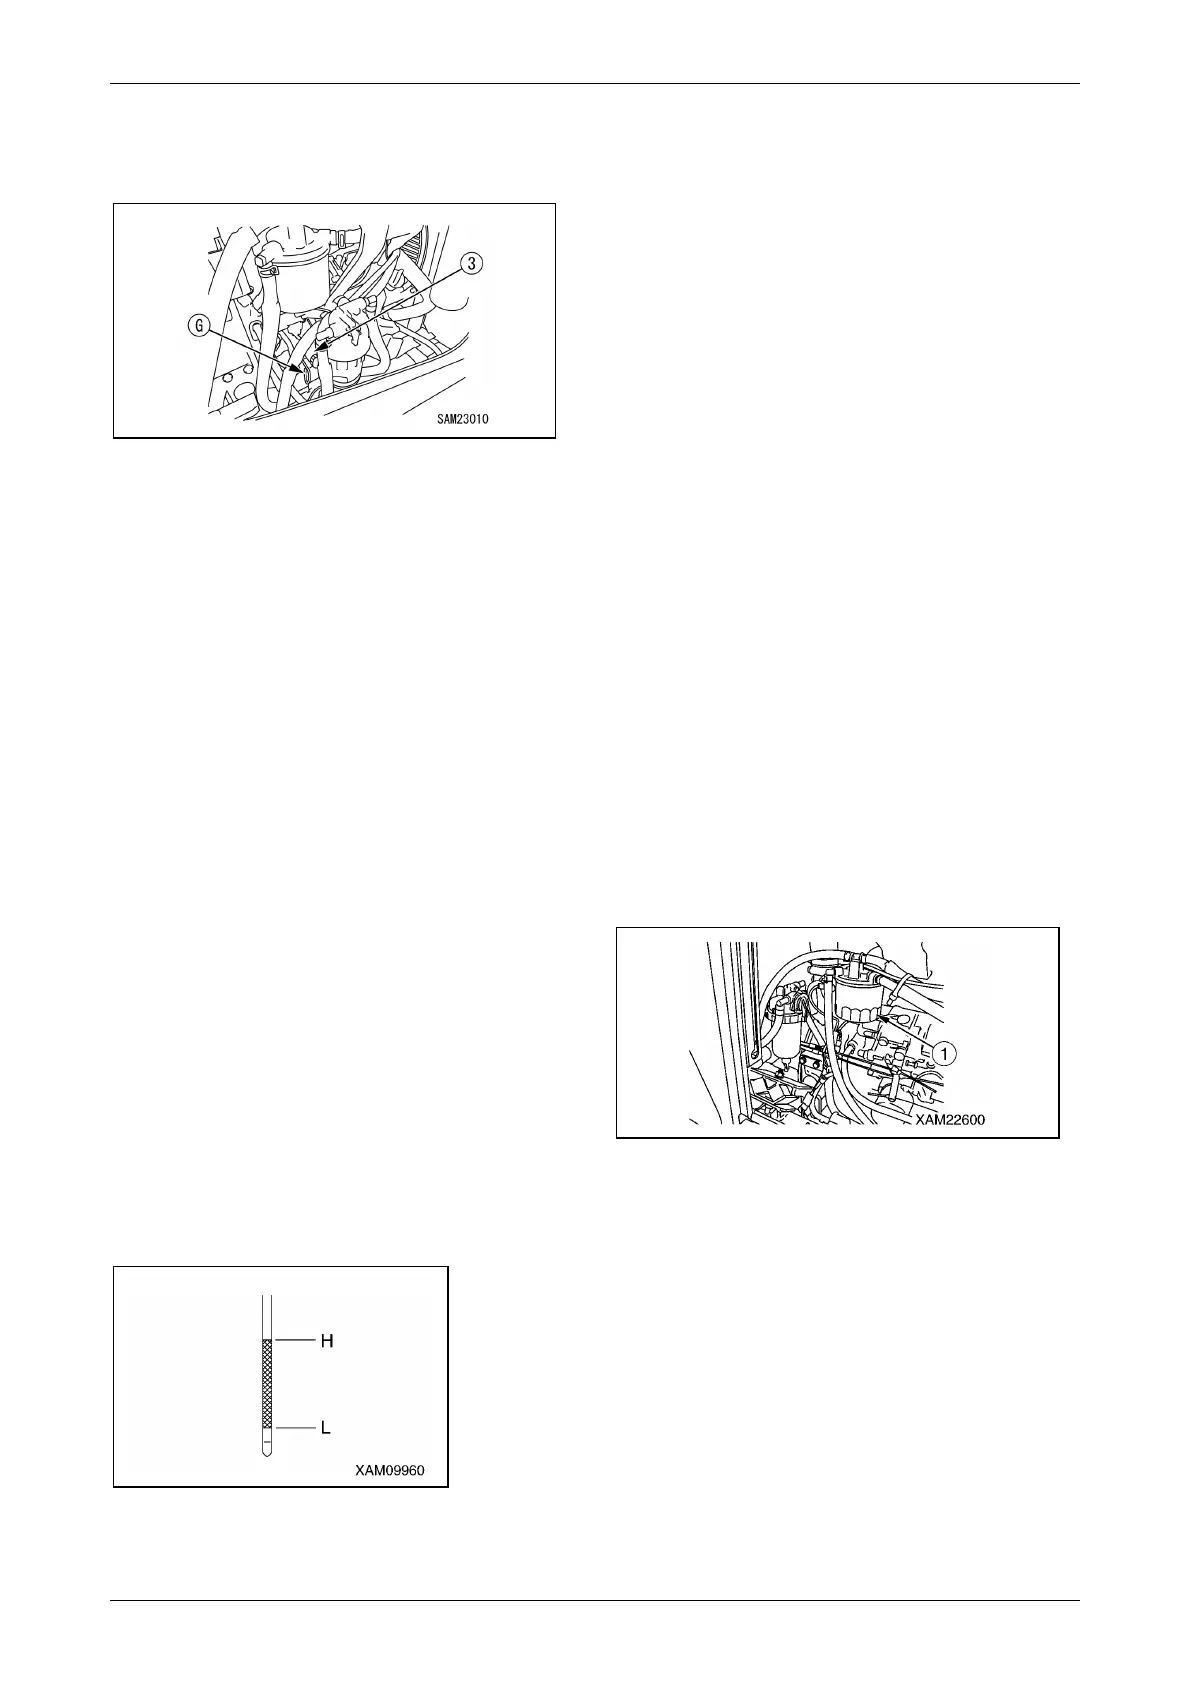
13. With the oil level gauge (G) pulled out, wipe
off the oil with a waste cloth.
14. With the oil level gauge (G) inserted in the
gauge guide, pull the oil level gauge out.
15. Make sure the oil level is in the range "H" to
"L" marked on the oil level gauge (G).
Fig. 5-97
16. Attach the oil level gauge (G) and filler cap
(F) properly upon completion of oil
replacement.
17. Start the engine, and idle it for 5 minutes.
Stop the engine.
18. Make sure again the oil level is in the range
"H" to "L" marked on the oil level gauge (G).
19. Reattach the machinery cover as described
in "Installing Machinery Cover" on page 5-
18.
Replace Fuel Filter Cartridge
WARNING!
• Keep from heat and flame, including
cigarettes, when replacing the fuel filter
element.
• All the parts will be at elevated
temperatures immediately after engine
operation, which urges you not to replace
the fuel filter element. Always perform
replacement with the engine cold to touch.
1. Place the machine on a level surface.
2. Open the access hatch in the right-hand
machinery cover.
3. Turn the filter cartridge (1) counterclockwise
(left) with the use of the filter wrench to
remove it.
Fig. 5-98
4. Clean the filter stand. Apply clean engine oil
(or a light coating of grease) to a new filter
cartridge gasket and thread part, and attach
the filter cartridge.
NOTICE: With the gasket surface maintained
contact with the sealing surface of the filter stand,
rotate the filter cartridge one-half to three-
quarters of a turn to secure it.
Always give manual tightening to the filter
cartridge.
5. Check around the filter cartridge (1) for fuel
leaks. Be sure to wipe off fuel completely if
spilled.
6. Close the access hatch.