Section 5 – INSPECTION Mini-Crawler Crane M A E D A
5-34 1/2019 MC405C-3
4. Rotate the rotary of all the four outriggers
outward and properly insert the position pin
(4).
Verify that all the extension lamps (2) light
up on the outrigger display.
Fig. 5-64
NOTICE: Verify that the position pin (4) is
properly inserted after outrigger rotary extension
operation.
Fig. 5-65
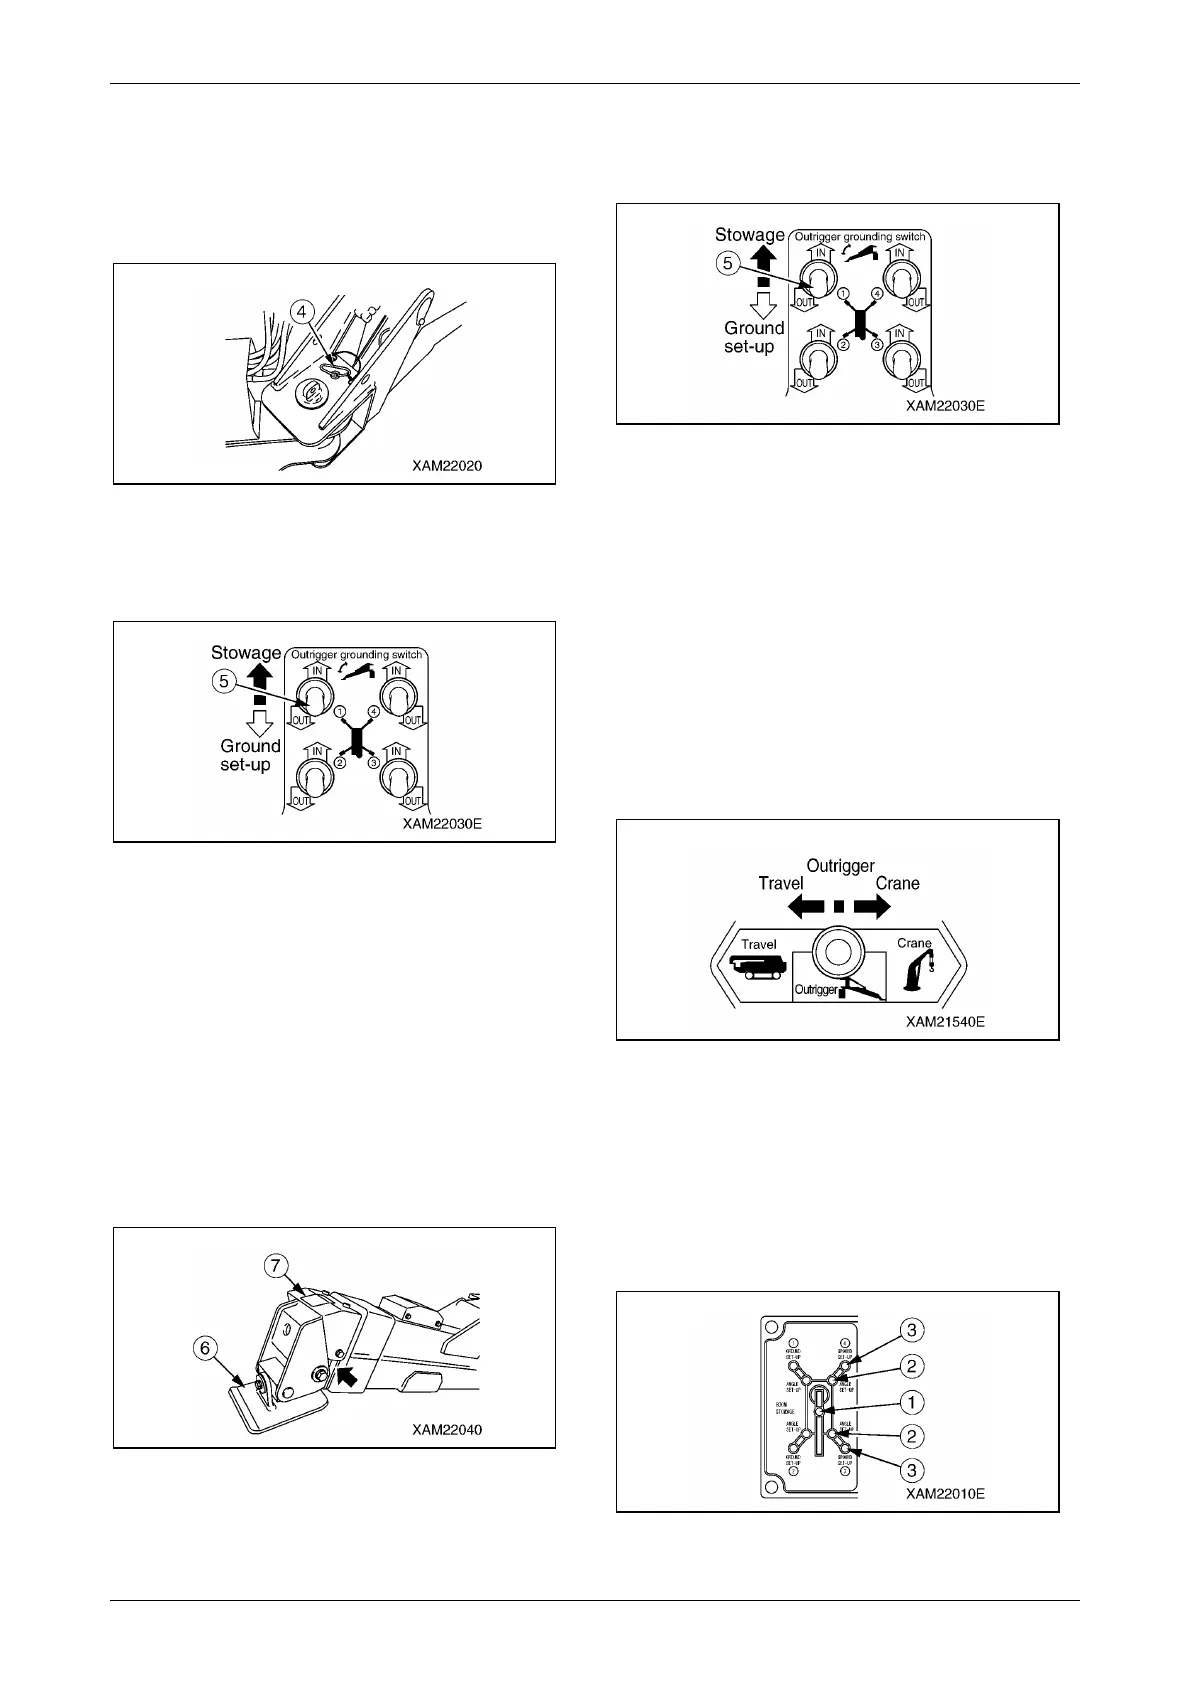
5. Operate the outrigger grounding switch (5)
on the outrigger operation panel to "OUT"
position and set all the four outriggers. Then
set the tray securely.
Verify that all the setting lamps (3) on the
outrigger display light up.
CAUTION: If any of the setting lamps (3) is
flashing in red, remove the cover (7) of the
outrigger tray (6) and check if there is any
foreign object engaged in the bending
section.
Fig. 5-66
6. Operate one of the four outrigger grounding
switches (5) to "ON" position and raise the
outrigger tray above the ground.
Fig. 5-67
7. Operate the work selector switch on the
outrigger operation panel to the "Crane"
position.
8. Operate the crane derricking lever to the
"RAISE" side and verify that the crane does
not operate.
NOTICE: Perform the tasks described in the step
6 to 8 to all the four outriggers.
Checking Operation of Outrigger Interlock
Function
1. Set all the four outriggers.
Fig. 5-68
2. Operate the work selector switch on the
outrigger operation panel to the "Crane"
position.
3. Operate the crane derricking lever to the
"RAISE" side and raise the boom until the
boom stowing lamp (1) on the outrigger
display goes off.
Fig. 5-69