Manitowoc Published 11-06-15, Control # 040-13 5-11
2250 SERVICE/MAINTENANCE MANUAL HOISTS
Brake Inspection and Adjustment
1. Inspect all pins and linkage for excessive wear, and
replace parts as required. Worn pins and linkage will
make it difficult to obtain proper drum-to-lining
clearance.
2. Lubricate pins in linkage with a few drops of engine oil.
Lubricate grease fittings according to lubrication topic in
Section 9 of this manual.
3. Check linings for excessive wear. Linings normally wear
faster at dead end of brake band. Check this area first.
Brake lining is 1/2 in (12,7 mm) thick when new. Replace
lining when thinnest area has worn to 7/32 in (6 mm)
thick.
4. Thoroughly inspect the brake bands for cracks and
corrosion when the bands are removed for relining. This
inspection procedure also applies to band assemblies
that are received in exchange for bands that were
removed for relining.
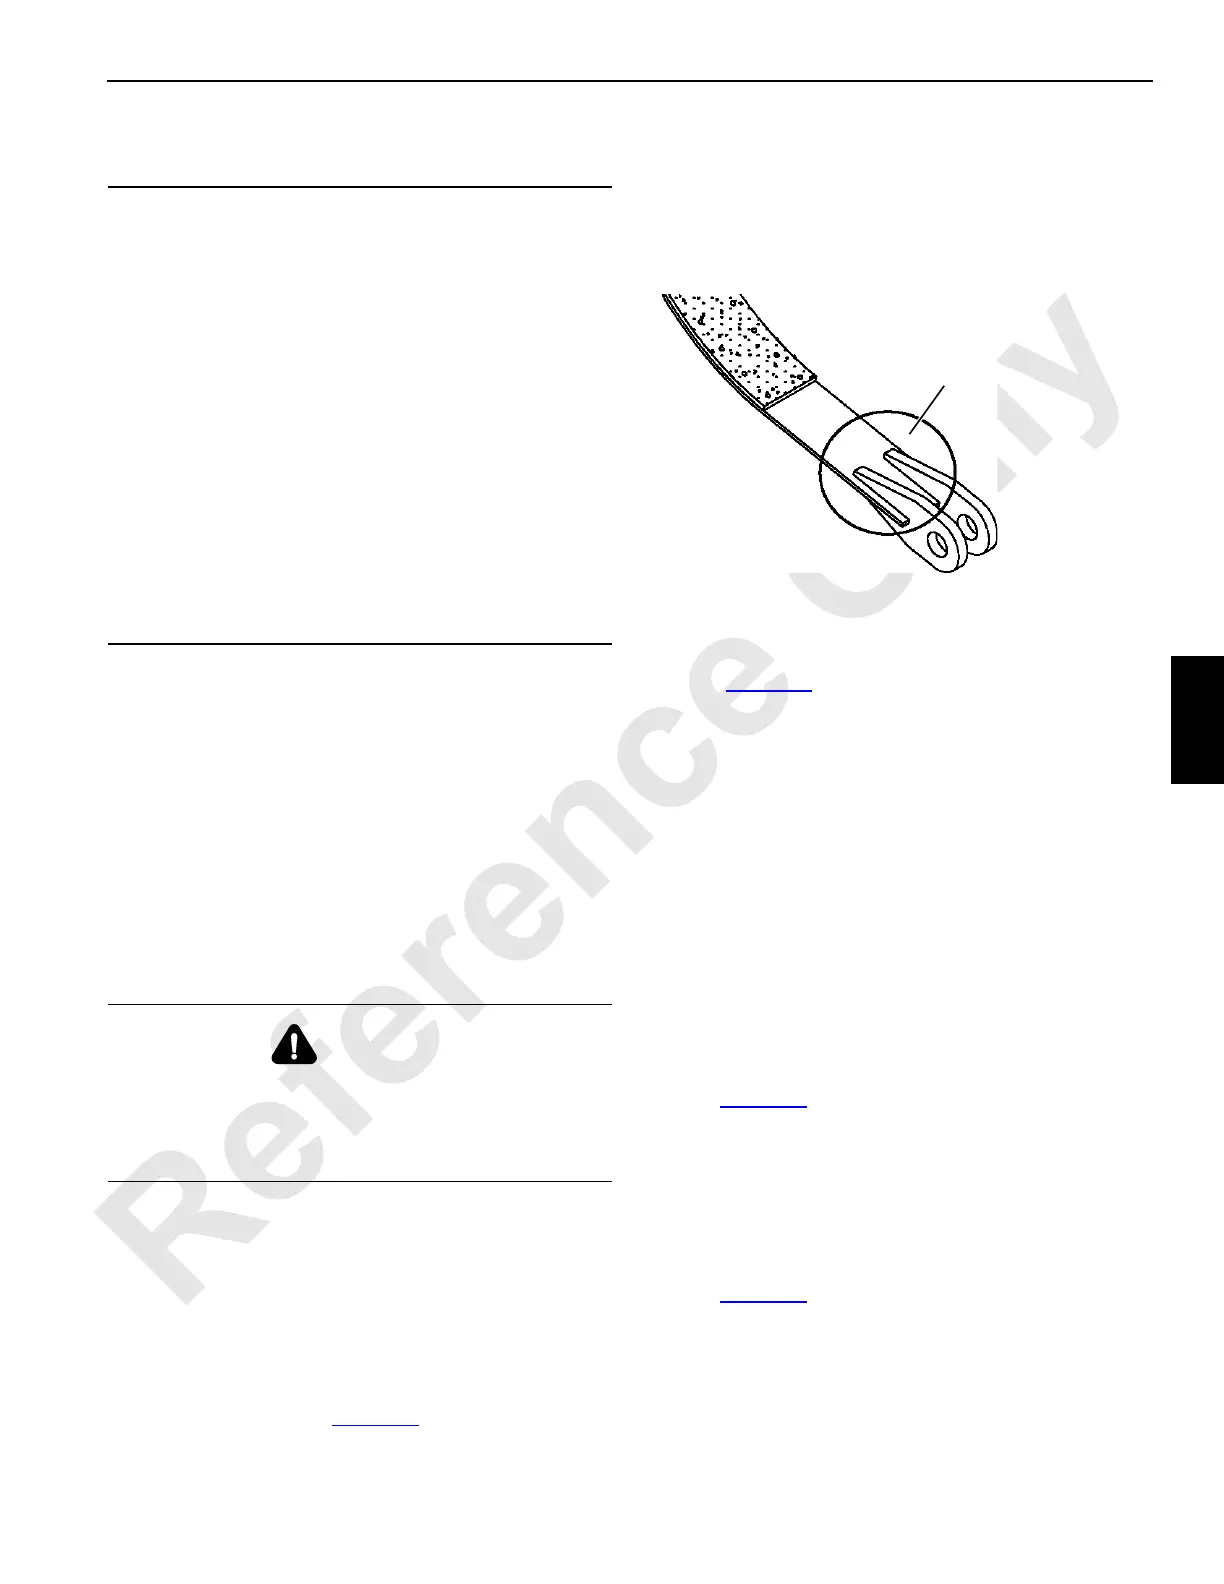
The inspection method must include non-destructive
testing — magnetic particle (MT) or ultrasound (UT).
The primary area to inspect is the dead-end attachment
area on the band (see Figure 5-8
).
If there is evidence of cracks or 10% reduction in area
due to corrosion, destroy and discard the band and
replace with it a new band or a band that has passed
non-destructive test/inspection. Contact your Manitowoc
dealer for brake band thickness. Please have the band
part number available at the time of the request.
5. Perform treadle valve checks and make necessary
adjustments.
6. Check each brake band for proper adjustment as follows
(see Figure 5-7
):
NOTE: Check band adjustment when linings are cold for
lift-crane work or warm from duty-cycle work.
a. Lower load block, weight ball, or bucket to ground
from drum being serviced so wire rope is slack.
b. If equipped with three drums, use drum selector to
select desired rear drum, right or left.
c. Turn on free-fall for drum being serviced.
d. Release drum working brake (brake pedal up fully).
e. Turn on drum park for drum being serviced. Drum
parking brake will spring apply.
f. Check for the following dimension:
Current Production — Measure distance from
bottom of actuator to top of rod end as shown in
Figure 5-7
, View A.
- Dimension must be 2.0 to 2-1/2 in (51 to 64
mm)
- Readjust brake when 2-1/2 in (64 mm) is
reached
Past Production — Measure distance from top of
actuator to washer inside actuator as shown in
Figure 5-7
, View B. Dimension can be measured at
either actuator on drum being serviced.
- Dimension must be 1-9/16 to 2-1/16 in (40 to 52
mm)
CAUTION
Moving Machinery Hazard!
It is necessary to rotate load drum and apply and release
drum parking brake during inspection, adjustment, and
overhaul steps.
Drum brake inspection, adjustment, and overhaul
requires two people: one to operate drum and brake
controls and one to perform inspection, adjustment, and
overhaul steps. Maintain constant communication
between adjuster and operator so drum and brake are not
operated while adjuster is in contact with parts.
Lower load block or weight ball onto ground so wire rope
is slack on drum being serviced.
• Adjuster stay clear of all moving parts while drum and
brake are being operated.
• Operator do not operate drum or brake controls until
adjuster is clear of moving parts.
WARNING
Falling Load Hazard!
Only use Manitowoc original equipment lining. Other
lining may not provide proper brake torque. Brake could
slip, allowing load to drop.
FIGURE 5-8
Primary Inspection Area
 Loading...


