EasyManuals Logo
Home>MG>Automobile>MGB

MG MGB User Manual

MG MGB
417 pages
To Next Page IconTo Next Page
To Previous Page IconTo Previous Page
Page #306 background imageLoading...
Page #306 background image
THE
ELECTRICAL
SYSTEM
N
38.
Check the
readings
obtained
in
37
against
the
figures
given
in
‘GENERAL
DATA’ for
lock
torque
current
and voltage.
NOTE: If
a
constant-voltage
supply
is
used
for
this
test,
a
higher voltage
may
be
registered
on
the
voltmeter than
the
figure
given.
If this
should
occur, a
variable
resistance
must
be
added
to
the circuit
and adjusted
to
give
the
required
reading and the
test
repeated.
Solenoid~c0il
39.
Check
the continuity
of
the
coil windings between the
terminal
‘STA’
and
a
good earth
point
on
the
solenoid
body,
using
an
ammeter
(in series);
a
reading of
11.2
to
11.8
amps
should
be obtained. If
no
reading,
renew
the solenoid.
40. Using
an
ohmmeter
connected between
the small
unmarked
Lucar
terminal and
terminal
‘STA’;
check
the
resistance
of
the
closing
(series)
winding;
if
the
reading
differs
considerably from the limits
given
the
solenoid
must
be renewed.
41. Using
an
ohmmeter
connected between the
small
unmarked
Lucar
terminal and
a
good earth
on
the
solenoid body,
check
the
resistance
of
the
hold—on
(shunt) winding;
if
the reading
differs considerably
from
the
limits
given,
the
solenoid
must
be renewed.
Solenoid
contacts
42.
Check the
contacts
for
correct
opening
and closing by
carrying
out
the instructions
27
to
31 plus the
following:
a.
Operate the
switch and
note
the
voltmeter
reading;
it
should
register
practically
zero
if
the
solenoid
is
satisfactory. Alternatively the
solenoid
should be checked by substitution.
43. The
contacts
must
only be renewed
as
a
set,
e.g.
moving
and fixed
contacts.
The
fixed
contacts
are an
integral
part
of the
moulded
cover.
Renew
a
set
of
contacts
as
follows:
3.
Remove
the
screws
securing
the
terminal and
base
assembly
to
the
solenoid.
b.
Undersolder the
coil
connections
from the
cover
terminals.
c.
Clamp the solenoid
in
a
vice.
d.
Remove the
terminal
and
base assembly.
e.
Assemble
the
new
terminal
and
base assembly.
f.
Resolder the
connections
to
the
terminal and
base assembly.
g.
Ret
the
securing
screws.
Torque
1.8
lbf ft
(0.25
kgf
m).
Refitting
44. Reverse
the
removing
procedure
in
1
to
5.
MGB. Issue5.
91427
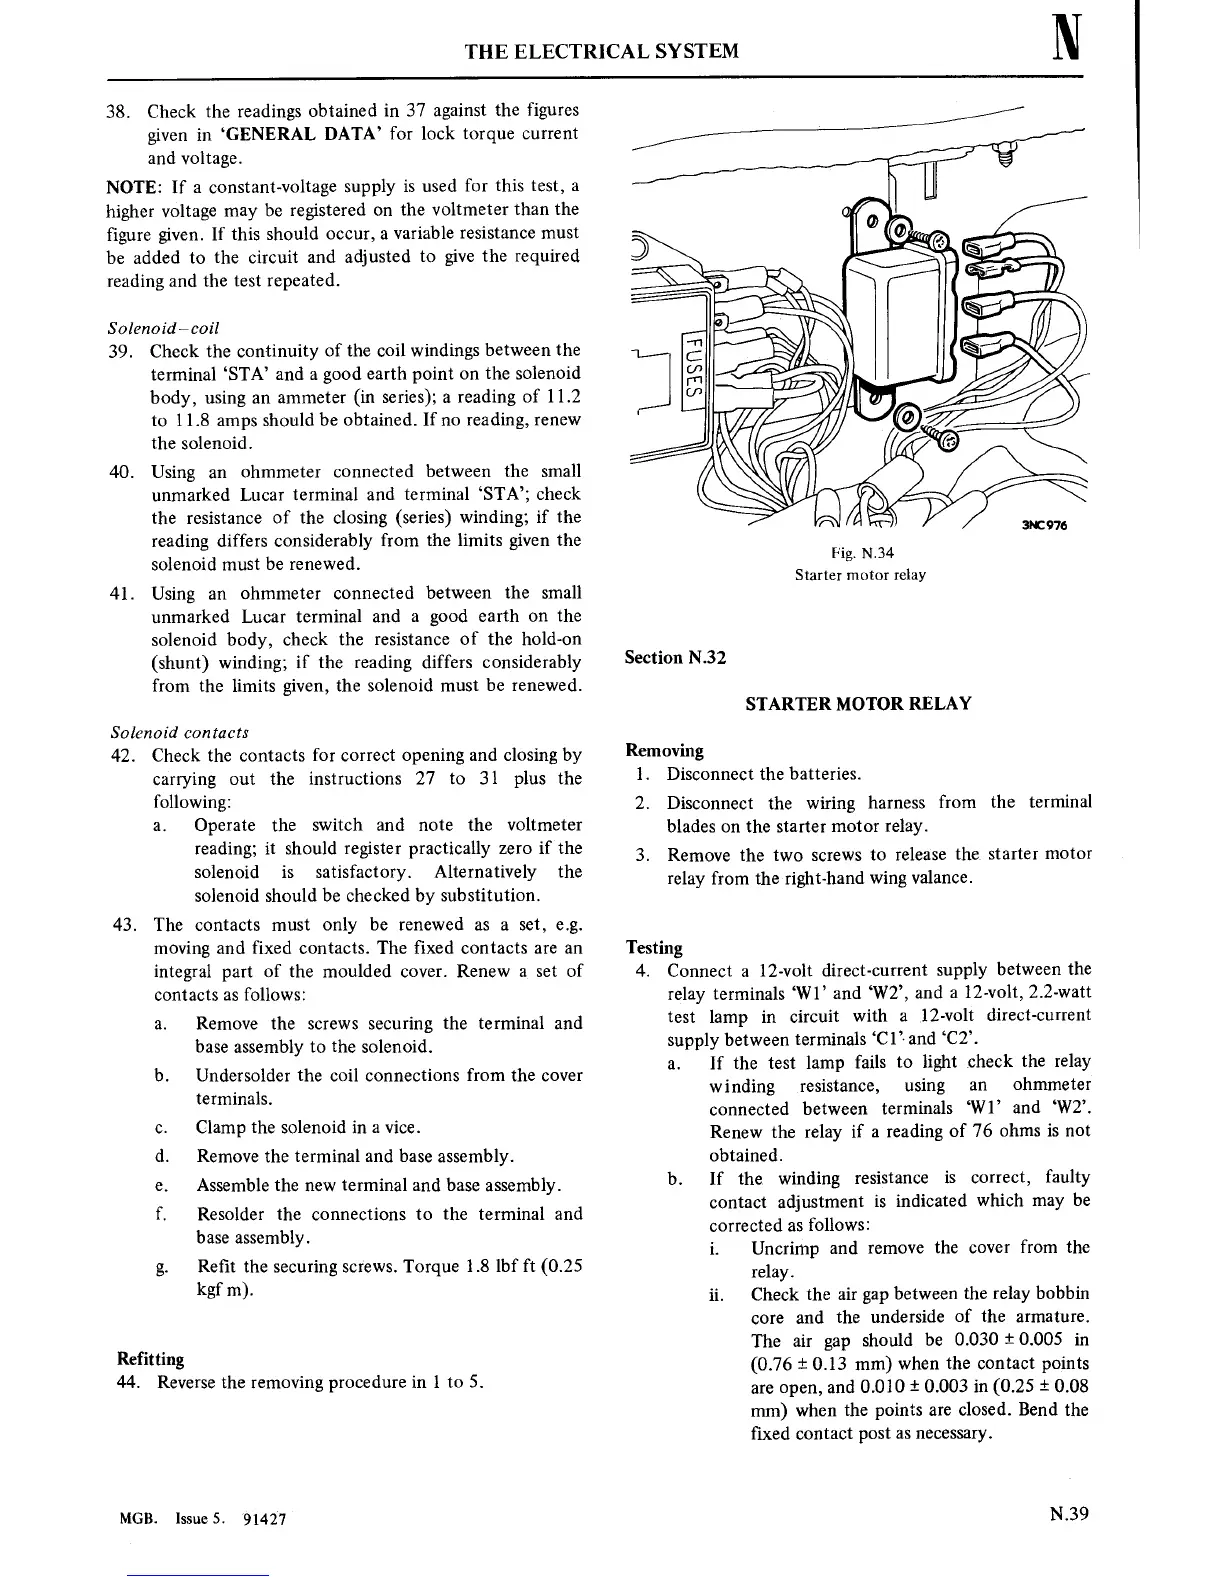
Fig.
N.34
Starter
motor
relay
Section N.32
STARTER MOTOR
RELAY
Removing
1. Disconnect the
batteries.
2.
Disconnect the
wiring
harness
from the
terminal
blades
on
the
starter
motor
relay.
3. Remove the
two
screws
to
release
the
starter
motor
relay from
the
right-hand wing
valance.
Testing
4. Connect
a
12-volt
direct-current
supply
between
the
relay terminals
‘W1’
and
‘W2’,
and
a
12-volt,
2.2-watt
test
lamp
in
circuit
with
a
l2-volt
direct-current
supply between
terminals
‘Cl’.
and
‘C2’.
a.
If the
test
lamp
fails
to
light check the
relay
winding
resistance,
using
an
ohmmeter
connected between
terminals
‘W1’
and
‘W2’.
Renew
the
relay
if
a
reading
of 76 ohms
is
not
obtained.
b. If the
winding resistance
is
correct,
faulty
contact
adjustment is
indicated
which
may
be
corrected
as
follows:
i.
Uncrimp
and
remove
the
cover
from
the
relay.
ii.
Check the air
gap
between the
relay bobbin
core
and
the
underside
of
the
armature.
The
air
gap
should be
0.030 i0.005
in
(0.76
i
0.13
mm)
when the
contact
points
are
open,
and
0.010
t
0.003
in
(0.25
i
0.08
mm)
when
the points
are
closed.
Bend
the
fixed
contact
post
as necessary.
N.39

Table of Contents

Questions and Answers:

Question and Answer IconNeed help?

Do you have a question about the MG MGB and is the answer not in the manual?

MG MGB Specifications

General IconGeneral
BrandMG
ModelMGB
CategoryAutomobile
LanguageEnglish

Related product manuals