Appendix F Rack-mounting Your Lynx II
180 Lynx II DSA User's Manual - 7096089
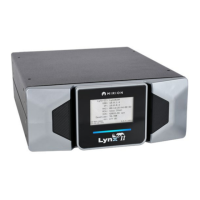
Rack-mounting a Single Lynx II Unit
This assembly must be done with power off, and preferably with no cables connected to
the Lynx II unit(s). It is best to pre-assemble these parts on a bench and install the joined
items as a unit into your equipment rack.
Make sure to:
• Remove and discard the rubber feet from the bottom of the Lynx II unit if installed.
• Remove the contents of the Rack Mount Kit from its packing material.
• Use the proper tools. You need an Allen Wrench (4 mm or 5/32") and a #2 Phillips
screwdriver.
• Use the mounting hardware from your rack system to mount the joined components
into your rack.
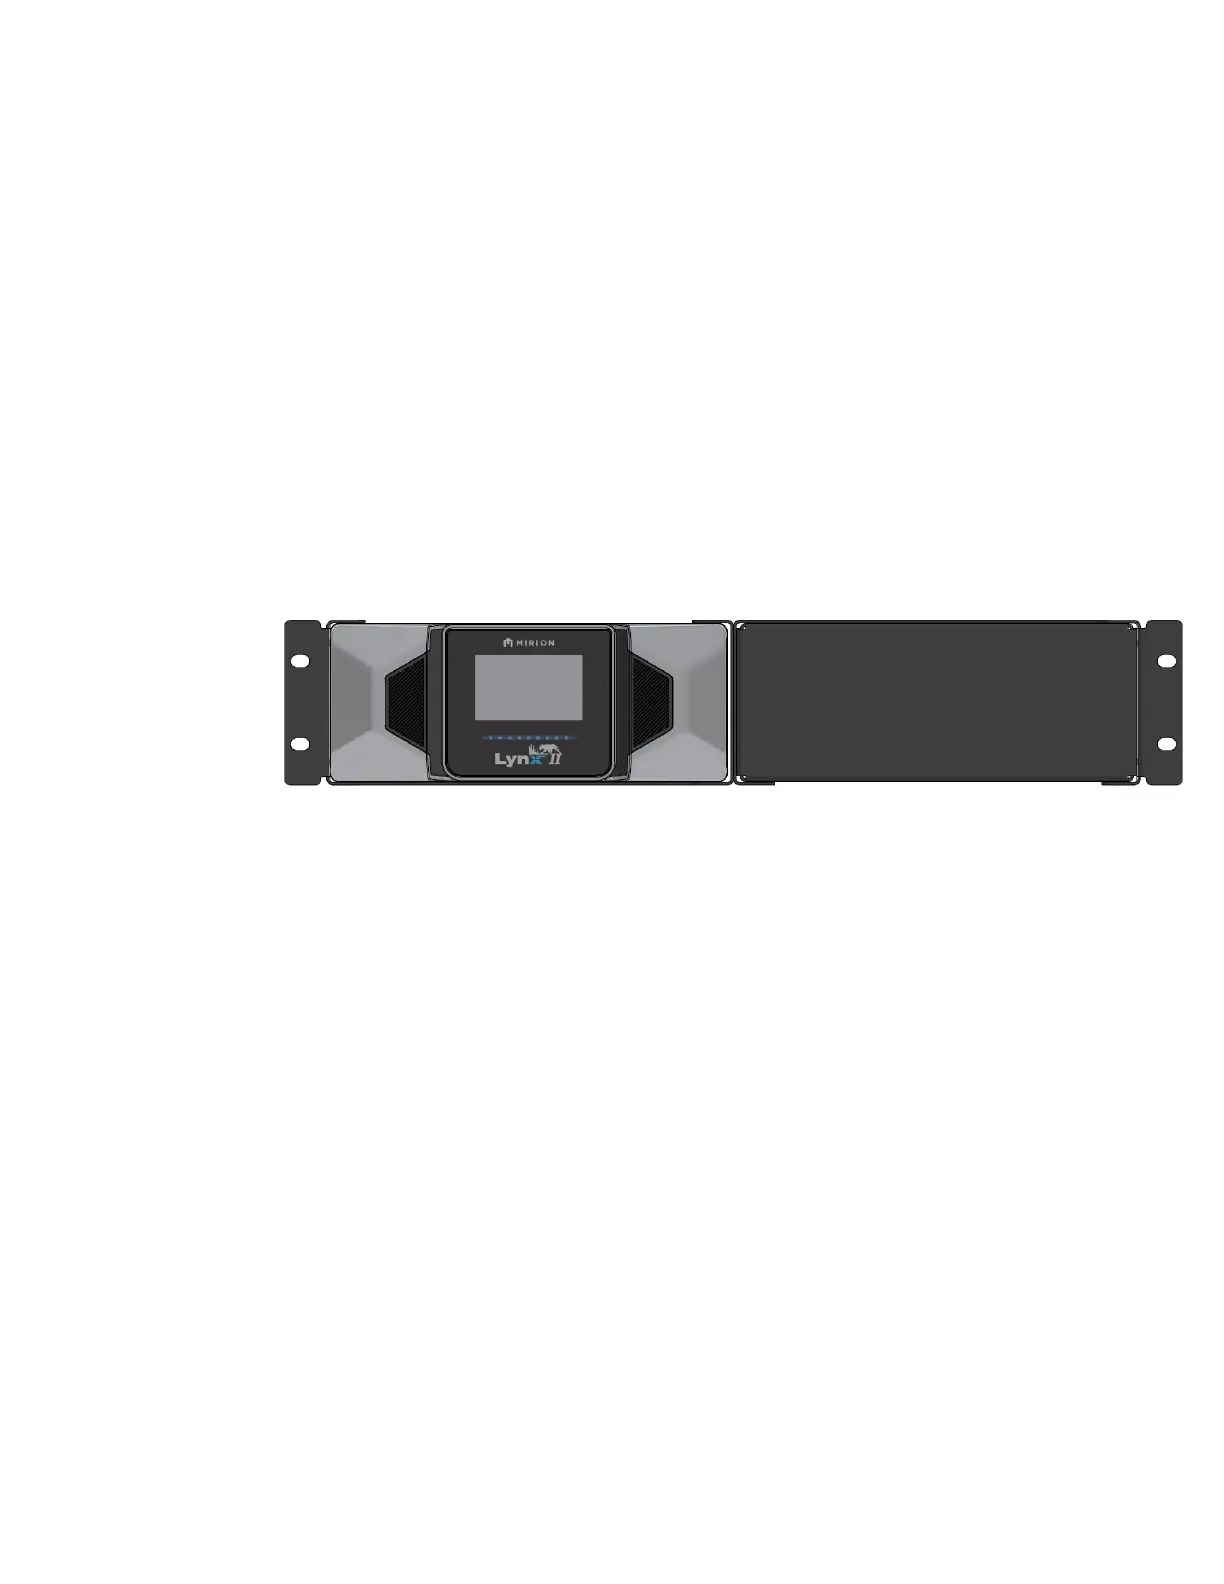
Figure 81 shows one possible orientation of the components.
Figure 81: Rack Mounting a Single Lynx II, Showing the Half-Rack Blank
The Lynx II unit may be positioned to either side. Verify any clearance or rear-access
concerns in your equipment rack when considering placement for a single unit.
1. Slide the Lynx II Blank Rack (item 2) into the Lynx II Half-Rack Bracket (item 1).
Note the orientation of the blank rack, it will be positioned so the bracket handles
are on the outside. See Figure 82.
2. Use 12 of the provided M3 X 10mm LG SS 18-8 FHMS (item 3) to mount the
blank rack to the half-rack bracket, four screws for the top, four for the bottom, and
four for the side. Tighten the screws until snug with your screwdriver; do not over-
tighten the screws. See Figure 82.
3. Attach a second Lynx II half-rack bracket (item 1) to the assembled blank rack
using four 10-32 X 1/4IN, 316 SS FHMS (item 4). Tighten the screws until snug
with your screwdriver; do not over-tighten the screws. See Figure 83.
4. Slide the Lynx II DSA into the second Lynx II half-rack bracket (item 1). Use 12 of
the provided M3 X 10mm LG SS 18-8 FHMS (item 3) to secure the Lynx II DSA
to the half-rack bracket, four screws for the top, four for the bottom, and four for
the side. Tighten the screws until snug with your screwdriver; do not over-tighten
the screws. See Figure 84.
 Loading...