Chapter F: PARTS REPLACEMENT AND REPAIR 4 C-ARM AND UPPER ARM PARTS REPLACEMENT
Technical manual Planmeca ProOne 153
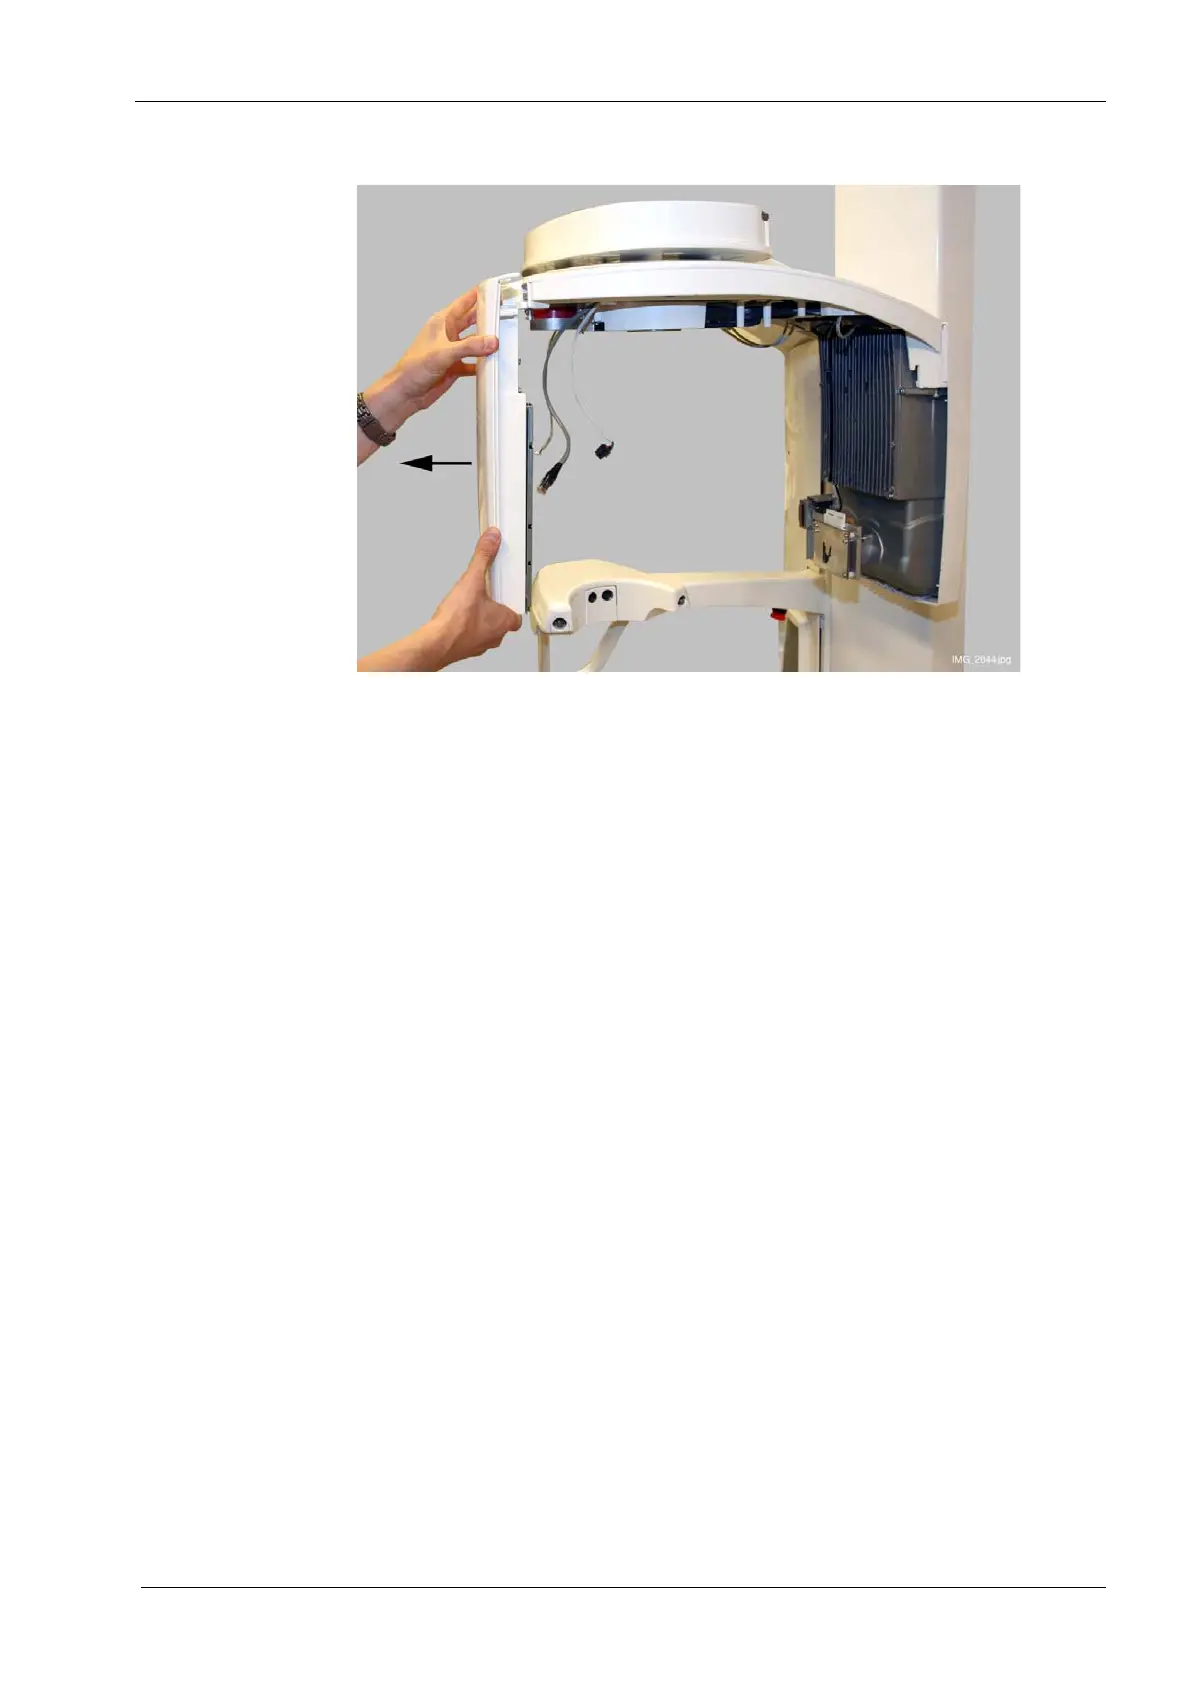
You can now detach the sensor head by pulling it out.
Attach a new sensor head in reverse order.
Adjust the layer light position as described in section 1.8.1 "Adjusting the layer light
position" on page 107.
Calibrate the new sensor as described in section 1.9 "Step 6: Calibrating the sensor" on
page 111.